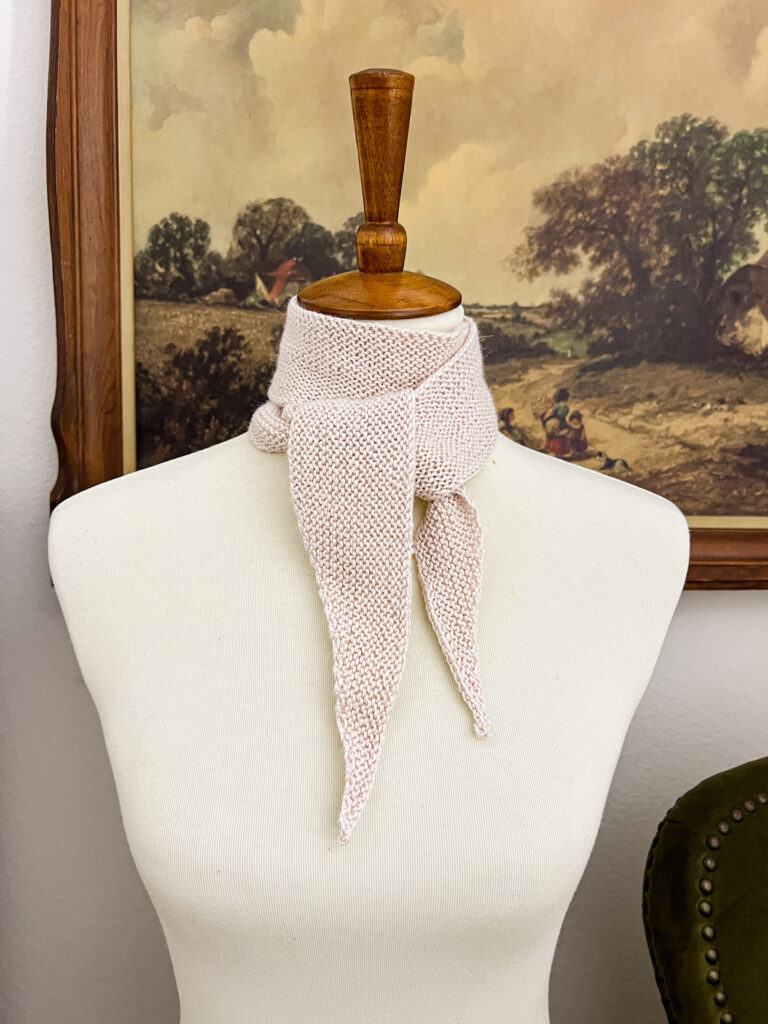
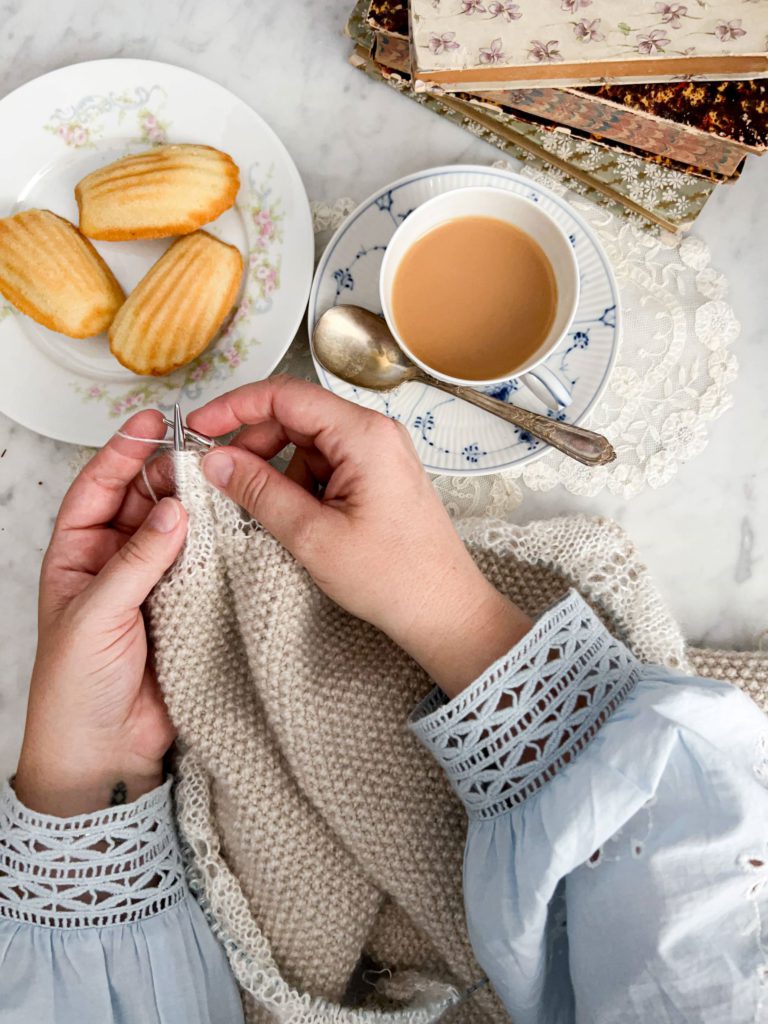
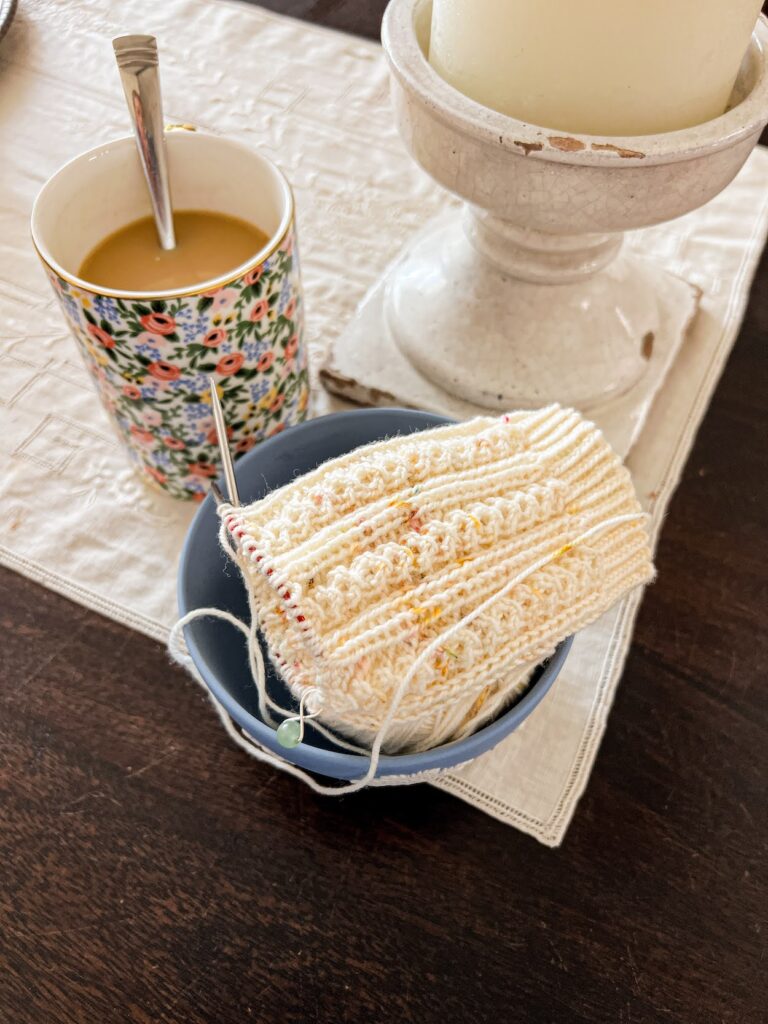
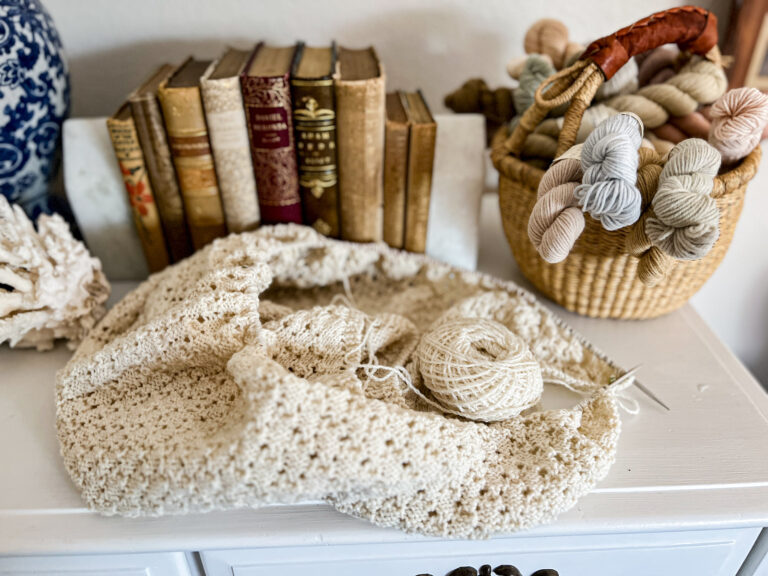
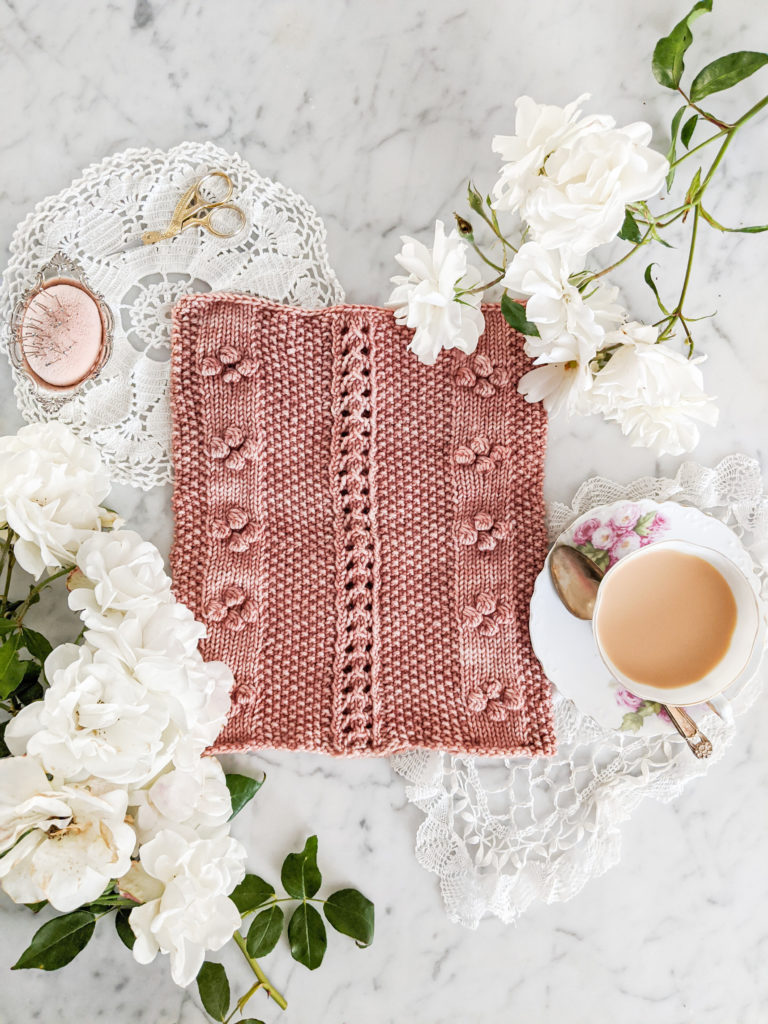
A favorite way to add a little embellishment to a knit project is to finish it off with a picot bind-off. This decorative edging is a good choice for projects that need a finishing touch with a little stretch to it.
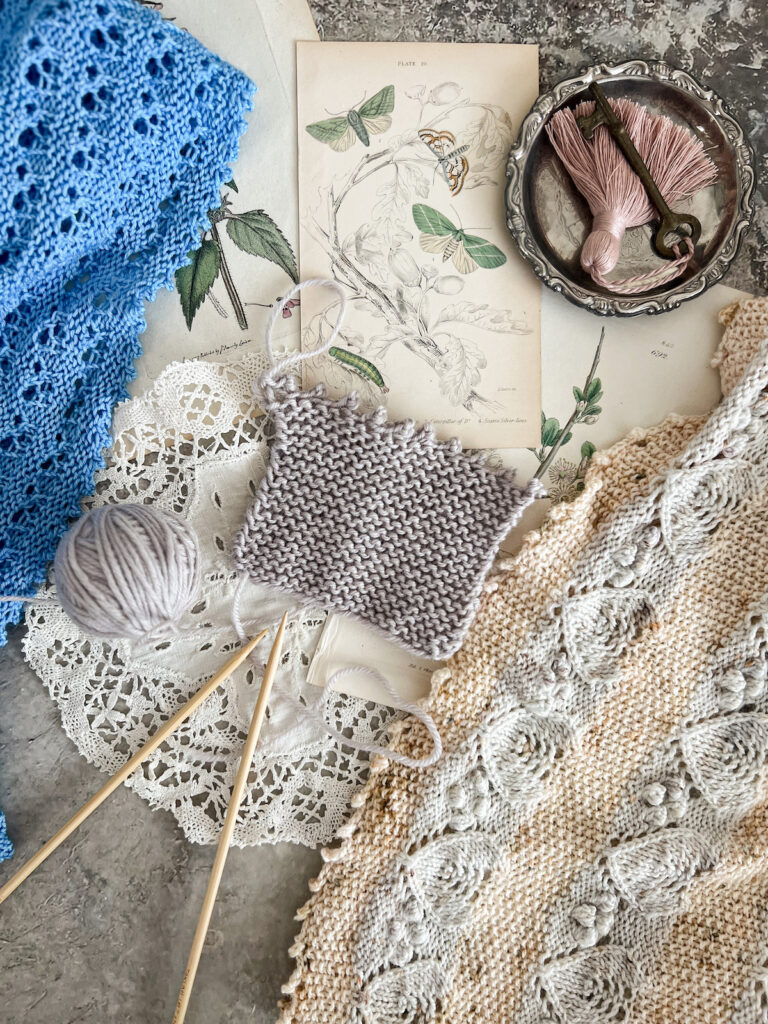
In today’s blog post, we’re going to explore why the picot bind-off is so great, how to work it, and different applications for the bind off.
Why I love the picot bind off
There are reasons I keep returning to the picot bind off again and again. In fact, I’m working on another shawl right now that I know it’s going to have a picot bind off at the end.
It turns out this isn’t just some inexplicable preference. There are logical reasons for it.
It’s just pretty
First, and perhaps most important, it’s just a really pretty little embellishment. The picot bind off mimics lace trim on antique garments, and, well, you know how I feel about that. If it looks vaguely Edwardian, sign me up.
So when I first discovered the picot bind off over a decade ago, I knew instantly that we would be good friends. Where the i-cord bind off is minimalist and sleek, and a full-on lace edging is dramatic, the picot bind off is deliciously dainty but still ornamental.
It’s comparatively easy
When you stack the picot bind off against other decorative bind offs, one strong factor shines through: it’s pretty easy.
Although it’s more complicated than the very basic bind off we all learn when we start knitting, it’s only one step or two more complicated. It’s really just the next level up from the standard bind-off.
I’m a big fan of pretty embellishments that don’t require much extra work, and the picot bind off fits that description perfectly.
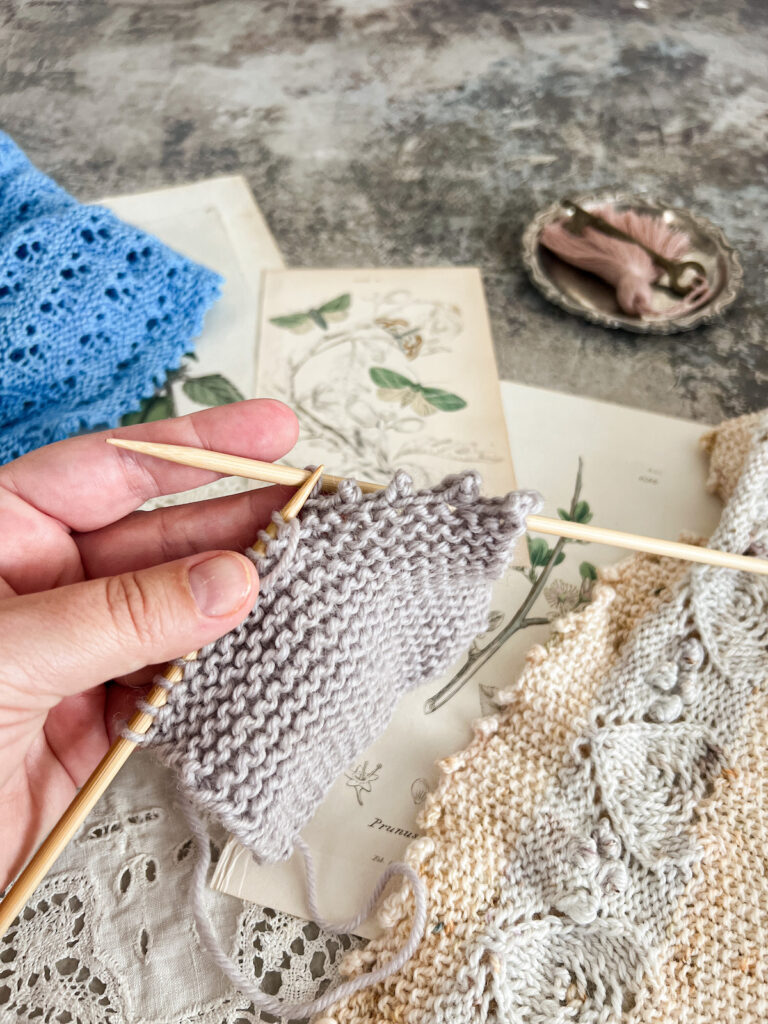
It has a meditative rhythm
I love when I can settle into a rhythm with a bind off where there are peaks and valleys in that rhythm and it’s not a steady hum all the way through. The picot bind off is lovely because you have a little rat-a-tat of casting on, knitting, and binding off. It’s like sprinting and walking in even measures.
The rhythm of the picot bind off gives space for thought but is still pretty entertaining.
How to work the picot bind off
Working the picot bind off is pretty straightforward. Here’s what you’ll do. At the end of the section, I’ve got a video tutorial for you in case that is easier for you.
- Start on the right side at the beginning of a new row. Using the knitted cast-on, cast on two stitches to your left needle.
- Bind off four stitches using the standard bind-off
. - Move the single stitch from your right needle to your left needle.
- Using the knitted cast-
on, cast on two more stitches. - Bind off four stitches again using the standard bind-off
. - Repeat steps 3-5 to the end of your project.
- At the very end, you’ll have one stitch left on your right-hand needle. Cut the working yarn and pull it through that last stitch.
For a larger picot, cast on four or six stitches, and then bind off eight (if you cast on four) or 12 (if you cast on six) stitches. Adding more stitches to your picot edge will increase the size of the picots.
For more spacing between each of your picot stitches, bind off more stitches between each picot. For example, you could bind off five or six stitches but still cast on only two stitches each time.
Iff you have an odd number of stitches or end up with a single stitch at the end of your row, don’t worry. Just bind off one or two extra stitches at the end of the row, or one less than you would normally bind off. The difference is not so great that anybody will be able to see it.
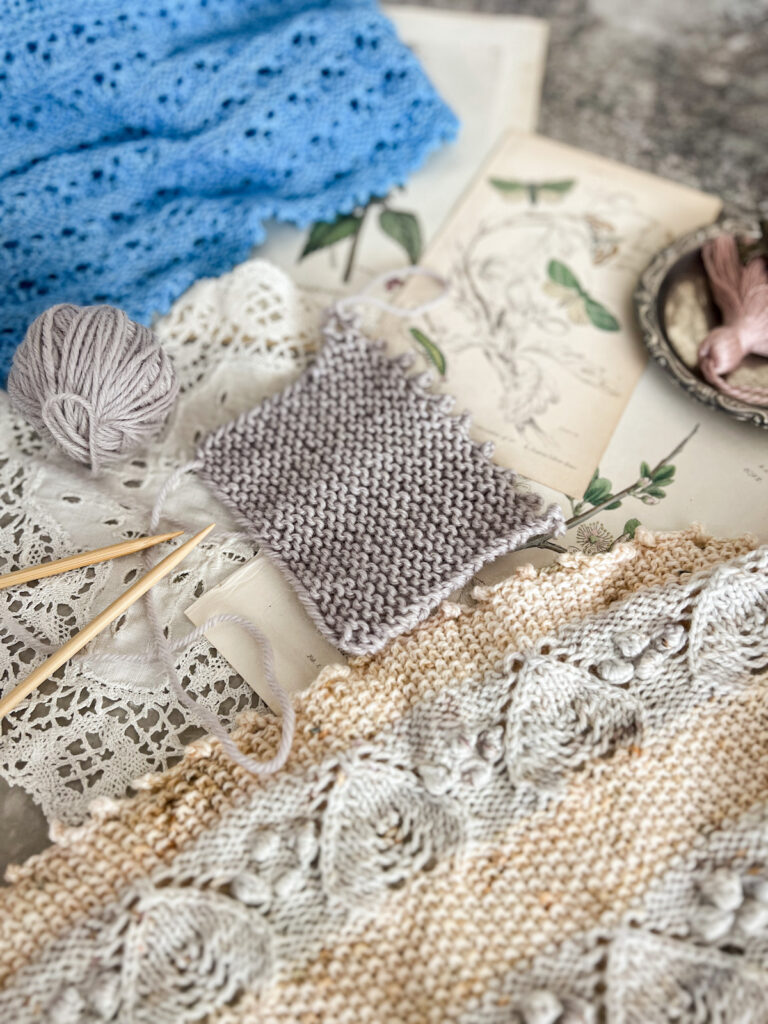
When you’re done with this process, your bind-off stitches will create little peaks and valleys along the edge of your work.
Okay. Here’s that video tutorial I promised:
@abeeinthebonnet I love the picot bind-off. It’s relatively straightforward, pretty, and stretchy. Want to give your knitted shawls a little pizzazz? This bind off is your new best friend. #knitting #knittok #knittersoftiktok #knitknitknit #knittingislife #knittingtiktok #knittingtutorial ♬ Gentle and warm background piano(1262846) – Noru
Some tips for making the picot bind off work for you
Although the picot bind off is relatively straightforward, there are a couple things you should think about before you use it. Let’s cover those now.
Double check your yarn amount
Before you commit to the picot bind off, double check how much yarn you have. The picot bind off is not one where you want to be playing yarn chicken.
That’s because it does use more yarn than a standard bind off. You are casting on a couple extra stitches every so often, and that adds up.
To make sure you have enough yarn for your picot bind off, you’ll want to start a few rows before you have to bind off. Make sure you have a kitchen scale set to grams. Grams are a finer unit of measurement than ounces, so you’ll be more likely to get an accurate measurement. Most kitchen scales have a switch on the back where you can change the weight setting over to grams.
Once you’ve done that, weigh your ball of yarn. Work one row of your project and weight your ball of yarn again. Do that for a couple more rows so that you have a sense of how much yarn each row uses.
Then, when you’re ready to start your bind off, weigh your ball of yarn and make sure you have about three times the amount of yarn you would need to work one row of your project. In other words, if one row of your shawl takes 3 g of yarn, you should make sure you have 9 g remaining. That should be enough to get you to the end.
Prepare for it to take longer than the average bind off
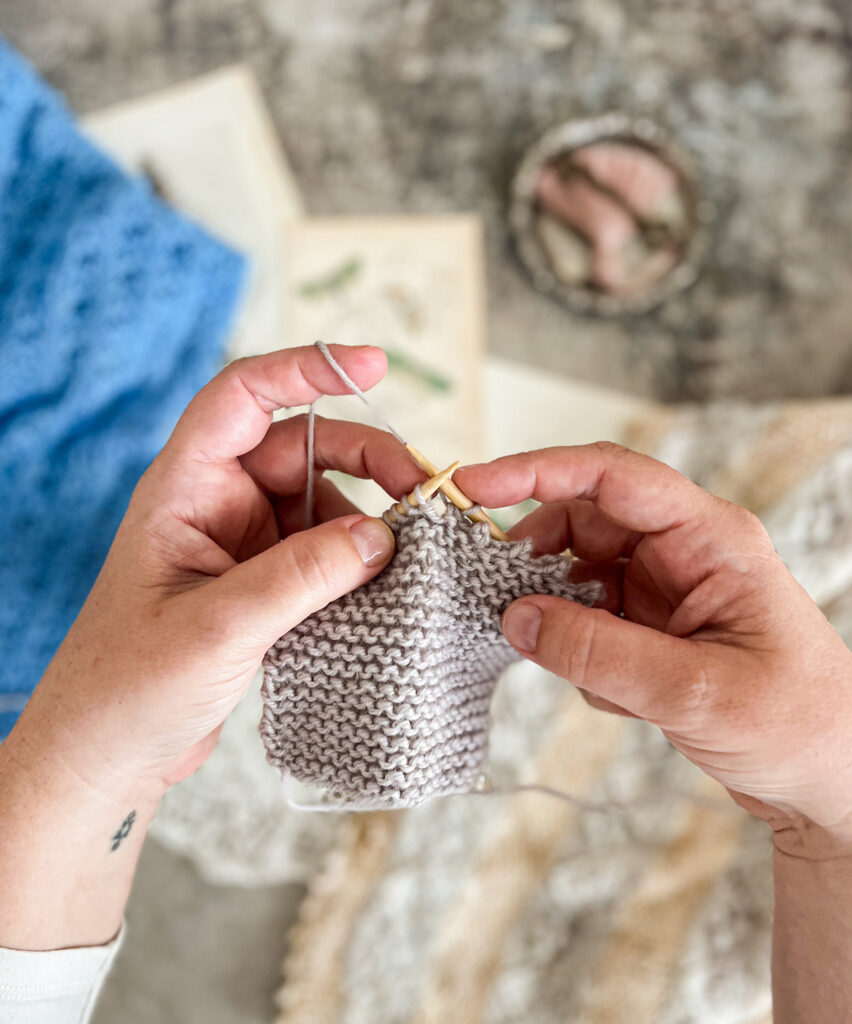
The other thing about the picot bind off is that it does take longer to work than a standard bind off. Again, that’s because you are adding stitches at regular intervals. That means the amount of stitches you’ll be working in your bind off is going to be about twice the amount of stitches you would be working in a regular row of your project. Take your time, pace yourself, pour a good mug of tea, turn on your favorite TV show, and stitch along. You’ll be okay.
Keep an eye on your tension
It’s common for knitters to have tight tension when binding off their work. When you’re using a picot edging, though, you want to keep your tension a little looser. This will allow the picot stitches to pop out of the work more. A tighter tension will pull each one down into your work, leaving you with a tiny picot, and you won’t see the edging as well. If you’re struggling with tight tension, I’ve got a blog post that can help with that.
Projects that are good for the picot bind-off
This is a great decorative edging for any situation where you want your work to have some stretch but also some visual interest. The picot edging is a wonderfully stretchy bind-off, which makes it ideal for cuffs on sweaters, the tips of fingerless mitts, and the edges of hats knit from the crown downward. It’s also popular for toe-up socks.
You can add the picot bind-off to any knitting pattern. Simply swap it out for whatever bind-off is recommended by the pattern. You can even do it on projects with ribbing at the end, though you might decide that looks too busy for you. In that case, a standard bind off or even a tubular bind off might be a better choice.
Have you used the picot bind-off on a project recently? Do you love it or hate it? Drop a note in the comments and let’s chat.
Let’s stay connected!
Join my newsletter for 30% off all new releases, regular updates with helpful tips and tricks, first crack at registration for upcoming workshops, exclusive discounts, and more.
Join the A Bee In The Bonnet Facebook Group to participate in knitalongs and other fun community events
Come hang out with me on the A Bee In The Bonnet TikTok
Follow along on the A Bee In The Bonnet Instagram
Get inspired via the A Bee In The Bonnet Pinterest

