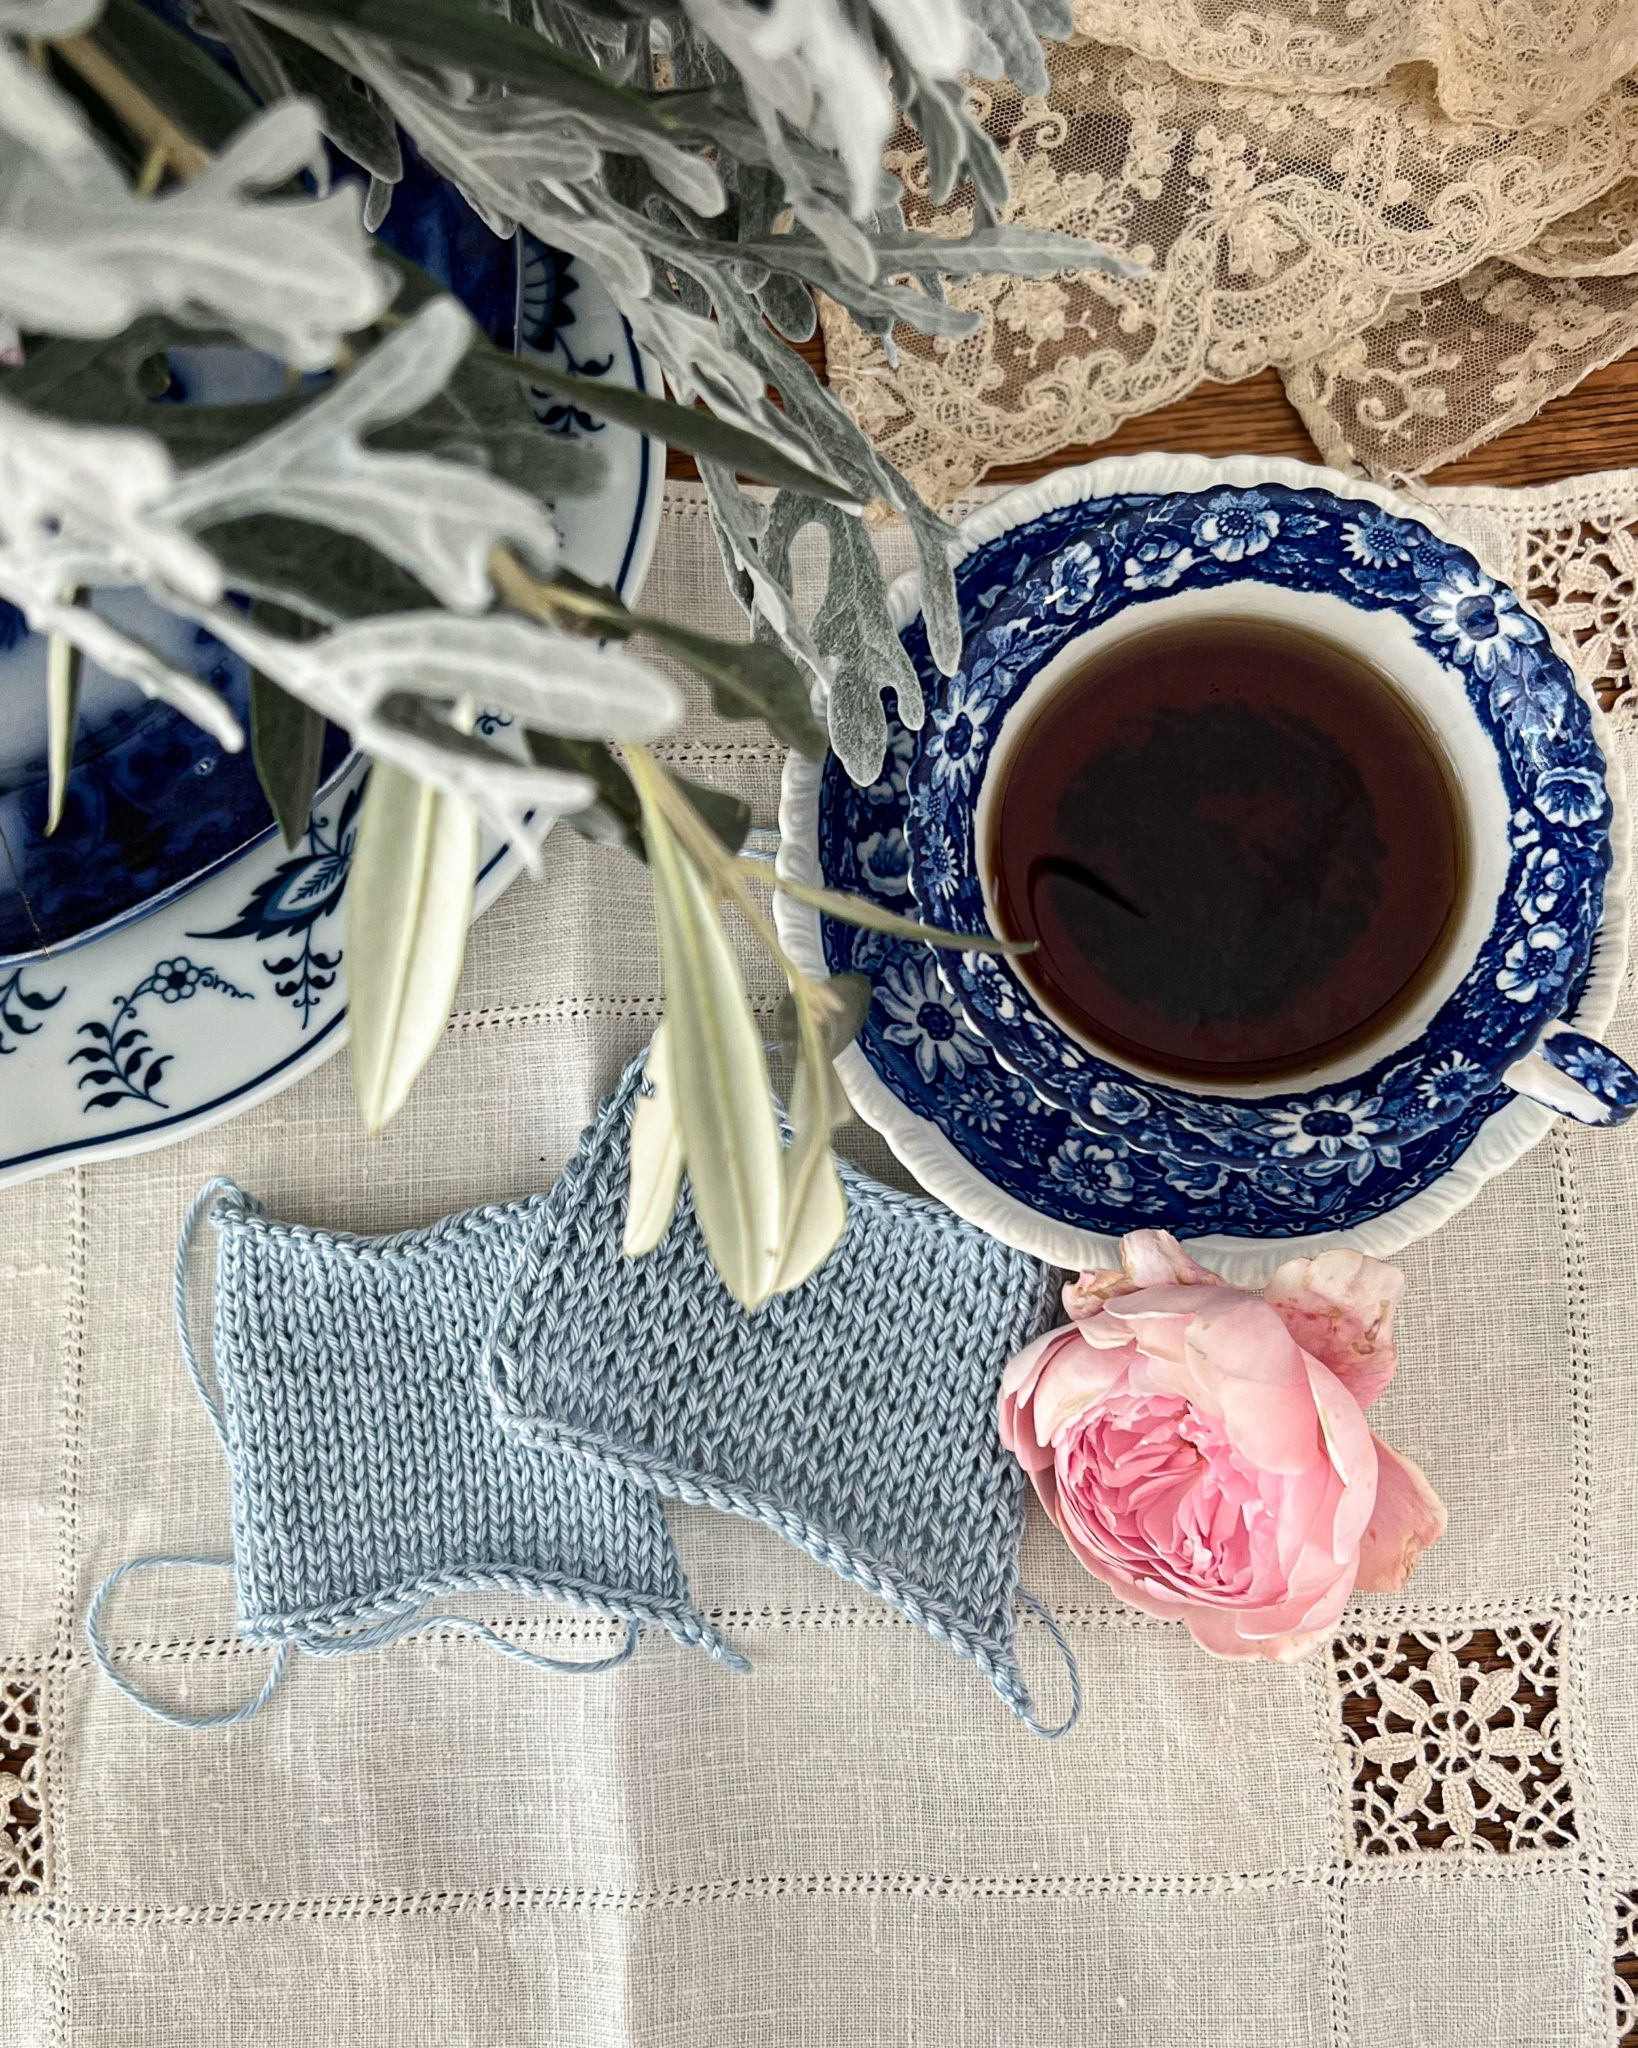
Have you ever been working along on a piece of stockinette knit flat, only to discover that your stitches look somewhat uneven and stripy? You might be struggling with rowing out.
It’s a really common issue and something that I still deal with, even after over a decade of knitting. If you’re seeing it happen in your work, too, rest assured that you’re not alone!
In this post, we’ll talk about how to diagnose rowing out, what causes it, and how to fix it.
What Is Rowing Out?
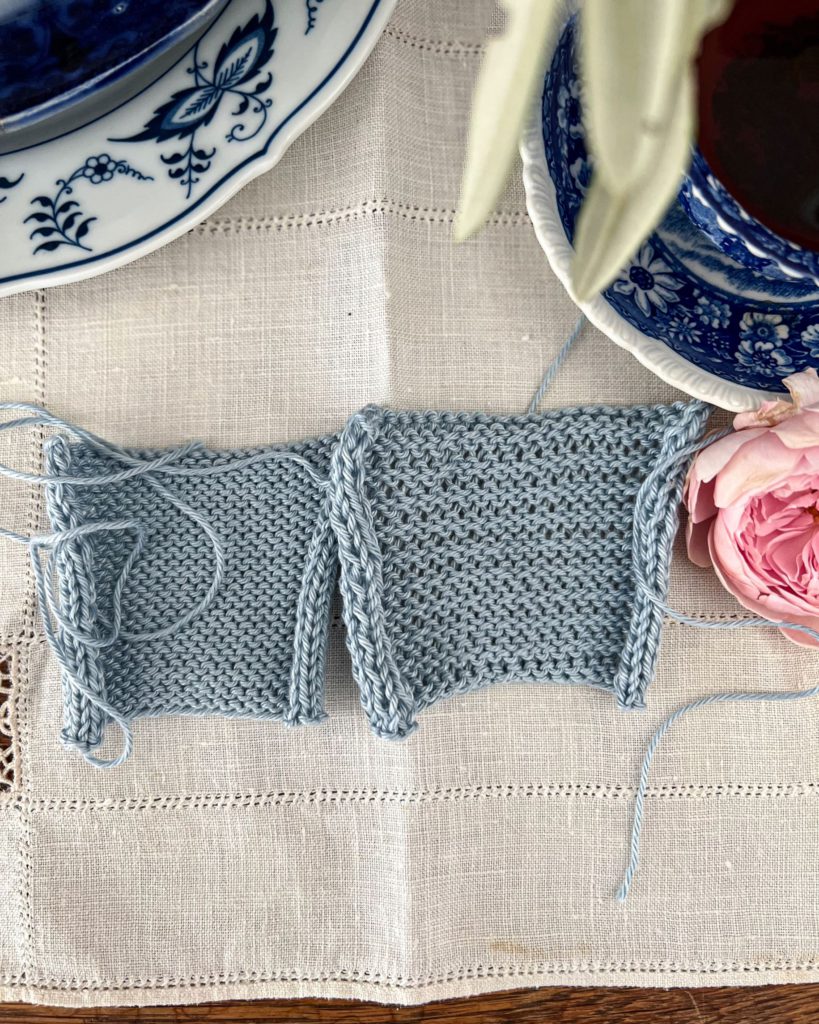
Rowing out is a stitch issue where one row of stitches will have a different tension from the other. When that happens, it’ll show up as a slightly stripy texture in your knitting when you look at the stockinette side. On the reverse side, it’ll show up as gaps between the ridges.
Rowing out generally only occurs when working patterns with a majority of knit stitches on one side and a majority of purl stitches on the other (and is most visible in stockinette stitch). It’s less visible when working in other stitch patterns. You’ll understand why when we get to the causes of rowing out.
What Causes Rowing Out?
Every knitter has their own unique tension, which is part of why patterns always tell you to check your gauge before starting work. I’m a very tight knitter, to the point that I’ve bent metal needles before (I promise, I’m working on this!). I have other friends who are such loose knitters that their needles often fall out of their work.
You have your own tension, too, and your tension might vary depending on the kind of stitch you’re working. If you’re experiencing rowing out, it’s because your knit stitches and purl stitches have different tension. That means your knit stitches will be larger or smaller than your purl stitches, depending on which has the looser tension.
For me, my purl stitches are looser than my knit stitches. That means my knit rows tend to be tighter and smaller than my purl rows.
So if you’re dealing with rowing out, how do you fix the uneven tension that causes it? Well, there are several possible solutions. Read on for more.
How To Fix Rowing Out
I’ve done quite a bit of research on this problem, and it turns out there are a lot of possible solutions for rowing out! I’ve written an overview of the six most common strategies I found out there.
The Ineffective Solution to Rowing Out: Avoiding Things that are Knit Flat
If you’re knitting in the round, you don’t have to worry about purl rows, right? Well, yes, that’s true, but you also miss out on a lot of great knits out there. Shawls and blankets are basically out of the question. Cardigans are a no-go unless you’re willing to steek (eek!). It’ll work for socks and hats, of course, but what about that scarf you want to make?
Knitting everything in the round is great when it makes sense, but you don’t want to cut yourself off from a world of other cool designs. Let’s check out some other, more practical solutions.
An Easy Solution: Change Your Purl Style
This might be surprising information, but it turns out there are lots of different ways to make a purl stitch, and some of them naturally create tighter tension than others do. If you find that your current purling style is too loose for your needs, you might be better served by trying a different purl technique. This is a great way to fix uneven tension.
Here’s a great YouTube tutorial showing a technique that is common among some knitters. It wraps the yarn differently, resulting in a tighter purl stitch, but the stitch also twists, so you’ll need to straighten it out on the reverse side. This technique is known as combination knitting.
If you try this style of knitting, knitting through the back loop on the right side of your work will help fix the twisted stitches from your purl technique.
A Slightly Trickier Solution: Go Down a Needle Size to Avoid Rowing Out
If you’re having trouble controlling your knitting tension using your hands, another option is to change your tools. This can be a tricky solution, depending on the severity of the difference in your tension between your knits and your purls, but it can also be a really simple solution.
If you find that your tension on your purl stitches is just a little bit looser, try going down one needle size on your purl rows. That will have the effect of tightening up your stitches just a little bit, without affecting your horizontal, or stitch, gauge too much. If the difference between your purls and knits is minor, this can be a good way to fix uneven tension in your knitting.
The challenge in using this method is that using a smaller needle will affect both the height and the width of your stitches, and it won’t affect them equally in both directions most of the time. That means you may need to do a little experimenting.
Depending on what your natural gauge is like, you may find that going down a needle size tightens up your stitches in just the right ways. You might also find that while it fixes your row gauge, which is based on the height of your stitches, it might shrink your stitch gauge, based on the width of your stitches, by too much.
This is a method that requires a bit of experimentation and willingness to rip back if it doesn’t work.
Another Solution: Retrain Your Muscle Memory
Something I’ve worked on over the last several years is just retraining my muscle memory. I have taught my hands to pull tighter on purl stitches and loosen up a bit on knit stitches.
This has been a challenge, because I am naturally a rather tight knitter, and there’s just no way to get my purl stitches as tight as my knit stitches are. Still, with some experimentation and a little bit of awareness, I find that I have managed to even up the gauge enough that a little blocking helps fix any minor rowing out I still experience.
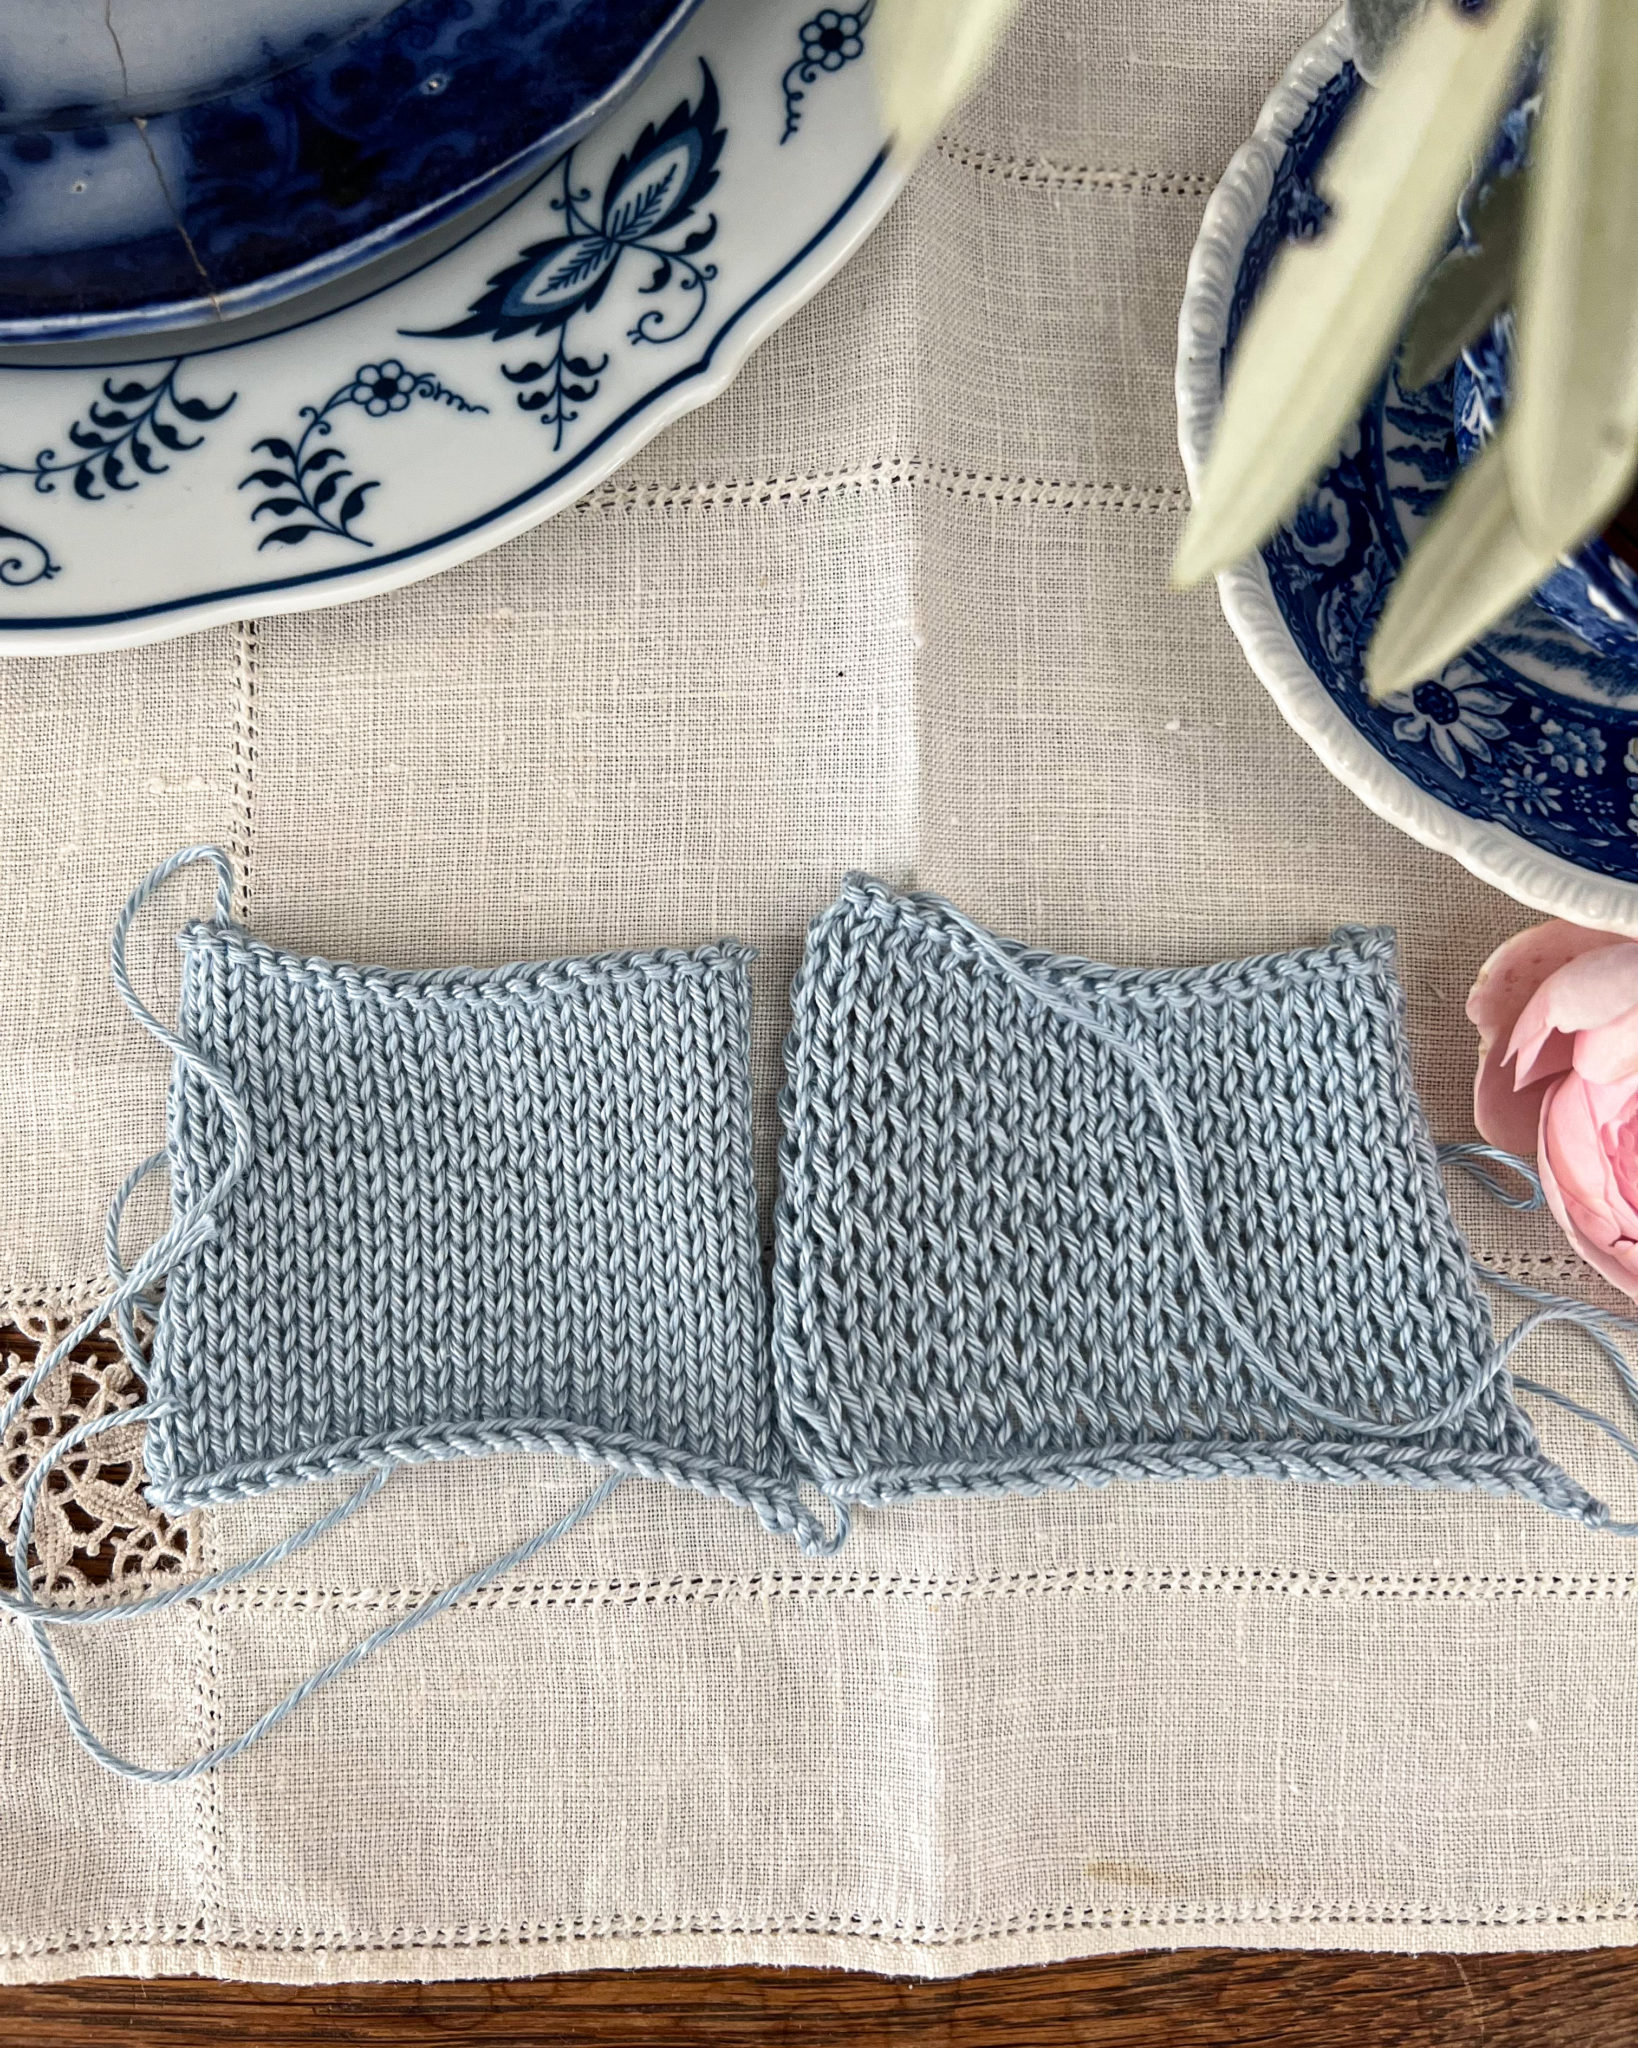
In fact, that’s exactly how I knit the two swatches in the photos for this blog post: by intentionally varying my stitch tension using my hands.
A Mirrored Solution: Try Knitting Backward
This isn’t a solution I’ve tried myself, but I’ve seen other knitters swear by it in Facebook groups and Ravelry forums. If none of these options are working for you, you might be able to fix the problem by learning to knit backward.
This technique means you don’t have to turn your work and will always be working knit stitches without working purl stitches when you are doing stockinette.
There are lots of tutorials online. Here’s a great one from Very Pink Knits that I found really helpful:
Bonus Tip: Be Sure to Block Your Work to Hide Rowing Out
If you’re working with a yarn that is mostly made of natural fibers (that is, where the majority is not acrylic or nylon), blocking your project can help settle any minor rowing out issues. While it can’t fix uneven tension that is really significant, blocking is a great tool for fixing less significant issues.
Blocking has a bad reputation among some knitters who think you need all sorts of special tools and gadgets to do it. You don’t need pins, mats, wires, or forms to block your knits, though. You just need a bowl or sink of lukewarm water.
When you get your knits wet and let them soak, the water helps relax the fibers. That, in turn, helps the stitches settle into place a little more evenly. If you have a mild rowing-out issue, blocking can help smooth those uneven stitches and help make them less visible.
A Note About My Swatches In These Photos
I’ve used a couple of my own swatches to illustrate this blog post, but you should know a couple important things.
First, I have intentionally exaggerated gauge issues on the rowed out swatch so you can more easily see what’s happening. For many knitters, their rowing out won’t be quite so obvious. For other knitters, it might be even more visible.
I’ve also knit these swatches using a very smooth cotton yarn. It makes rowing out more visible than if I had used a fuzzy wool or held it double with some mohair. Rowing out will always be more visible when you use smooth yarns than when you use fuzzy yarns.
Finally, for effect, neither of these swatches is blocked. If you look closely at my smoother swatch, you can still spot the occasional tension issue. That’s normal! And it’s why I’m such a fan of blocking, which will easily fix those small trouble spots.
Remember, no matter which solution you choose, you’ll probably have to experiment a little bit until you find the right combination of tools and tension that will work for you. Every knitter is slightly different, and there’s no right or wrong way to solve this problem.
If you’ve got other solutions that have helped you solve your rowing out, I’d love to hear about them! Please drop a comment down below.
Let’s stay connected!
Join my newsletter for 30% off all new releases, regular updates with helpful tips and tricks, first crack at registration for upcoming workshops, exclusive discounts, and more.
Join the A Bee In The Bonnet Facebook Group to participate in knitalongs and other fun community events
Come hang out with me on the A Bee In The Bonnet TikTok
Follow along on the A Bee In The Bonnet Instagram
Get inspired via the A Bee In The Bonnet Pinterest

Lauren, this post is so helpful! I will redirect here every single person who asks me about purl tension!
I’m so glad you’ve found it helpful! It was a lot of fun to work on it.
Tech knitting tells youto see whether your knit or purl is the problem. Mine is knitting. How to solve?
For me, rowing out is an issue when I knit Continental/pick, but not when I knit English/throw. So, what works for me is to throw on the purl side.
I learned to knit as a child, was taught throwing, knit that way for years and never had an issue with rowing out (even with cotton and other non-stretchy fibers). Around 10-15 years ago, I learned Continental style/picking. I like it and use it almost exclusively now. But … I noticed that I had rowing out and tension issue with flat knitting. I tried picking on the knit side and throwing on the purl side and voilà, problem solved.
That’s a really interesting solution! And now I’m curious about whether rowing out is more common in some knitting styles than in others, because I’m exclusively a Continental knitter and it’s something I still struggle with if I don’t pay attention to my tension.
Yes! I’ve wondered the same about whether or not knitting style makes a difference. Or if it’s just me. 🙂
What originally got me thinking to try English on the purl side was an online class where the instructor did her gauge swatch flat even through the project was knit in the round. She said it was because her gauge doesn’t change – round vs. flat. I noticed that she was an English knitter and that’s what led me to try switching to English on the purl side when I’m flat knitting stockinette stitch.