In case you missed it, I’ve been learning to crochet again after decades of doing things not quite right. I’m chronicling my journey here on the blog because I think it’s fun to experience the process of being new at something again. I also think it’s important to put myself in the position of somebody learning something new. That helps me remember what it’s like for new knitters trying out my patterns.
Part One: A Completed Project!
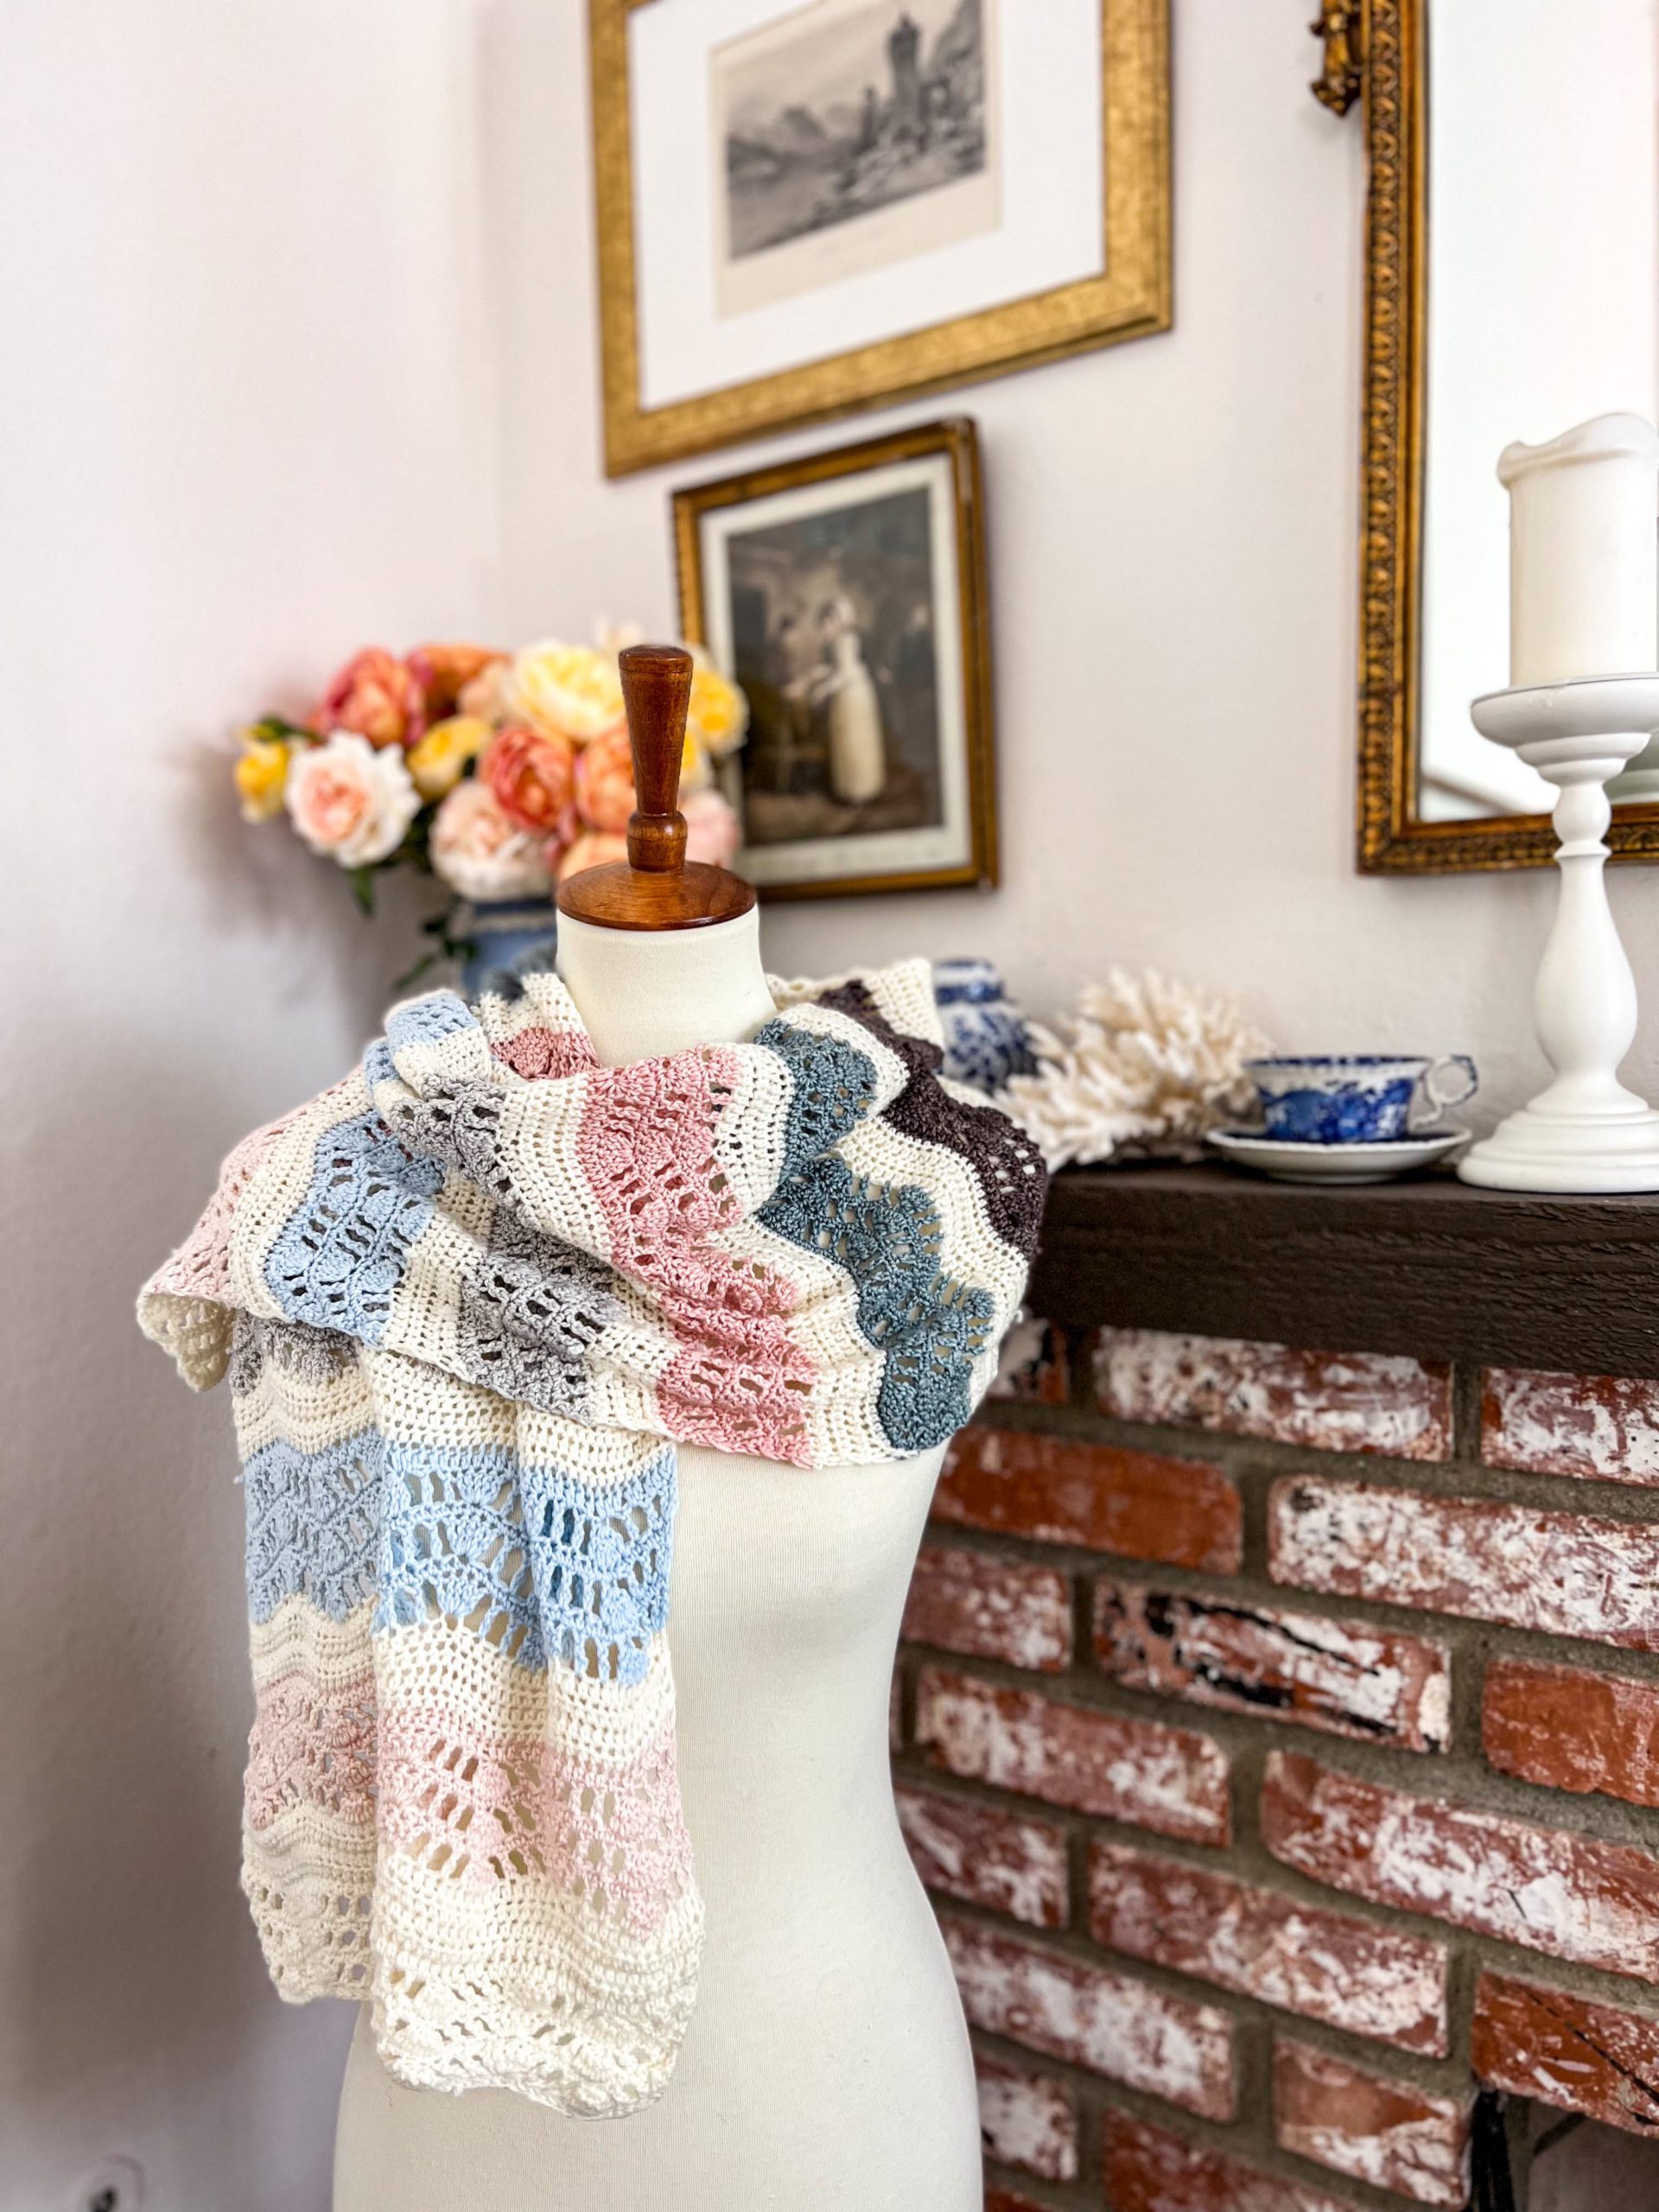
In the first installment of this blog series, I talked about re-learning how to form my stitches and tackling my first crochet project in a few years. The Intentions Wrap, pictured above and below, went very quickly, and I’m pleased to share the finished project with you now! Here is some information for you.
All the Yarns I Used
This section contains affiliate links, which means if you choose to buy something through those links, I’ll receive a small commission at no extra cost to you. I will always identify affiliate links for you by putting “(affiliate link)” next to them. Thanks for supporting my work!
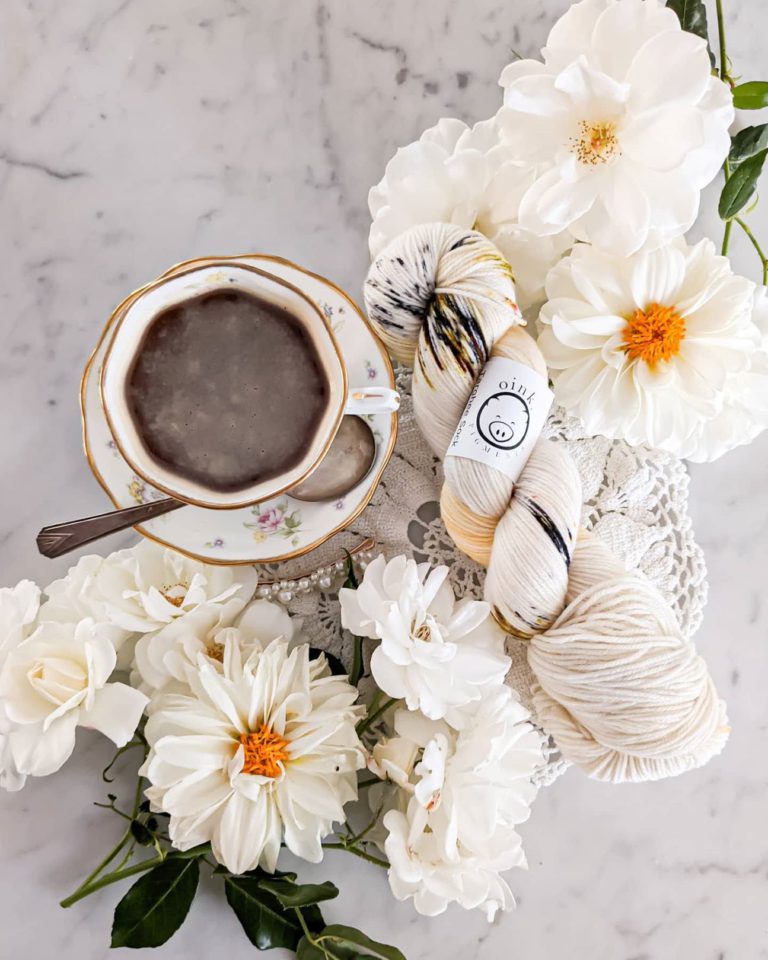
I used one skein of Knit Picks Bare Capretta (affiliate link) for the main color. Capretta is a nice budget yarn option if you want something that feels a little fancy but can’t or don’t want to splurge on a really high-end yarn. The plies are a little loose for my preference, with the result that I often wound up splitting the yarn with my hook, but it’s wonderfully soft, has a beautiful drape, and blocks out really nicely.
For the colorful parts of the wrap, I used leftovers from other projects. The pale pink is a wool cashmere blend from Blu Fiber Company. The dark blue and dark brown are both Magpie Fibers Swanky Sock. The darker pink is a Sugarplum Circus yarn that I also used in an upcoming pair of socks. The light blue yarn is Knitpicks Stroll (affiliate link), and the gray yarn is Madelinetosh Tosh Sock (affiliate link).
Blocking My Intentions Wrap
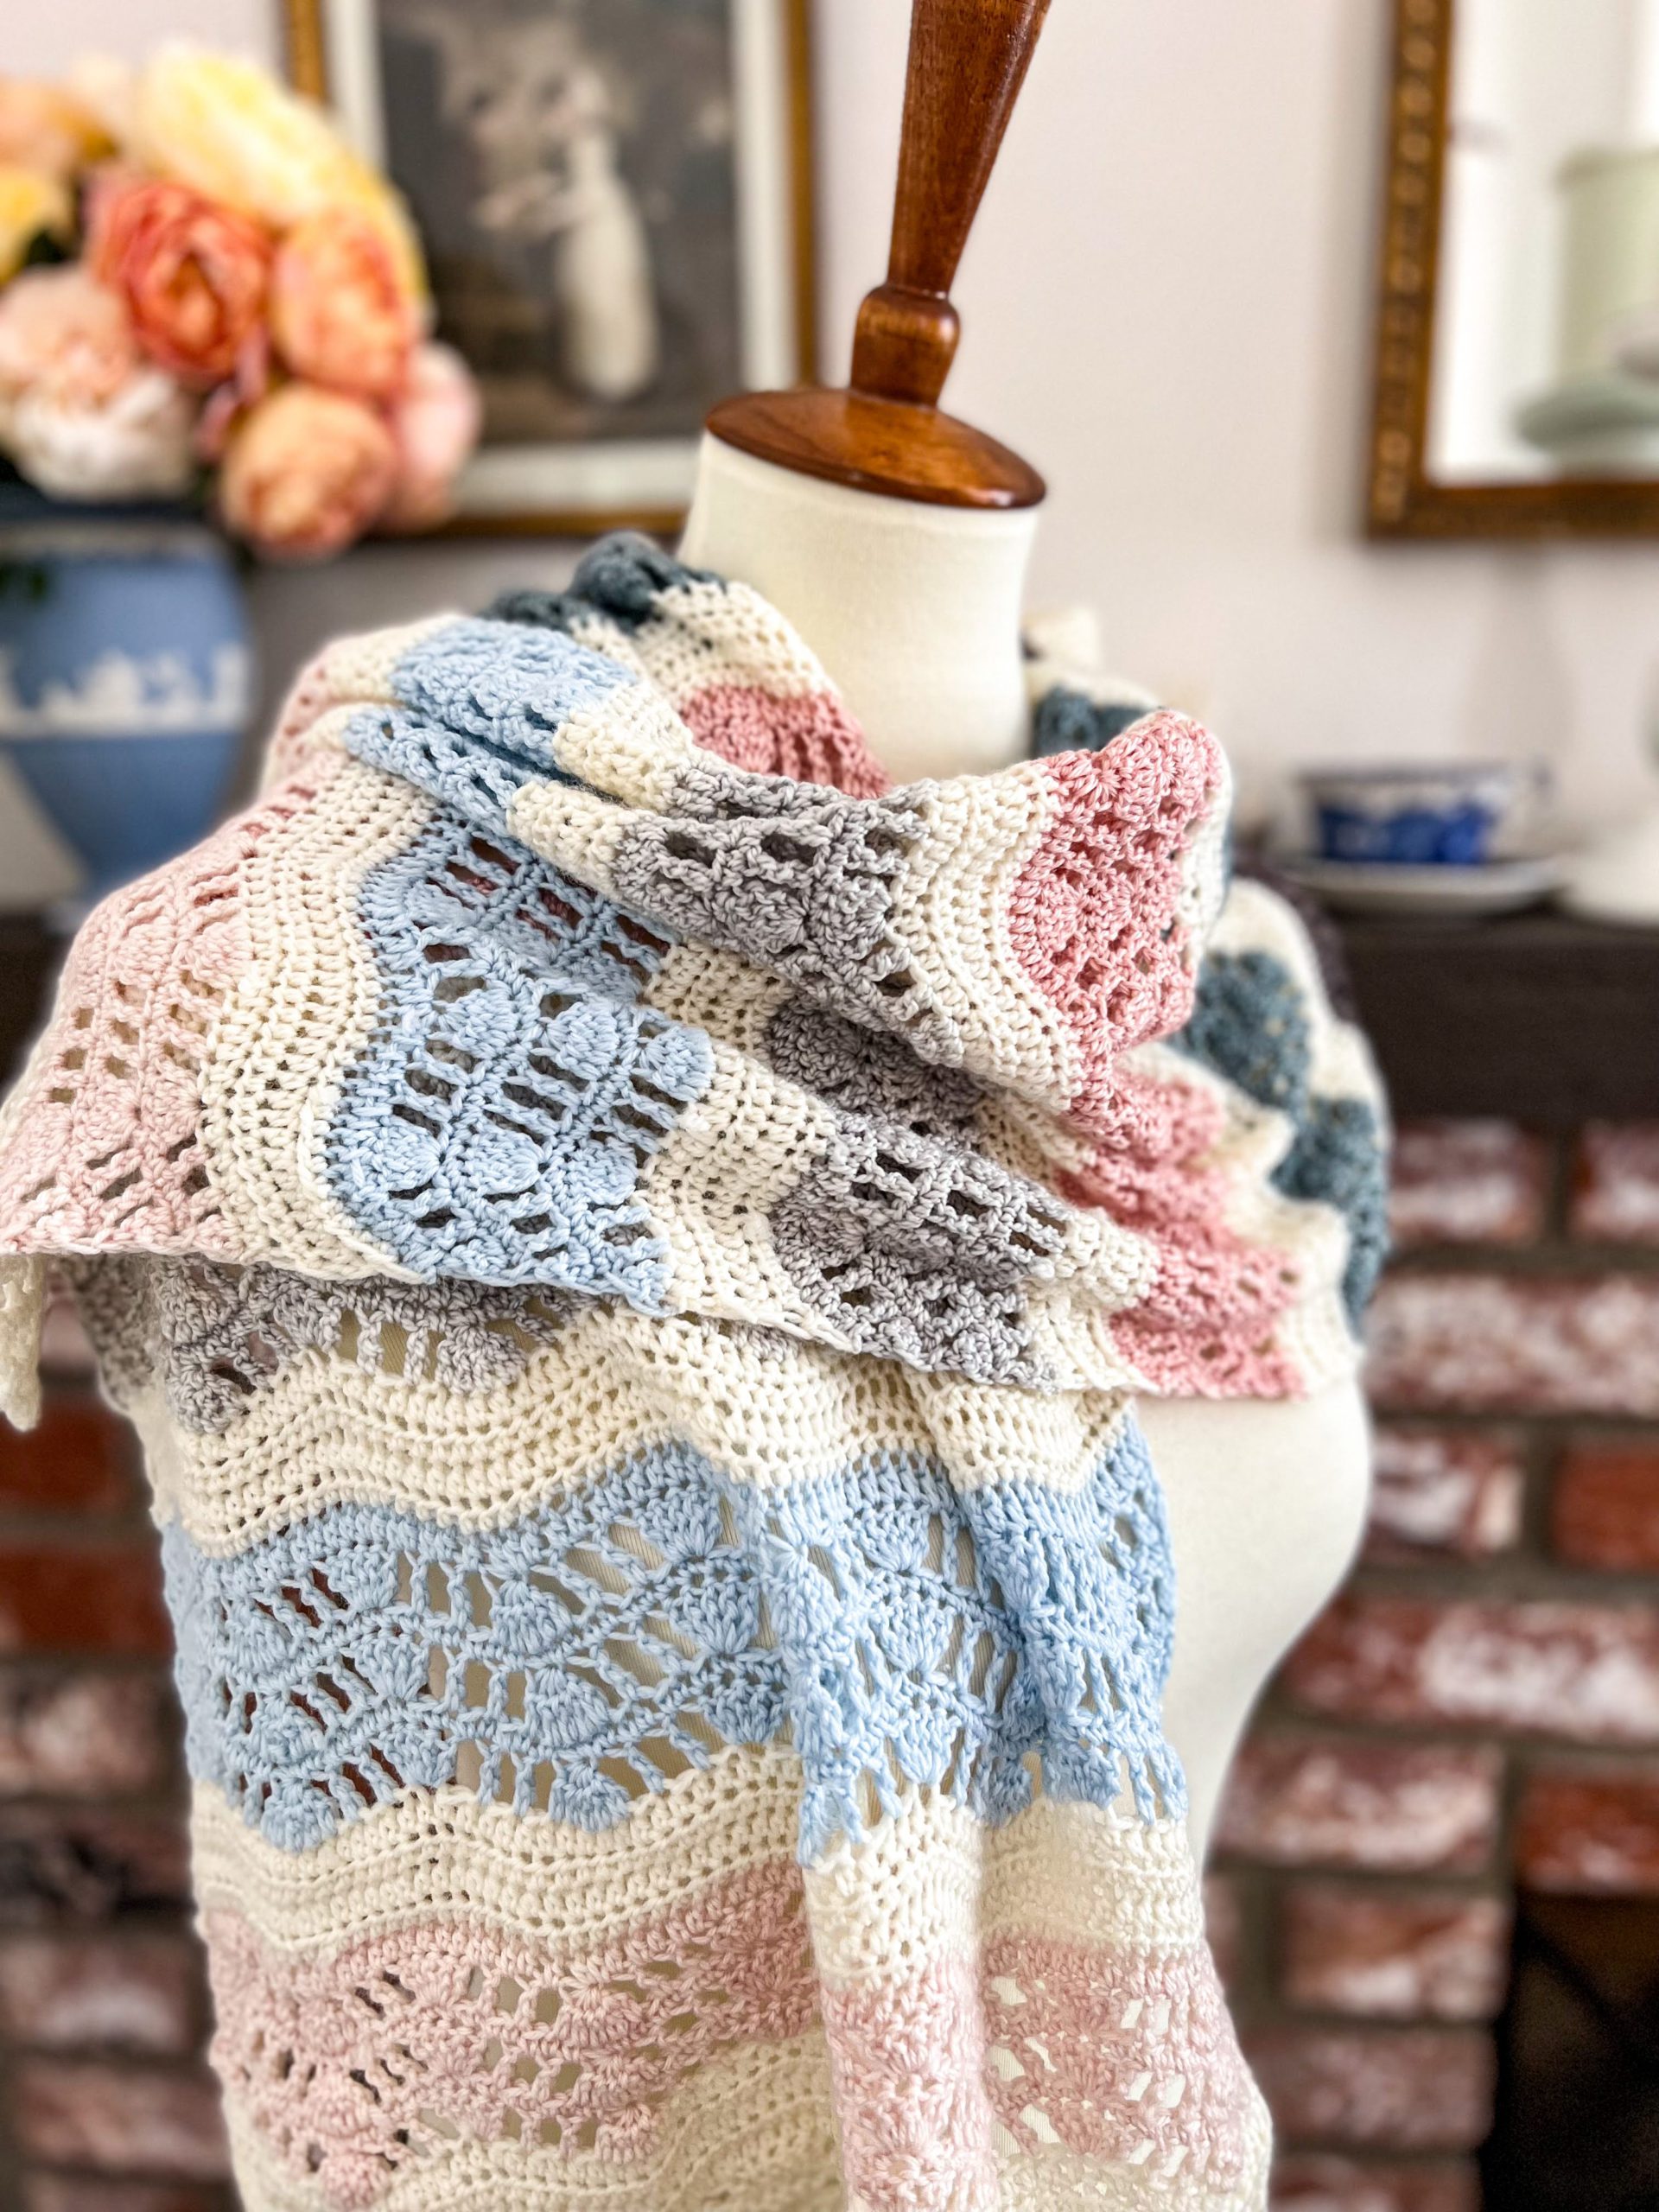
This wrap is a great example of why it is so important to block your projects. I wish I had gotten a picture of it before I popped it in the sink to soak. Truthfully, though, I was too excited to get it stretched out and see the finished dimensions.
This is at least double the size it was before I gave it a gentle soak in the sink. Before, it looked like a badly wrinkled ascot draped around my neck. Now, it’s a proper wrap.
And it didn’t take a ton of wires and pins and mats to do this. All I did was soak it in the sink, squeeze out the excess water in a towel, and lay it out flat on a bed to dry.
Part Two: Learning to Crochet and Making Mistakes with an Antique Pattern
After I finished my Intentions Wrap, I decided I would tackle something a little harder. Being the hardheaded, stubborn creature that I am, I decided to go for something a lot harder.
I decided to go for a vintage pattern from the 1920s.
I know. Sometimes, I laugh at myself, too. But listen, I’ve been wanting to make one of these pretty purses for ages, and the pattern itself promised that this would be a “very handsome work bag“. How could I resist? I always need more work bags!
Antique Patterns Present New Challenges
Of course, the challenge with working from antique patterns is that we don’t use the same names and sizes for things anymore. I had no idea what thread weight I should be using for this thing, nor what hook size I should be using.
I had some number three crochet thread in my stash, though, and the label on that said I could use a 3.5 mm crochet hook. So I figured that was a good starting point.
I took thread and my hook, opened up the pattern on my laptop, and started stitching. It became clear pretty early on that my gauge was far too loose when compared to the pattern in the picture. Even so, I decided I’d go ahead and crash along anyway, just to try it out and see how things went.
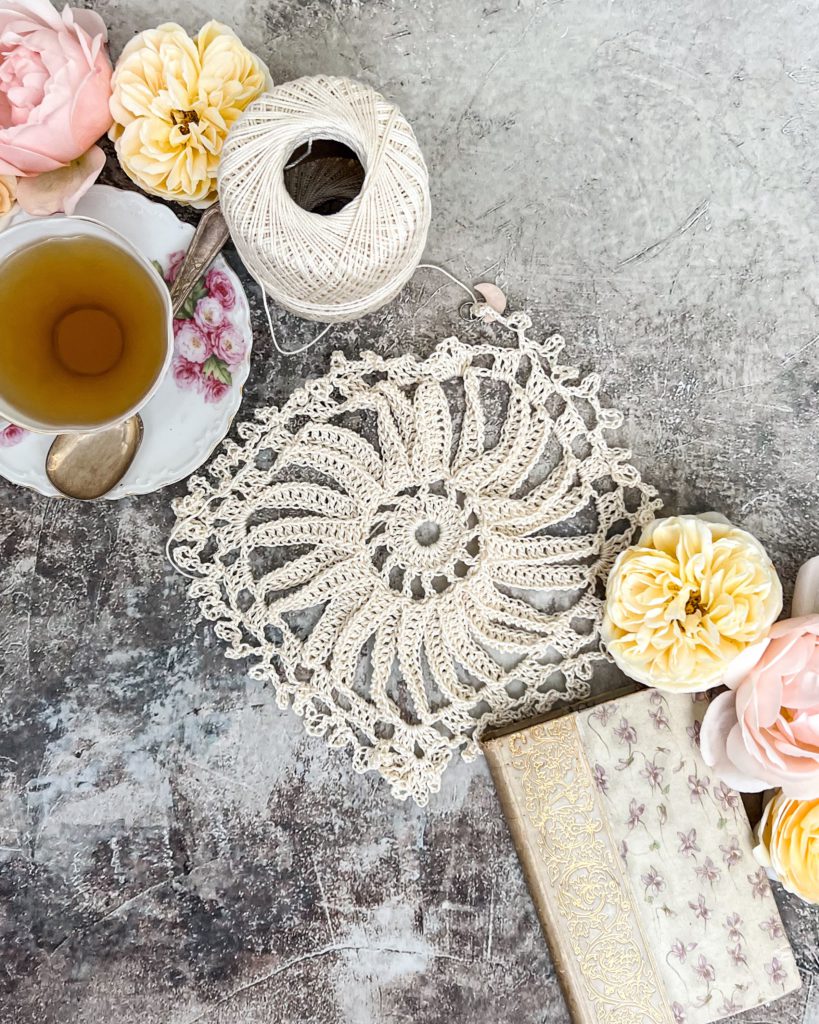
As you can see from the picture in this post, it’s not finished yet, but it is very loose. I’m going to make another version with a smaller hook for experiment’s sake.
It’s Okay to Make Mistakes
This is where I get to the real point of this blog post.
When I first started knitting, this is how I learned. I picked new projects that were outside of my comfort zone, tried things I wasn’t quite sure were going to work, held my breath, and waited to see where they led. Sometimes they worked out and sometimes they didn’t.
So long as you’re having fun with the process, this is actually a really great way to learn. You get a sense for what materials work well together and what your gauge should be like in different circumstances.
There really is no substitute for experience when it comes to a hand craft.
So now I’m doing the same thing while learning to crochet, and I’m enjoying the heck out of the process. I love making mistakes. It’s creative and expressive, and I often find that even if something didn’t turn out exactly how I expected, it’s still usable and even often pretty.
Onward and upward! I will update you once the bag is finished and I’ve started the version with a smaller hook. It’ll be fun to compare the two.
Let’s stay connected!
Join my newsletter for 30% off all new releases, regular updates with helpful tips and tricks, first crack at registration for upcoming workshops, exclusive discounts, and more.
Join the A Bee In The Bonnet Facebook Group to participate in knitalongs and other fun community events
Come hang out with me on the A Bee In The Bonnet TikTok
Follow along on the A Bee In The Bonnet Instagram
Get inspired via the A Bee In The Bonnet Pinterest

This is timely. I’m also re-learning crochet, and it’s both a mental and physical switch from knitting. I keep wanting to click two sticks together, and my tension isn’t even close to being consistent row to row (and sometimes stitch to stitch). My goal is a granny square blanket, summer hat, and a couple of garments and accessories I’ve had my eye on for too long. Onward and upward. Or over. Or under. Or…wait, how do I start the next row again? Your wrap is pretty and spring-like, and encouraging.