When I first started knitting, I learned about twisted stitches entirely by accident. Because I had learned to purl from a video online, I didn’t realize I was wrapping my yarn the wrong direction and therefore twisting my stitch. Once I noticed, I figured out an easy solution: knitting through the back loop on the next row.
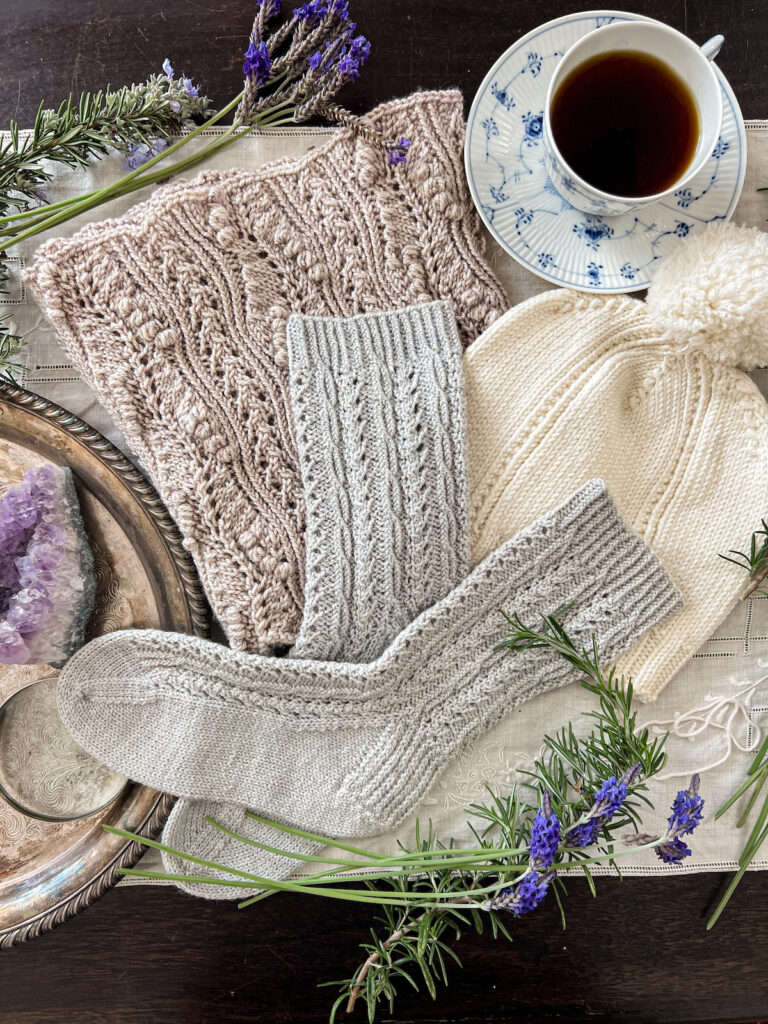
It turns out this is a common knitting technique used by many knitters. While I’ve since retaught myself to purl because it made some other techniques easier for me, I’m still a big fan of knitting through the back loop (and now purling through the back loop, too). It’s an essential skill for fixing mistakes, adding texture, and understanding how various knit stitches work together.
In today’s blog post, we’ll be exploring stitches worked through the back loop, learning more why we might be interested in doing so, and demonstrating how to work the most popular stitches through the back loop.
What does “tbl” mean in knitting?
Knitting patterns are written using a series of abbreviations that can feel somewhat like a secret code. One common instruction is “k tbl” or “ktbl.” In this case, “tbl” means “through the back loop.” This refers to a way to knit or purl a stitch that changes how it sits on the needles and therefore changes the appearance of the stitch.
Ordinarily, in Western-style knitting, a stitch will sit on the non-working needle (usually the left needle) with its right leg forward and its left leg to the back. Here’s a picture demonstrating that idea.
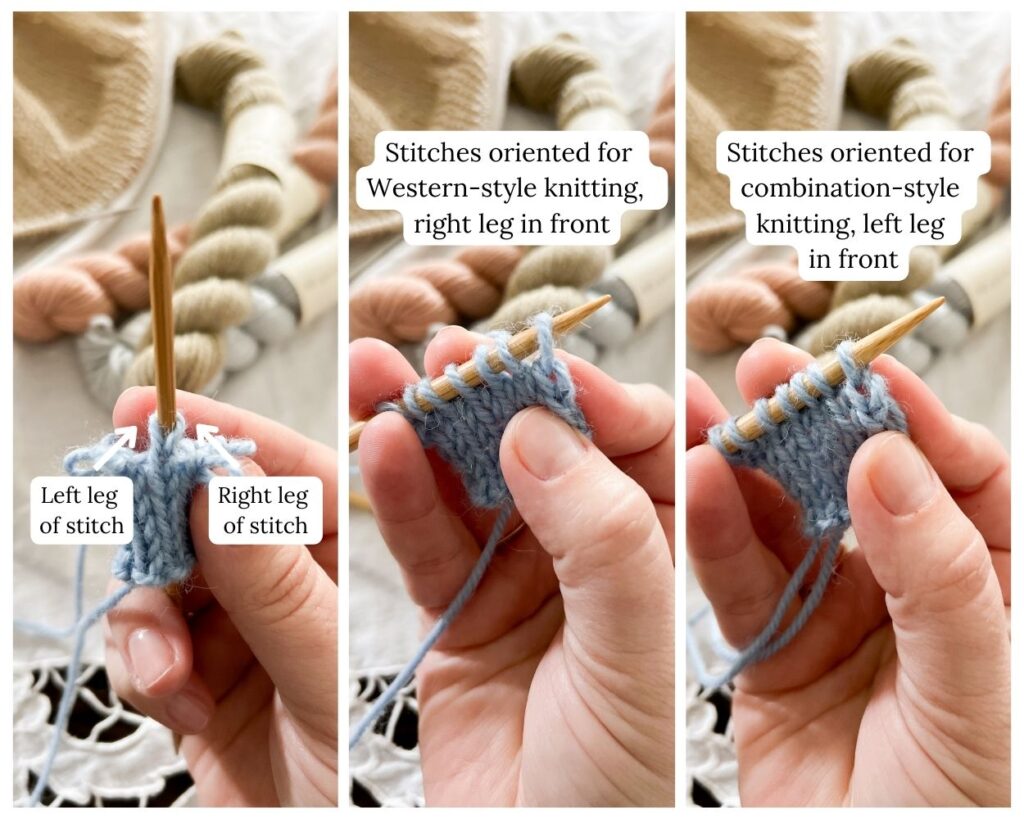
When we knit or purl a stitch, we usually work through the right leg of the stitch, which preserves its orientation on the needles as we move it from the left needle to the right needle (or from non-working needle to working needle). That right leg is the front loop in Western-style knitting.
Working a stitch through the back loop means that, instead of working in the right leg that is the front loop, you’ll work in the back of the stitch. That means you’ll be knitting through the left leg (aka the back leg). This creates a twisted stitch (or, sometimes, prevents one—more on that in a moment).
Why work a stitch through the back loop?
There are a few reasons you may need to work a stitch through the back loop. Sometimes you need to do it as part of an intentional knitting technique. At other times, you may need to do it to correct a mistake. Finally, you might choose to do it as a decorative element.
Combination-style knitting
There is one style of knitting where a knitter mixes Eastern-style and Western-style techniques. In combination-style knitting, you wrap your yarn in a different direction when purling compared to purling in a Western style. The advantage of this technique is that the purl stitch is a tighter stitch than it is in many other methods, so it’s a great technique if you struggle with rowing out.
If you’re knitting stockinette stitch flat, though, this can result in twisted stitches. That means you need to make adjustments on your knit row.
To keep from twisting your stitches when you’re working, you may need to knit through the back loop on the right side of the work after a row of purl stitches. That will create the same visual effect as a regular knit stitch paired with a more typical Western-style purl stitch. If you don’t knit through the back loop, you can end up with a twisted knit stitch.
Correcting mistakes
Sometimes, when you have to drop down to fix a mistake or need to frog your work and put it back on your needles, the stitches can end up in a non-standard orientation. The left leg might be the front leg or the stitch could be twisted completely around.
When that happens, working a stitch through the back loop is a quick and easy fix. Instead of having to take the stitch off the needle and reposition it, you can just change how you insert your working needle tip and adjust accordingly.
Decorative elements
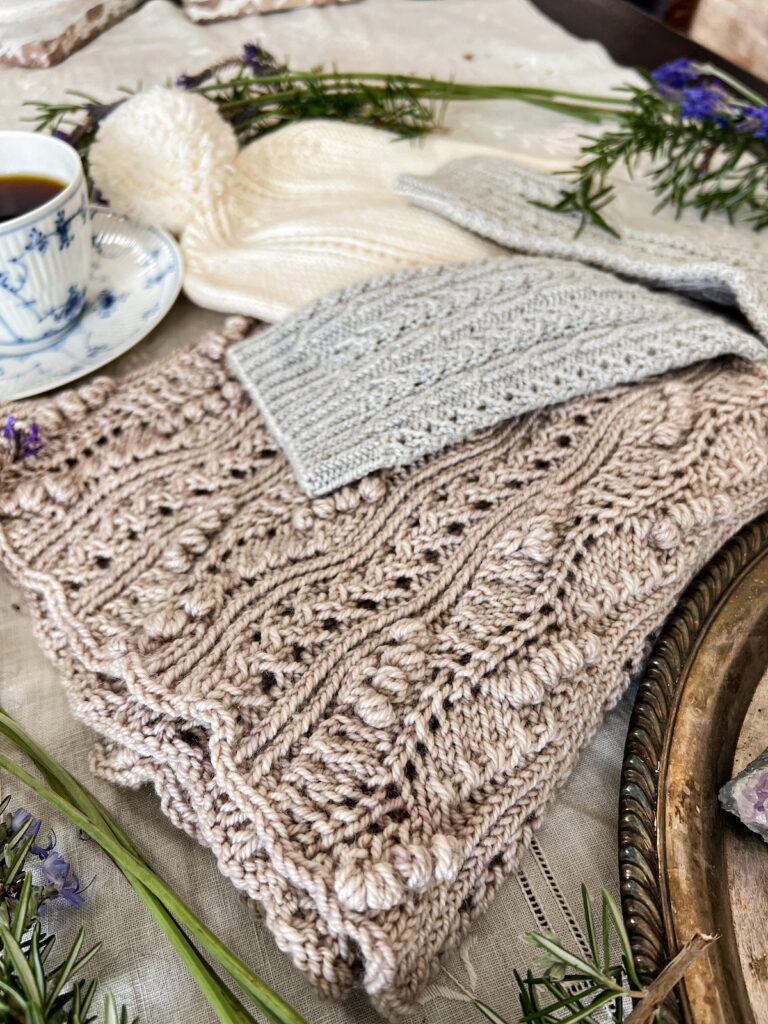
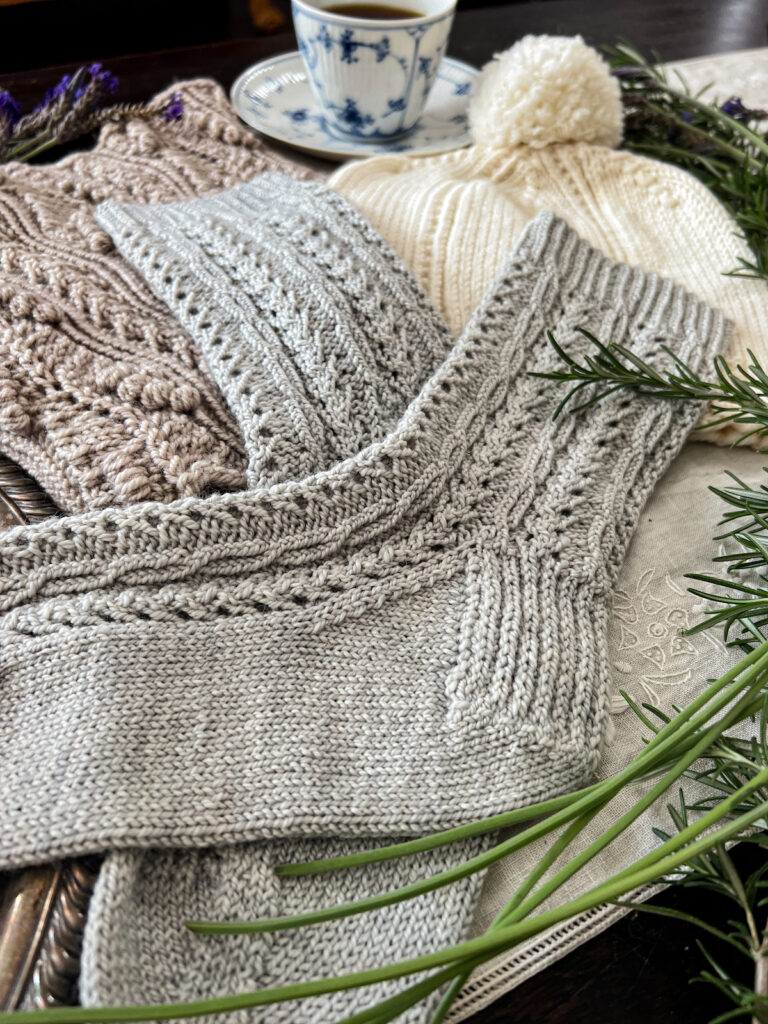
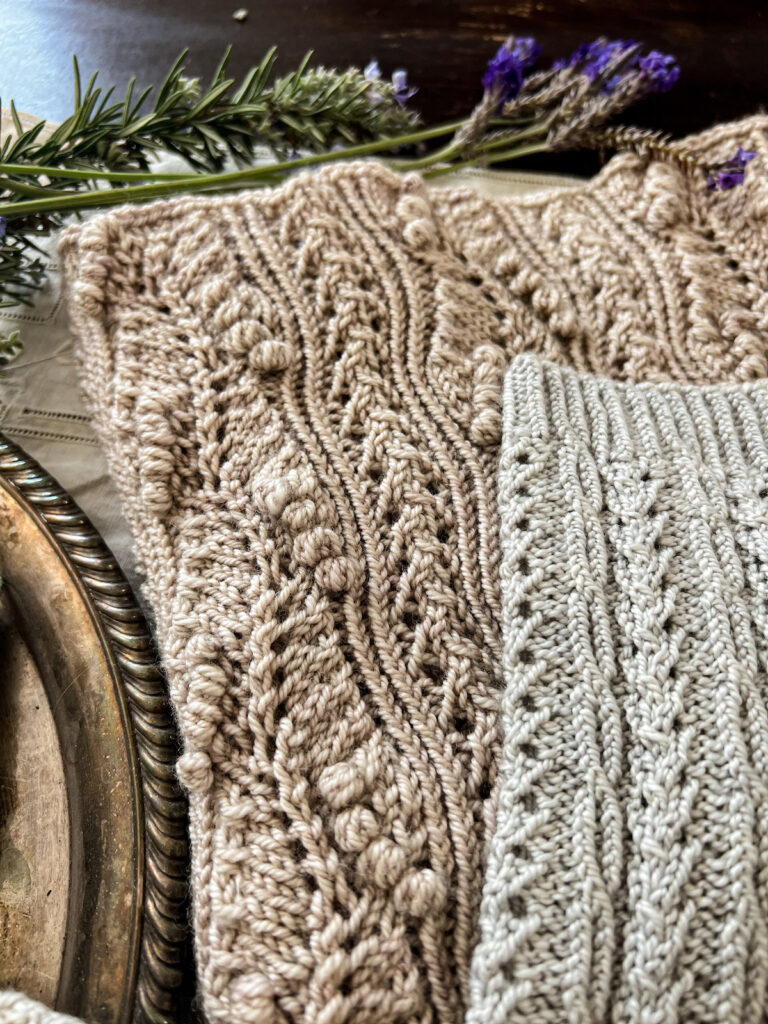
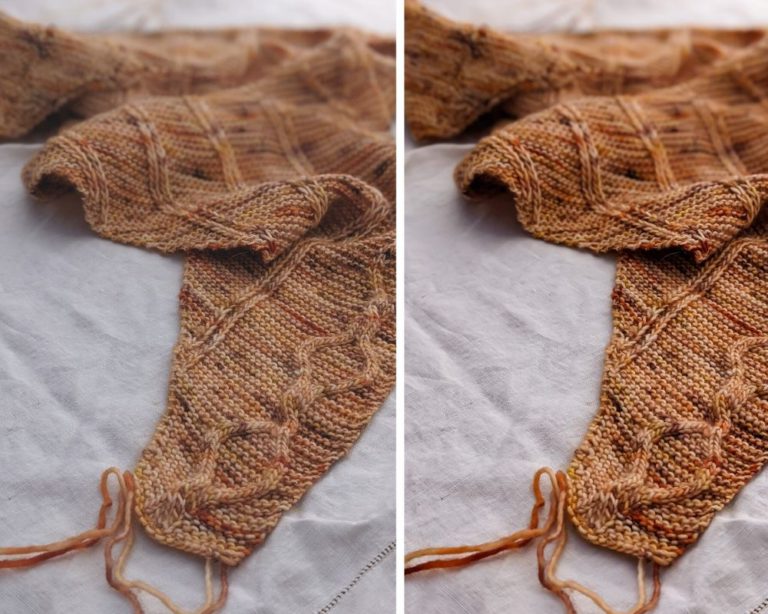
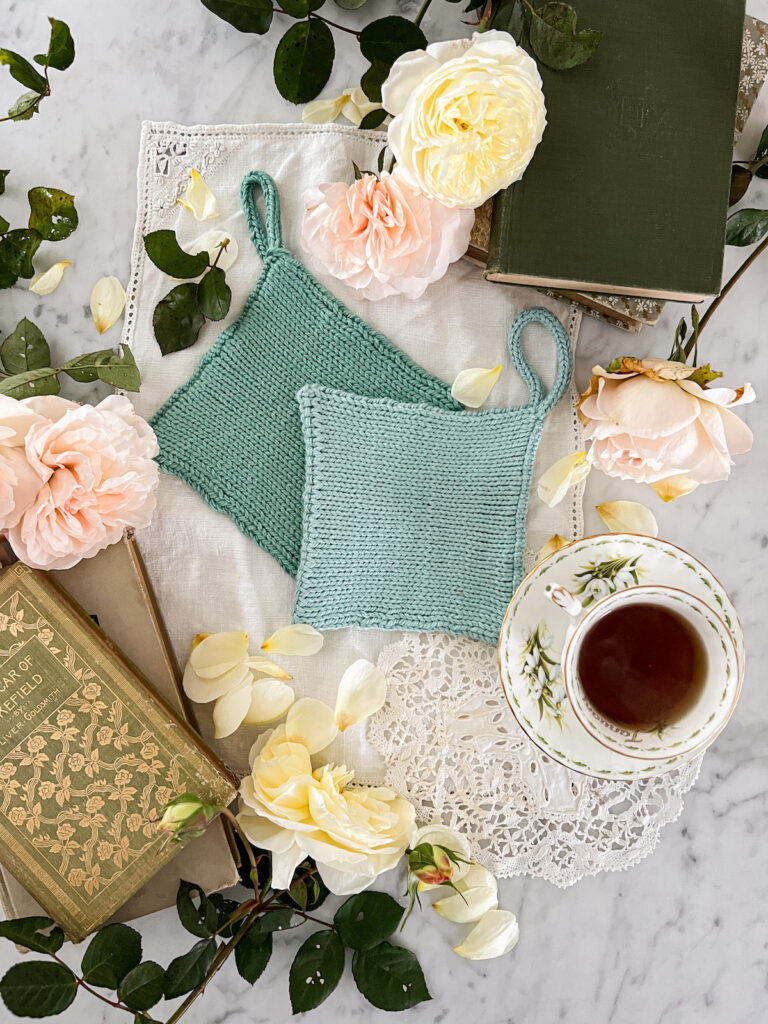
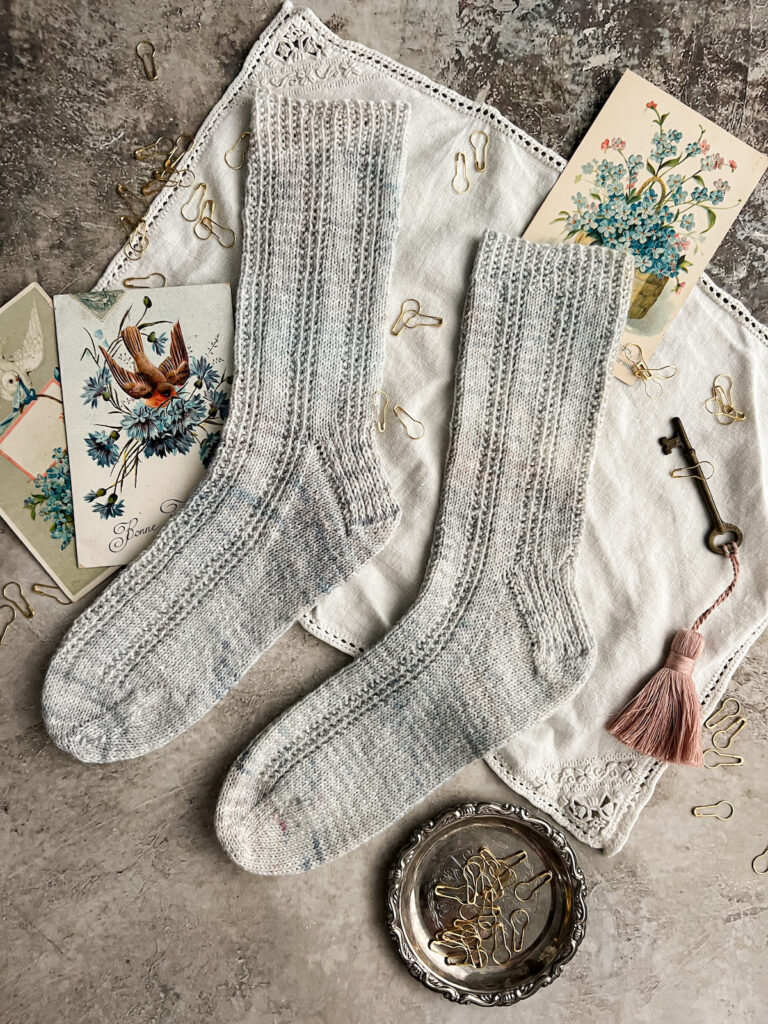
I love using twisted stitches as a decorative element in my designs. In fact, the photos that accompany this blog post show some of my favorite designs using stitches worked through the back loop. When you knit or purl a stitch through the back of a stitch, it twists the stitch and makes it stand out from surrounding stitches.
This can be especially dramatic in tiny cables or when offset by purl stitches on either side. It’s also a popular design element for lace knitting stitch patterns. The end result is a stitch pattern with intensified texture and visual crispness.
Knitting designers particularly love twisted stitches where a pattern needs to have very clear definition or structure. That’s why I often use a 1×1 twisted rib cuff on my sock patterns. You’ll also see twisted cables in several of my sock designs.
How to knit through the back loop
To knit through the back loop of your stitch, insert the tip of your working needle (for most of us, the right-hand needle) through the left leg of the stitch you wish to knit. Then, wrap your yarn as you would for an ordinary knit stitch, use your needle tip to draw it through, and slide the old stitch off the needles.
This feels almost exactly like knitting a stitch the way you normally would. The only thing that has changed is where you insert your needle tip, which then creates a different stitch when you’ve finished.
How to purl through the back loop
Purling through the back loop operates similarly to knitting through the back loop, but the positioning of the working needle is a little more fiddly.
Remember, a regular purl stitch requires you to insert your working needle tip from back to front through the right leg of the stitch. To purl a stitch through the back loop, you insert your needle tip from front to back (left to right) through the back leg of the stitch.
Then you’ll proceed to purl as if it were a regular purl stitch.
Combination knitting
The instructions above are intended for non-combination knitters. If you’re a combination knitter, be sure to read this section.
In combination knitting, when you knit through the back loop, you’re knitting through the right leg of the stitch (because that is the leg sitting at the back of the non-working needle). Instead of twisting the stitch, which is what happens in non-combination knitting, knitting through the back loop will prevent your stitch from twisting.
If you want to twist your stitch, you’ll knit through the front loop—which in your case will be the left leg of the knit stitch.
Pattern recommendations
If you’ve enjoyed learning about twisted stitches and would like to practice them more, here are a few of my pattern that feature twisted stitches and will give you lots of practice!
Let’s stay connected!
Join my newsletter for 30% off all new releases, regular updates with helpful tips and tricks, first crack at registration for upcoming workshops, exclusive discounts, and more.
Join the A Bee In The Bonnet Facebook Group to participate in knitalongs and other fun community events
Come hang out with me on the A Bee In The Bonnet TikTok
Follow along on the A Bee In The Bonnet Instagram
Get inspired via the A Bee In The Bonnet Pinterest

I also learned a good use for tbl, when knitting the gusset of the heel flap on a sock following the ssk decrease round. It tightens up that corner nicely!
Oh yes, I do this, too! I can’t believe I forgot to include it in this post! I’ll have to edit and add a section on this trick.
Quite fabulous