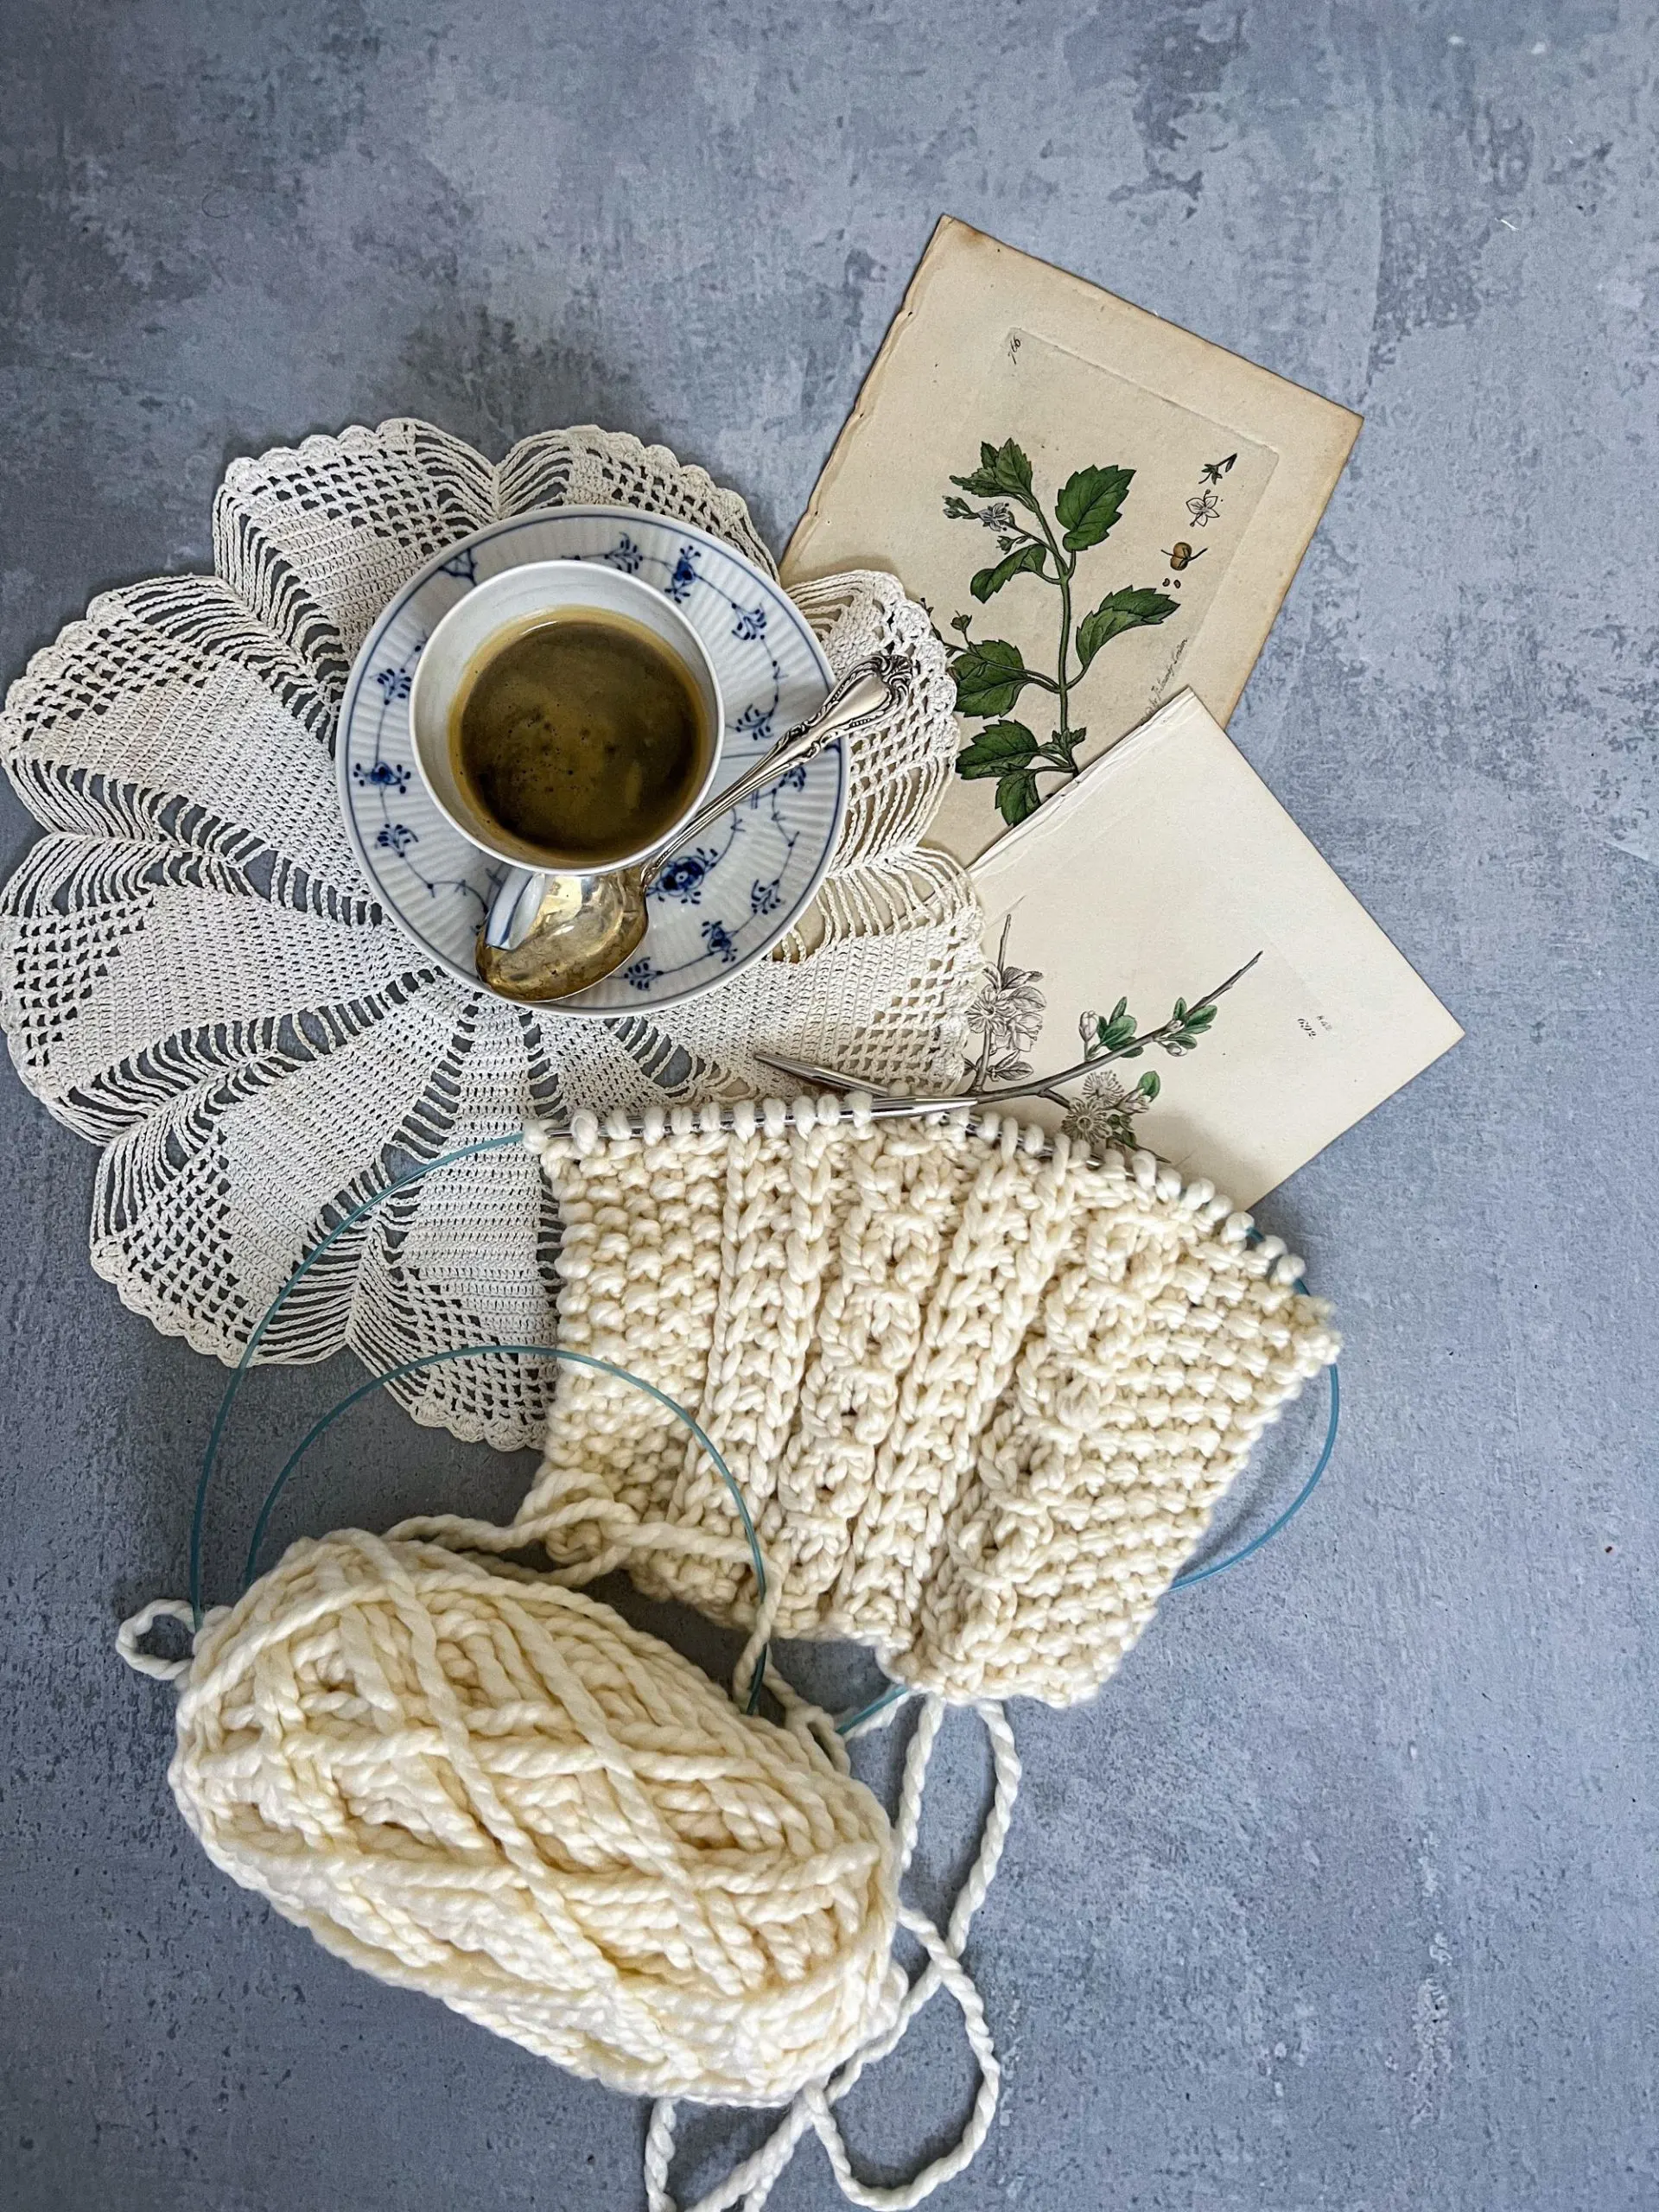
I’m a big fan of fingerless mitts because they keep my hands warm while still allowing me to use my fingertips. I also live where the weather gets crisp in winter but rarely drops below freezing, which mean that while my hands get cold, I don’t really need a full pair of mittens. Simple fingerless gloves can fill a real gap in many of our wardrobes.

And as it happens, I have a free knitting pattern for a pair of fingerless gloves that I think will be helpful if you’ve wanted to knit a pair but found the construction daunting. These mitts are knit almost entirely in stockinette stitch with just a few purl stitches (to make the tiny columns of garter stitch) and some ribbing. That makes them a great way to learn about how to knit fingerless mittens without having to focus on too many other elements at the same time.
If you have questions, skip to the end of this post for an FAQ section that should help answer many of the most common questions about knitting fingerless gloves.
SERENITY MITTS
Introduction
Ever since I started knitting, it has been a significant source of stress relief for me. A few minutes of stitching, especially on a simple pattern, can do wonders for helping me calm down and think more clearly.
That’s why I’ve named these mitts the Serenity Mitts. They’re a simple pattern meant to be relatively mindless, so you can relax into the stitches without having to think too much about them. The two columns of purls and slipped stitches running up the middle are just enough to break up the rounds without making anything feel tedious or overwhelming. This easy knitting pattern with a relatively basic design is a great learning project for a beginner knitter and for more experienced knitters looking for something to help them relax.
I try my very best to make sure that all of my patterns are error-free and easy to follow. If you have any trouble with this pattern, please let me know! You can reach me by email at abeeinthebonnet@gmail.com, on Ravelry at abeeinthebonnet, on Instagram at @abeeinthebonnet, and on Facebook at https://www.facebook.com/abeeinthebonnet.
And of course, if you share photos of your project on social media, I’d love to see them! Please tag your photos with #SerenityMitts and #ABITBKnits to share with others.
Pattern Specs
Sizes: S, M, L. Finished mitt circumference 7 (7.5, 8) inches /18 (19, 20.5) cm.
Materials: Main color: fingering weight yarn, 170 (190, 210) yds / 156 (174, 192) m.
Contrast color: fingering weight yarn, 30 (40, 50) yds / 28 (37, 46) m.
Gauge: 4” (10 cm) square = 32 stitches x 40 rows in stockinette.
Needles: One set of needles for your preferred style of small-circumference knitting in a size to match gauge listed above. Suggested needle size: US 1.5 (2.5 mm).
Tools: Three stitch markers. Two pieces of waste yarn for holding thumb stitches. Tapestry needle for weaving in ends.
Skill Level: Intermediate. Techniques: knitting in the round, increases.
Abbreviations
- k = knit
- LLI = make a new stitch by inserting your left-hand needle from back to front into the left-side leg of the previous stitch below and knitting through the back loop
- p = purl
- RLI = make a new stitch by inserting your right-hand needle from back to front into the right-side leg of the next stitch below, drawing it up onto the left-hand needle, and knitting through the front loop
- sl = slip one stitch purlwise with yarn held in back
- yo = yarn over

Pattern Instructions
Using your preferred cast-on method and your contrast color, cast on 56 (60, 64) stitches for the bottom cuff. Join for knitting in the round, being careful not to twist. Place a marker at the join to mark the end of the round.
Work 12 rounds of k2, p2 ribbing.
Change to your main color. Begin working the body of the mitts following the 2-round pattern below, or see Chart A at the end of this pattern.
This part of the pattern is the same for both the left and right mitts.
Round 1: K7 (8, 9), sl, p1, sl, k7, sl, p1, sl, knit to end of round.
Round 2: Knit to end of round.
Work rounds 1-2 a total of 20 times.
Thumb Gusset Section
Continue working the stitch pattern set forth above as you work the thumb gusset.
Left Hand Thumb Gusset
1. Work in pattern as established to 5 (6, 7) stitches before end of round, place first thumb marker, RLI, k2, LLI, place second thumb marker, knit to end of round.
2. Work one round in pattern as established.
3. Work in pattern as established to first thumb marker, slip marker, RLI, knit to second thumb marker, LLI, slip marker, knit to end of round.
4. Work one round in pattern as established.
5. Repeat steps 3 and 4 until you have 18 (22, 26) stitches between the two markers.
6. On the next round, work in pattern as established to first thumb marker. Place the 18 (22, 26) stitches onto waste yarn, removing the two thumb markers.
7. Cast on two stitches using the backward loop cast on, join for working in the round, and continue working in pattern as established to end of round. Skip down to the section labeled “Fingertips.”
Right Hand Thumb Gusset
1. Work Round 1 in pattern as established for 31 (34, 37) stitches, place first thumb marker, RLI, k2, LLI, place second thumb marker, knit to end of round.
2. Work one round in pattern as established.
3. Work in pattern as established to first thumb marker, slip marker, RLI, knit to second thumb marker, LLI, slip marker, knit to end of round.
4. Work one round in pattern as established.
5. Repeat steps 3 and 4 until you have 18 (22, 26) stitches between the two markers.
6. On the next round, work in pattern as established to first thumb marker. Place the 18 (22, 26) stitches onto waste yarn, removing the two thumb markers. Cast on two stitches using the backward loop cast on, join for working in the round, and continue working in pattern as established to end of round. Continue to the section labeled “Fingertips.”
Fingertips
Continue working your mitt in pattern until you have 40 total repeats of Rounds 1-2 (if you’re following the suggested yardage) or until the mitt is ½” (1.25 cm) shorter than your desired length, ending on Round 4 (if you have extra yarn and want to make your mitts longer).
Change to your contrast color. Work five rounds of k2, p2 ribbing and bind off using your preferred stretchy bind-off method.
Thumb
To finish your mitts, you’ll need to tidy up the thumb on each. Follow these steps:
- Move all thumb hole stitches from scrap yarn to your working needle(s).
- Using your main color, join yarn and pick up two stitches where you cast on two stitches at the inside of the thumb.
- Join for knitting in the round and work 2 (4, 6) rounds (feel free to adjust this if you like your thumb longer or shorter).
- Change to your contrast color. Work five rounds of k2, p2 ribbing and bind off using your preferred stretchy bind-off method.
Weave in all ends, block, and wear. Enjoy!
Chart A
Note: for Size M, add one knit stitch at the beginning and end of the chart. For Size L, add two knit stitches at the beginning and end of the chart. This chart only covers the first half of the stitches in each round (the top of the mitt). For the second half of the stitches in each round (the bottom or palm of the mitt), you will knit each stitch.


Frequently Asked Questions
Let’s finish this post up by answering some questions specific to this pattern and to knitting fingerless mitts in general.
Why is the thumb placement here different from in other fingerless glove patterns?
A lot of knitting patterns for fingerless mitts have the thumb sticking straight out from the side of the mitt. While that makes sense with your hand laid flat on a table, our thumbs don’t usually stick straight out from the side of our hands. I’ve moved the thumb gusset so that it sits slightly on the underside or the palm of this pair of fingerless mitts. This is a more anatomically correct placement and, therefore, a more comfortable placement.
What kind of yarn should I use?
I love fingerless mitts because they’re a great way to use up leftover sock yarn, and that’s exactly what I used for these mitts. Even the largest size won’t require a full skein of most sock yarn, so this is a great option for keeping your stash to a minimum.
I probably wouldn’t knit these in 100% acrylic yarn, because acrylic loses its shape over time and may not stay as snug on the hand as you’d like. You can adapt this pattern for use with DK yarn or worsted weight yarn, but if you do so, you’ll probably have to do a little math to figure out the correct numbers for each step.
What type of needles should I use?
This pattern is written to be needle-agnostic. You can use double-pointed needles, the Magic Loop method, or small circular needles to make these fingerless mitts. However, because this pattern is designed to be knit in the round, it won’t work for traditional straight knitting needles that only have one point per needle.
What cast-on and bind-off methods should I use?
I usually leave that up to the knitter, because many have their favorite methods that work just fine for various projects. As for me? I usually prefer the long-tail cast-on method and the elastic bind off.
For the thumb, should I use waste yarn or a stitch holder?
You’re free to use whichever method is easiest for you, but I prefer waste yarn for small things like thumb stitches. That’s because most stitch holders are pretty rigid and are also fairly heavy when compared to a knit mitt.
Can I get a printer-friendly version of this pattern?
Yes, but the printer-friendly version must be purchased. I’m able to offer these easy fingerless gloves as a free pattern on my blog because the ad revenue from my site helps compensate for my work. If you’d like a printer-friendly version of this pattern, you can find it on Ravelry and Etsy.
Let’s stay connected!
Join my newsletter for 30% off all new releases, regular updates with helpful tips and tricks, first crack at registration for upcoming workshops, exclusive discounts, and more.
Join the A Bee In The Bonnet Facebook Group to participate in knitalongs and other fun community events
Come hang out with me on the A Bee In The Bonnet TikTok
Follow along on the A Bee In The Bonnet Instagram
Get inspired via the A Bee In The Bonnet Pinterest


Thanks so much. I’m looking forward to these.
Thanks for the pattern. Excited to use it. One question.Your instructions say to repeat rows one and two for a total of 20 times. Do you mean until row 20 or until row 40?
The latter. 20 repeats of two rows = 40 rows total.