Over the years, I’ve had a few questions about how the sizing on my sock patterns work. I thought it might be a good idea to formalize those answers in a single blog post that I can link in all the helpful places.
If you are confused about how to pick the right size for the pair of socks that will fit you best, read on! I’ve got some helpful tips for you from an avid sock knitter with years of experience.
Step One: Measure Your Foot
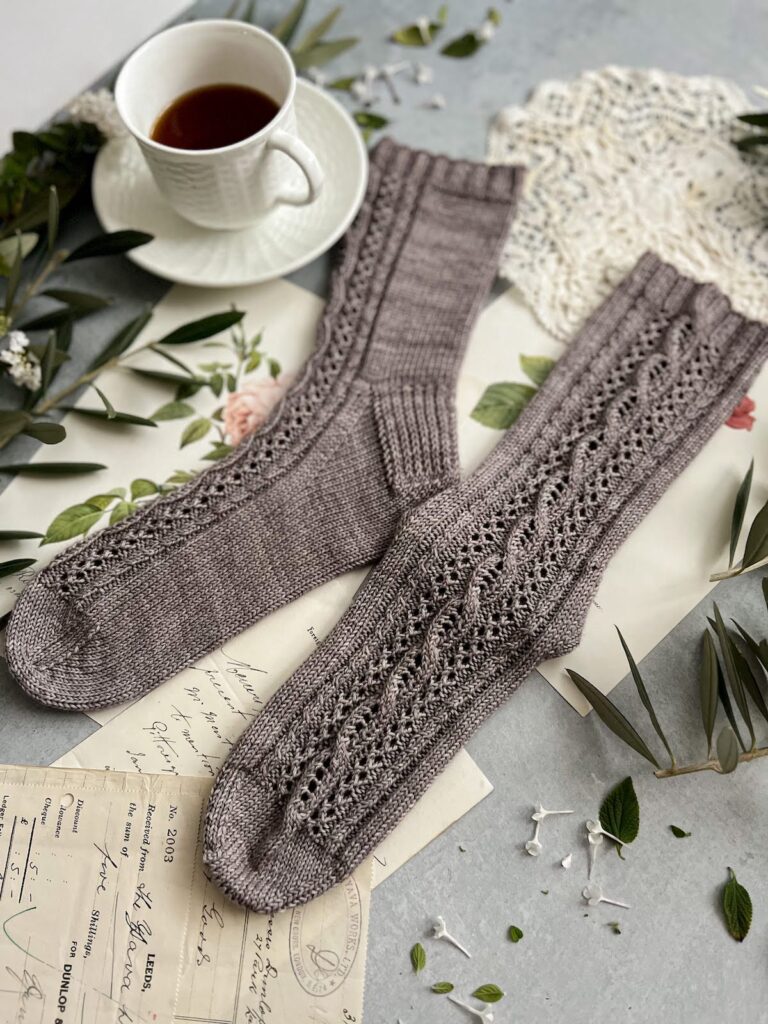
My sock patterns are all sized by the finished measurements of the sock circumference, so the best way to know whether you’ll get the right sock fit is to know how big around your foot is, first.
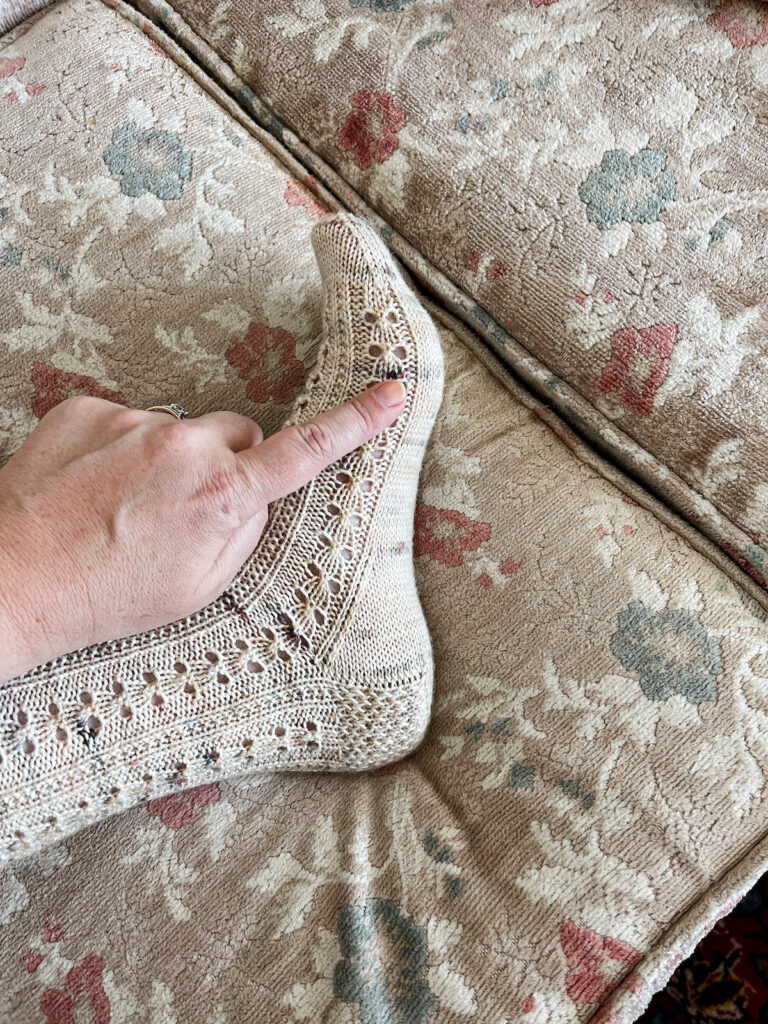
But where on the foot do you measure? Feet have different circumferences at different points, right?
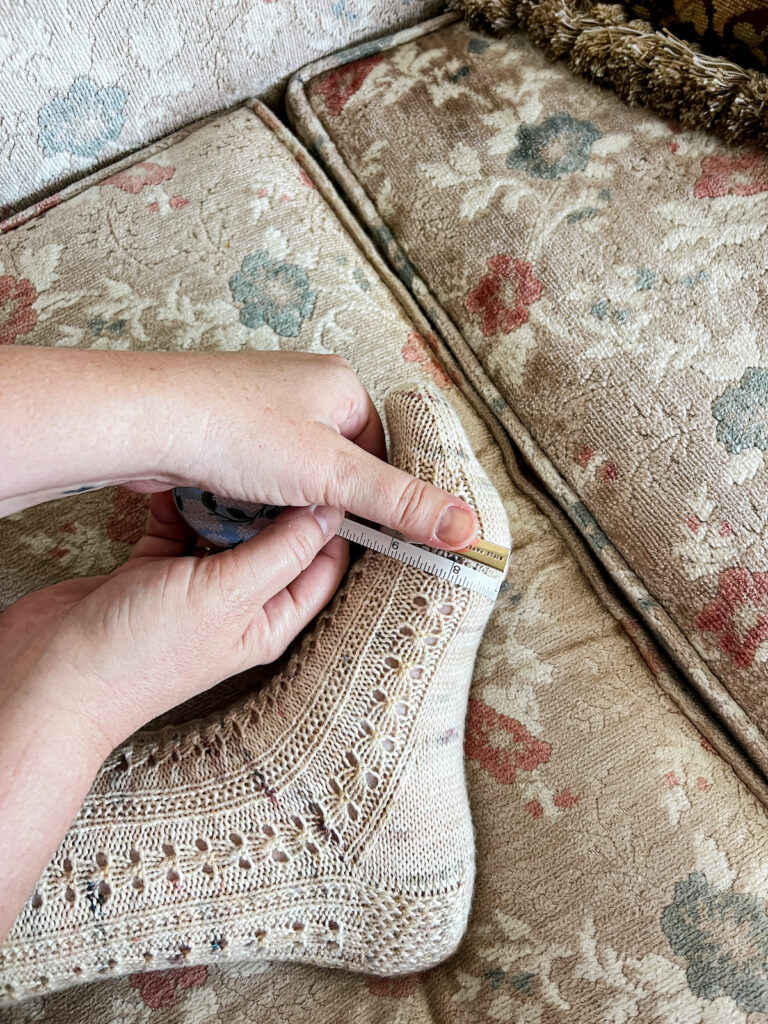
Right. And that’s why you measure at the largest part of your foot. For most of us, this will be the ball of the foot, that is, the cushioned part below where our toes end. Grab a tape measure, wrap it around that part of your foot, and see just how big it is.
A tip: centimeters are a little easier than inches for precise measurements because of their smaller increments. If you’re worried about getting an exact measurement, give the metric system a try. All of my sock circumferences and instructions are listed in both imperial and metric units, so you just need to know your foot measurements in one of those systems.
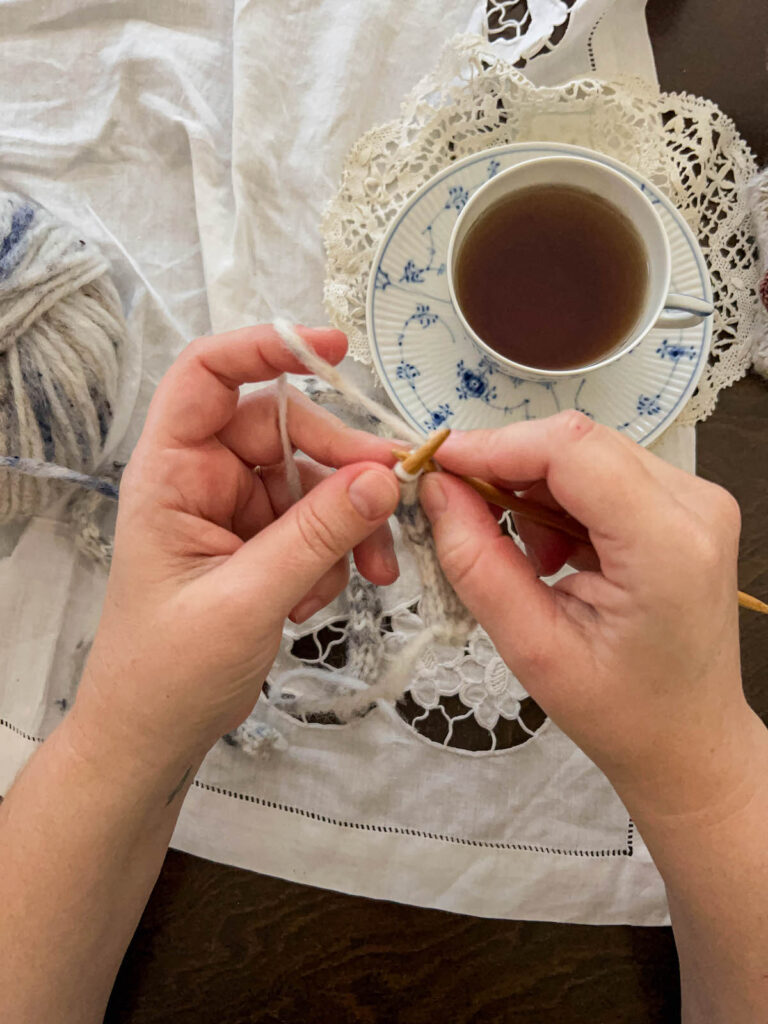
Step Two: Make a Gauge Swatch
Sorry, dear reader, but if you’ve been here a while, you probably knew this was coming.
Every knitter’s gauge is unique, and if your gauge is significantly different from mine, your 56-stitch sock might be the exact same circumference as the sock I’ve designed with 68 stitches even though we’re using the same yarn and same size needles. You need to check your gauge.
To do this, use the needles and yarn you plan to use for your actual sock. Cast on about 70 stitches, and knit in the round until your swatch is at least a couple inches long. Bind off, and soak your swatch in cool water. After about 15 minutes, gently squeeze out the excess water and lay your swatch flat to dry.
Once the swatch is totally dry, use a measuring tape or gauge finder to figure out how many stitches per inch are in your swatch. This is the most important gauge point. If your row gauge is a little different from mine, you can easily make adjustments, but stitch gauge is harder to work with if it’s off.
I write my sock patterns for a gauge of 8 stitches per inch. If you have more or less than that, you may want to change your needle size or try a different yarn until you get close to that gauge.
Step Three: Check the Dimensions of the Sock Sizes and Do a Little Bit of Math
This is probably the easiest step in the whole process. Once you know how big your foot is and have figured out what size needles/yarn you need to use to match my gauge, it’s time to find a sock size that’s close to it.
To do that, look for the sock size that is closest to your foot measurement. If that sock size is larger than your foot measurement, choose the next size down.
Socks need to have negative ease so that they stretch across your foot and stay put instead of flopping around inside your shoe. For most of us, that means we want a sock with a circumference that’s about 10% smaller than our actual foot measurement.
You may find you prefer more or less negative ease, and it’s okay to experiment until you find the ease that’s most comfortable for you. The great thing about knitting socks is that you aren’t tied to others’ ideas of what makes a good knit.
But Wait! What About Foot Length?
Up until now, this blog post has only focused on the circumference of your foot, but that’s not the only thing you need to think about when knitting a sock. The length of the foot matters, too.
Luckily, this is very easily managed with all of my sock patterns. I write them with 100% adjustable leg and foot lengths.
This means whether your foot is 7.5″ around and you wear a US women’s size 6 shoe or 7.5″ around and you wear a US men’s size 12 shoe, you’ll be able to knit the sock until it’s the right length for you. The instructions tell you when it’s time to start working the toe decreases.
Why Not Just List the Matching Shoe Size?
A few knitters have asked why I don’t just identify a range of shoe sizes, like they do in stores. Well, there are three reasons for that.
First, shoe sizes are wildly different in different countries. A US Size 8 is not the same as a UK size 8. If I were to identify socks by shoe size, I’d either have to leave out a large portion of the world or make a lot of size conversions for each pattern.
Second, socks that are sold in stores have pretty imprecise sizing. Women’s socks here in the US, where I live, are usually sold to fit across a range of about 4 different shoe sizes. Hand knit socks, on the other hand, are intended to have the perfect fit. That means a sock that fits a person who wears a US women’s size 8 shoe shouldn’t also fit a person who wears a US women’s size 10 shoe.
And finally, shoe size only accounts for foot length. While some shoes come in several widths, most do not. If you have narrow feet or wide feet, you may find that socks sized just by foot length don’t fit you well at all. In order to get a good fit from your hand-knit socks, you also need to knit socks that are the right circumference.
Making Modifications
Now, despite designers’ very best efforts, not every pattern is going to fit every person perfectly. That are just too many variations in human bodies (and that’s a good, beautiful thing).
If you find that, even after choosing the right size, you still haven’t found the right fit, you might want to modify the pattern a bit.
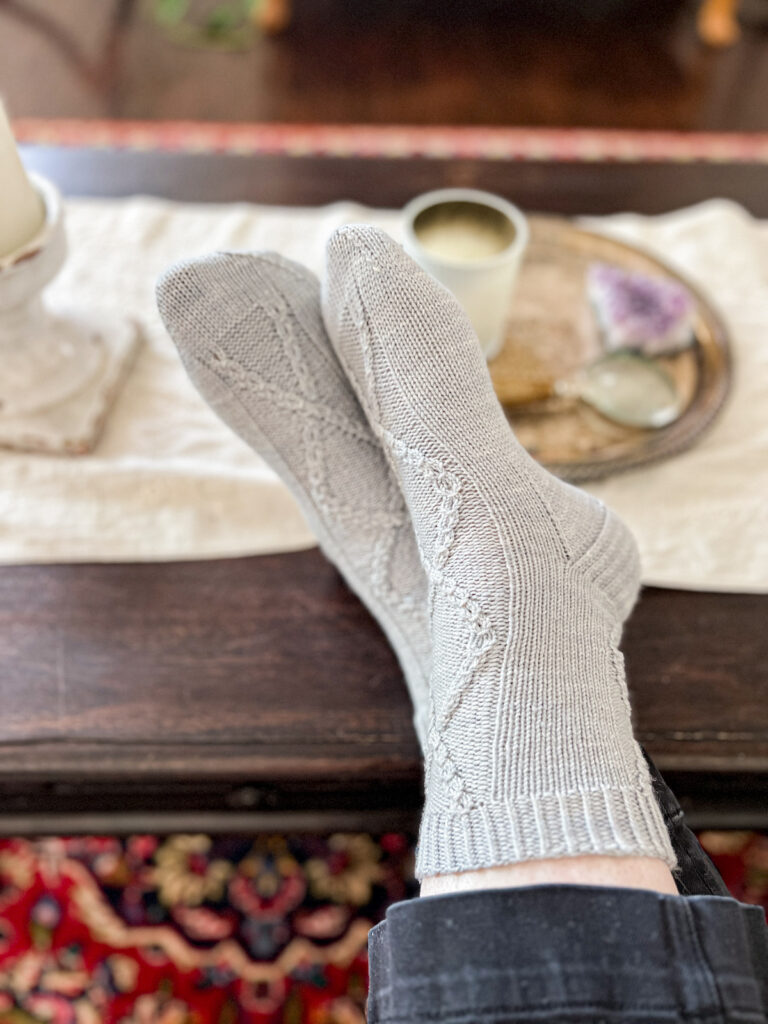
For example, I design almost all of my socks using a heel flap and gusset construction technique. That’s because I’ve found this heel construction fits the greatest variety of knitters with the most accuracy. However, you might find that a short-row heel fits you better. If that’s the case, then by all means, please feel free to use a different heel for your sock! No designer worth their salt will get angry about you making adjustments to make the pattern fit yourself better.
The same is true for toe variants. Most of my socks use a wedge toe because that’s easiest for most knitters and fits a wide range of people, but the star toe honestly fits me a little better. Many other knitters prefer the round toe. You can choose to knit toe variations that are more comfortable for you, and you can even flip the pattern around to make them into toe-up socks. You deserve comfortable toes.
Now it’s time to put your feet up and relax. Happy stitching!
Let’s stay connected!
Join my newsletter for 30% off all new releases, regular updates with helpful tips and tricks, first crack at registration for upcoming workshops, exclusive discounts, and more.
Prefer to read without ads? Join my Patreon, which starts at just $1 a month!
Join the A Bee In The Bonnet Facebook Group to participate in knitalongs and other fun community events
Come hang out with me on the A Bee In The Bonnet TikTok
Follow along on the A Bee In The Bonnet Instagram
Get inspired via the A Bee In The Bonnet Pinterest


Excellent post Lauren! It was very helpful!
Thank you! I’m glad to hear you found it useful.