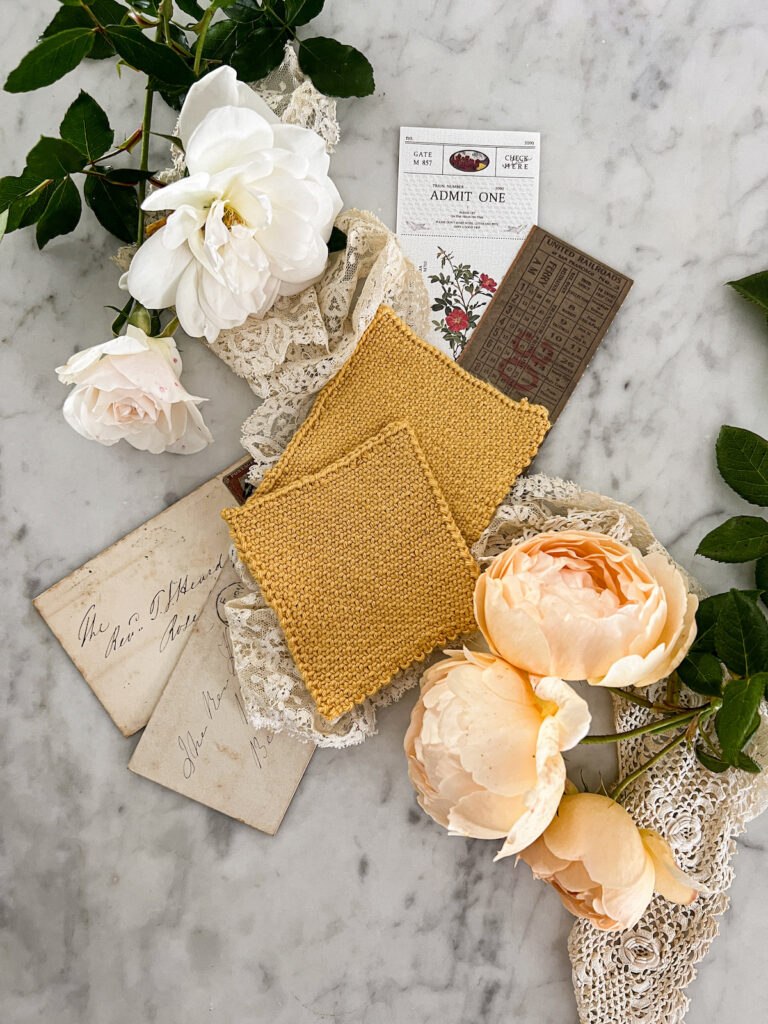
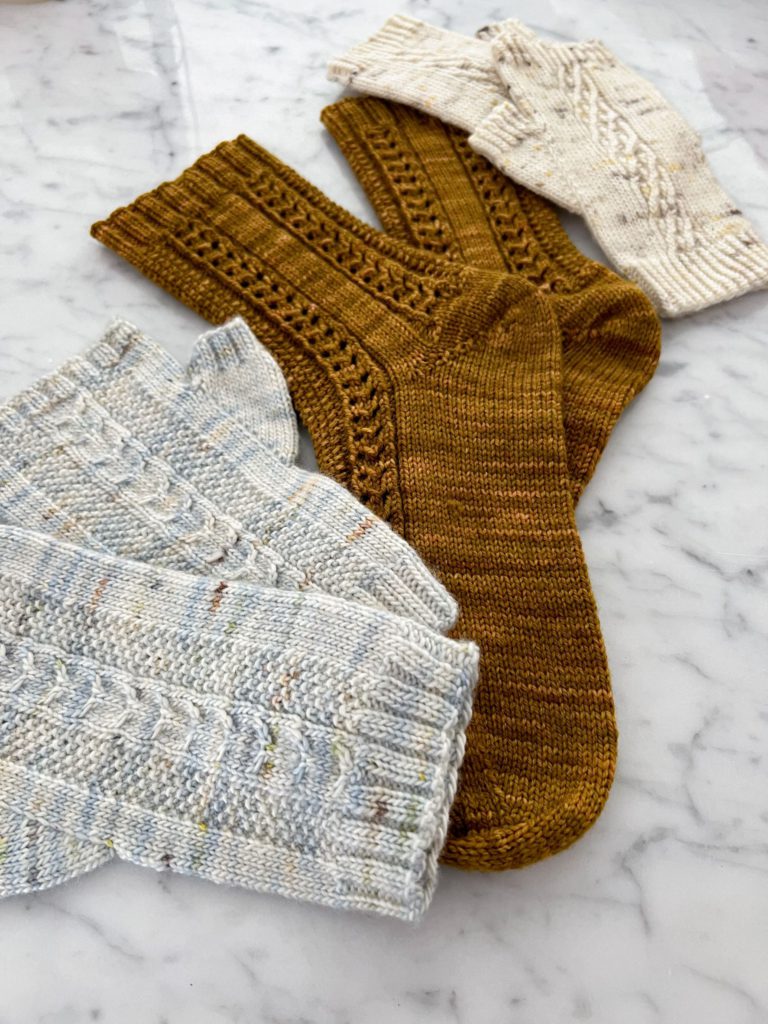
The seed stitch is one of my favorite stitch patterns to use for visual interest and extra squish. Whether in a shawl, a sweater, or some other knit project, it makes your knitting feel extra cozy. And the best part? If you can knit and purl, you can work the seed stitch. It’s very straightforward.
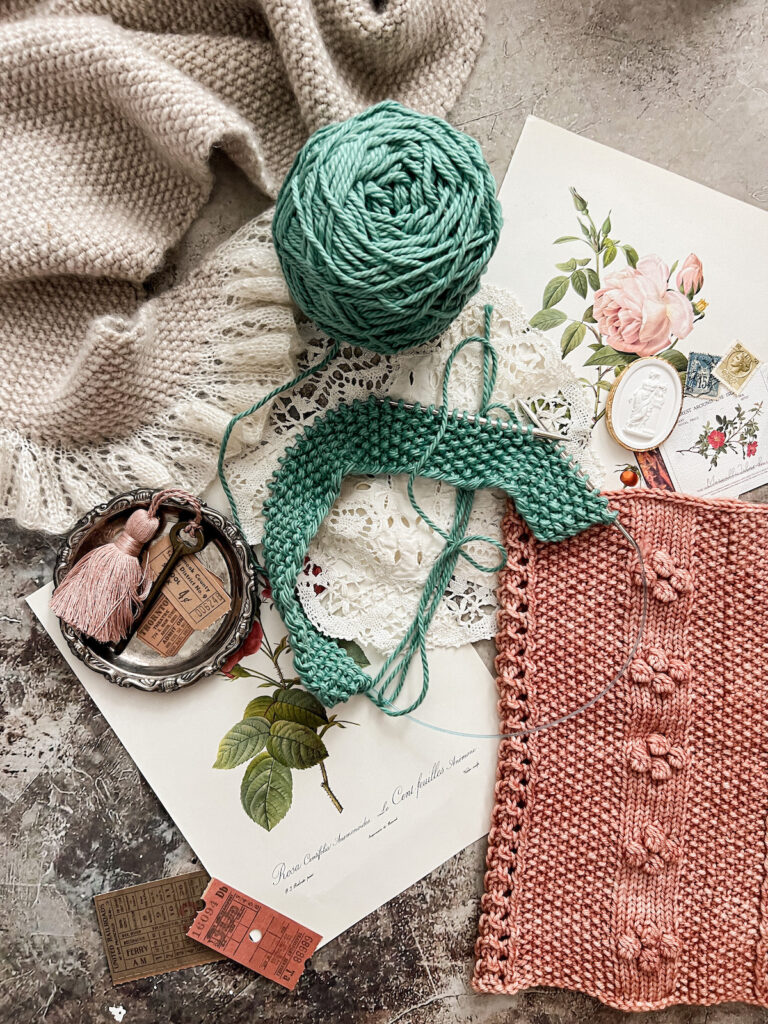
Using just two basic stitches and a little creativity, you can create a knitting pattern with lots of texture and minimal stress.
How to Knit Seed Stitch – The Easy Way
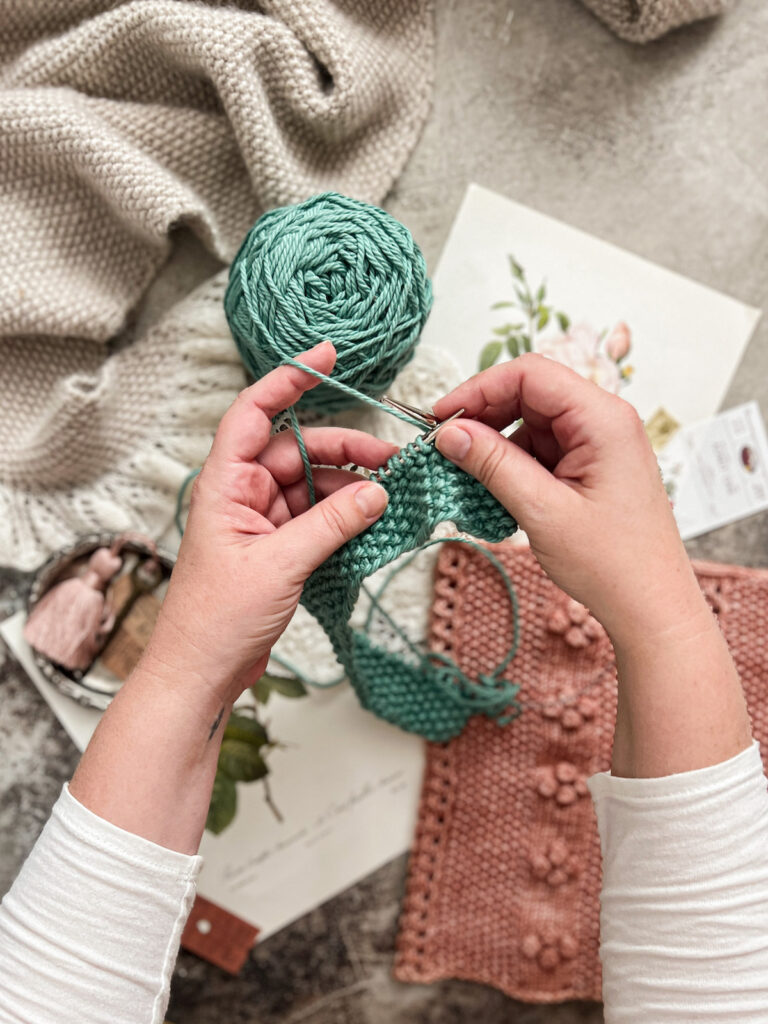
Seed stitch is made by alternating knit stitches with purl stitches, one by one, across a row of knitting. Then, on the next row, you come back and do the same thing.
What gives seed stitch its unique texture is that, when a stitch on the previous row was a knit stitch, you’ll knit it in the current row, too. When that stitch was a purl stitch on the previous row, you’ll purl it in the current row.
The easiest way to knit seed stitch is to cast on an odd number of stitches. Then do as follows.
Row 1: *k1, p1; repeat from * to last stitch, k1.
Row 2: Repeat Row 1.
Row 3: Repeat Row 1.
Row 4: Repeat Row 1.
That was a bit of a pattern-writing joke there, but seriously. Just keep repeating Row 1 until your project has grown to the desired length. When you cast on an odd number of stitches, your seed stitch pattern will develop on its own because your first stitch and your last stitch will be the same. Your first row and last row will also be the same.
In case you need it, here’s a video tutorial to help you out.
@abeeinthebonnet Knitting the seed stitch is so much easier when you can read your stitches. Here’s what I look for as I’m going along. #knittingtutorial #knitknitknit #knittersoftiktok #knittingtiktok ♬ lovergirl – saturra
How to Knit Seed Stitch – The Slightly Harder Way
You can also knit seed stitch across an even number of stitches, but it’ll require you to keep track of which rows are odd rows and which are even-numbered rows. You can also think of this as tracking the right side and wrong side of your work–whatever works for you.
So for this version of seed stitch knitting, you’ll cast on an even number of stitches. Then work the following rows:
Row 1: *k1, p1; repeat from * to end of row.
Row 2: *p1, k1; repeat from * to end of row.
Repeat Rows 1 and 2 until your project reaches the size you’d like.
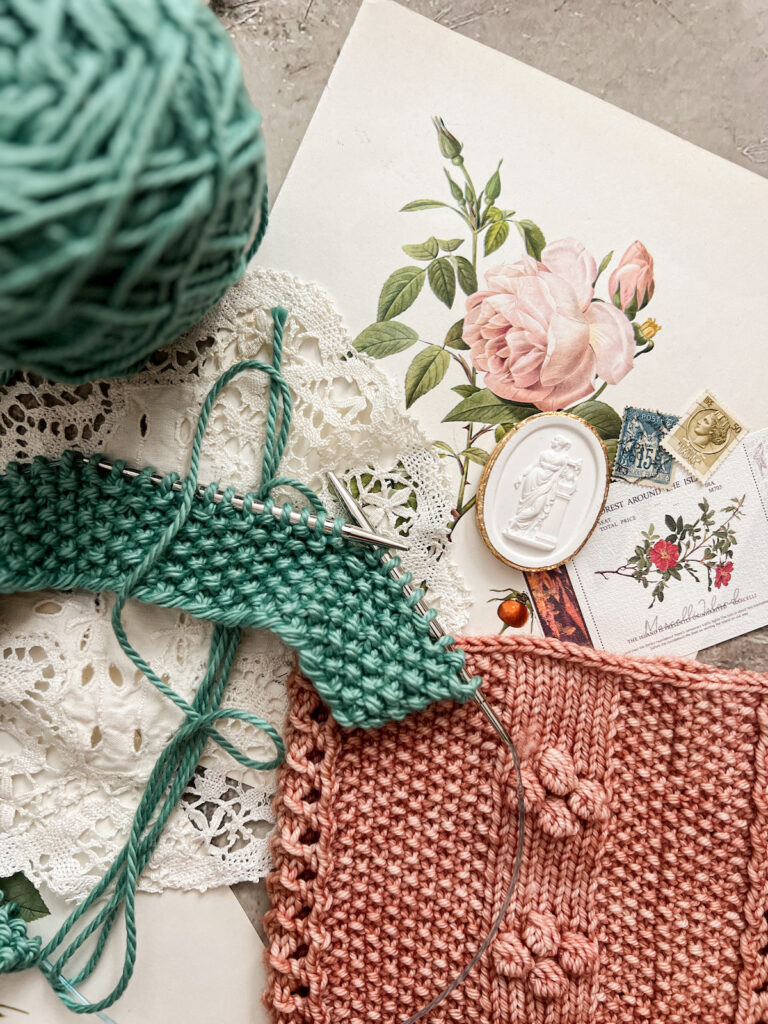
How to Knit Seed Stitch in the Round
Knitting seed stitch in the round is pretty similar to knitting it flat, but again, it’ll depend in part on how many stitches you cast on. Let’s look at odd numbers first, and then we’ll do even numbers.
If you cast on an odd number of stitches, your seed stitch in the round will go as follows.
Round 1: *k1, p1; repeat from * to last stitch, k1.
Round 2: *p1, k1; repeat from * to last stitch, p1.
Repeat Rounds 1 and 2 until your project reaches its desired size.
If you cast on an even number of stitches, your seed stitch in the round will go as follows.
Round 1: *k1, p1; repeat from * to end of round.
Round 2: *p1, k1; repeat from * to end of round.
Repeat Rounds 1 and 2 until your project reaches its desired size.
Knitting seed stitch in the round might leave you with a column of little bumps where the end of one round meets the beginning of the next, especially if you have an odd number of stitches on your circular needles. If that happens to you, you can increase and add one stitch just for the seed stitch portion of your project, and then decrease away that stitch when you’re done. The one additional stitch won’t hurt your gauge too much, unless you are working in super bulky yarn.
Why to Use Seed Stitch in Your Knitting Projects
Seed stitch is a great way for beginner knitters to branch out from simple garter stitch or stockinette stitch. It uses the same stitches that you’d use in stockinette, but those stitches are arranged in a different way so you don’t have an endless row of purl stitches. This is also helpful if you struggle with tension issues when working in stockinette.
The texture of the knitted fabric created with seed stitch is also really pleasant. When you run your hands over the fabric, all the little purl bumps create this deliciously knobby surface that feels a little bit like a face scrubber or a massager (but softer).
For new knitters, seed stitch is also a great way to experiment with new textures without having to learn a new set of stitches (like all the various decreases out there). By changing up the number and placement of knits and purls just slightly, you can experiment even more with these textural elements in your knitting.
Let’s stay connected!
Join my newsletter for 30% off all new releases, regular updates with helpful tips and tricks, first crack at registration for upcoming workshops, exclusive discounts, and more.
Join the A Bee In The Bonnet Facebook Group to participate in knitalongs and other fun community events
Come hang out with me on the A Bee In The Bonnet TikTok
Follow along on the A Bee In The Bonnet Instagram
Get inspired via the A Bee In The Bonnet Pinterest

