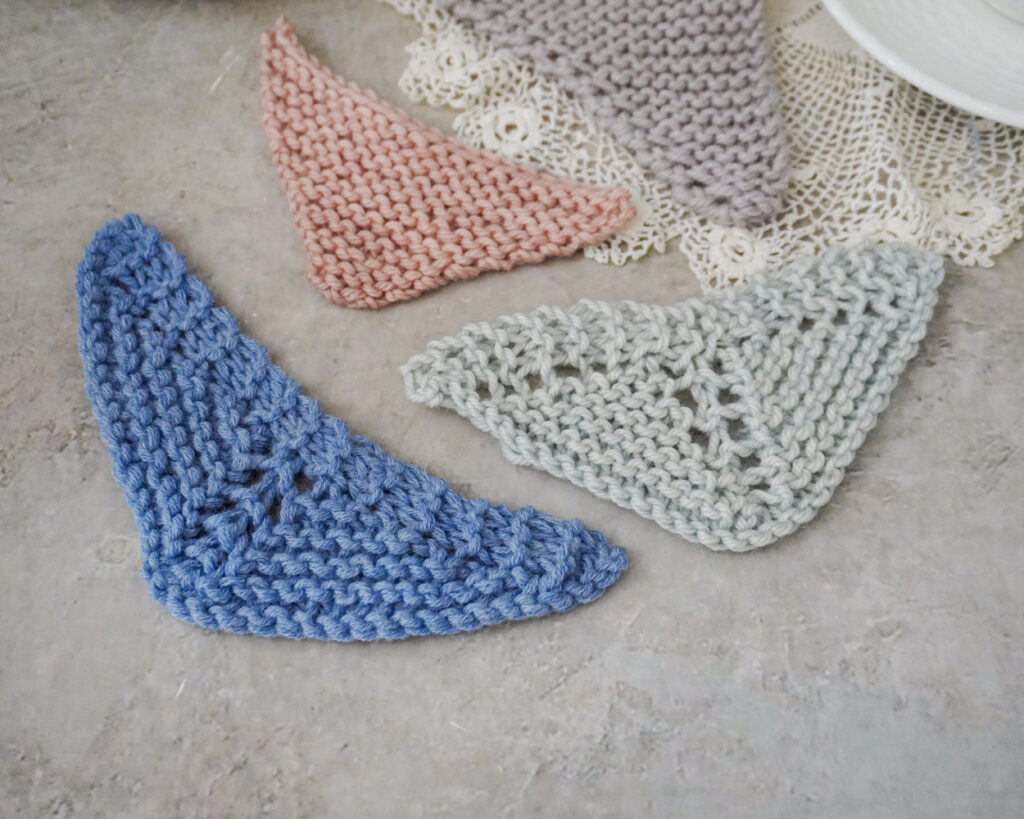
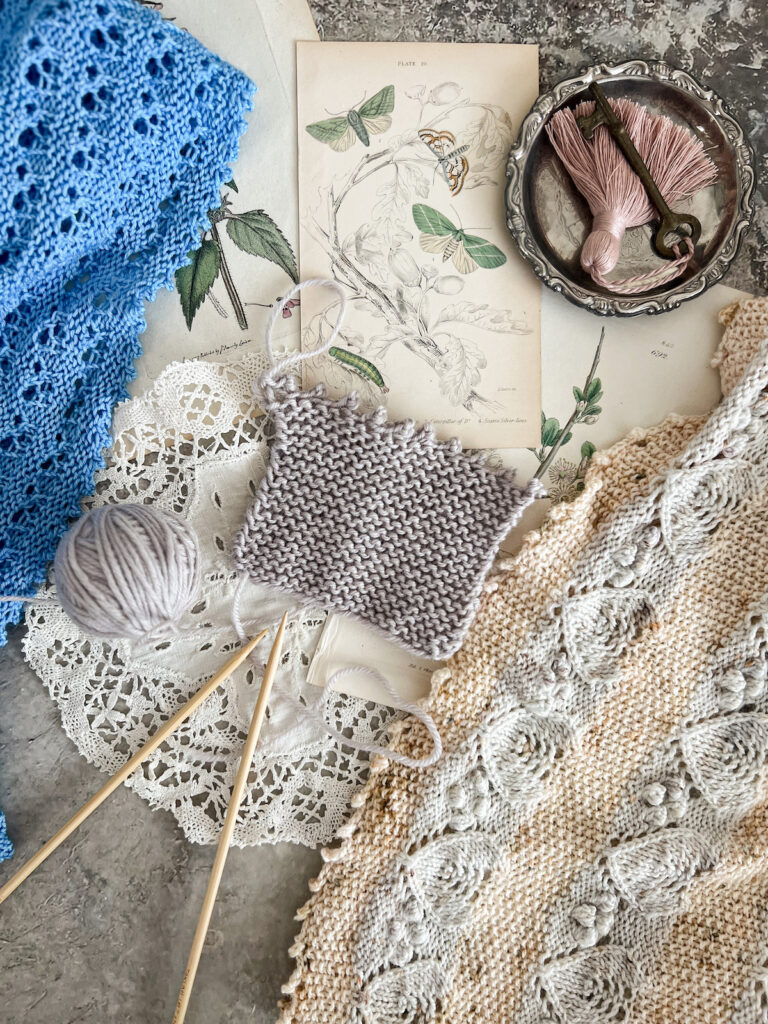
Triangle shawls are my very favorite shapes to knit and wear, but did you know there are actually several different shawls that can all be described as “triangle shawls”? In today’s blog post, we’re going to explore four of those variations, including how to construct your own simple shawl in each shape.
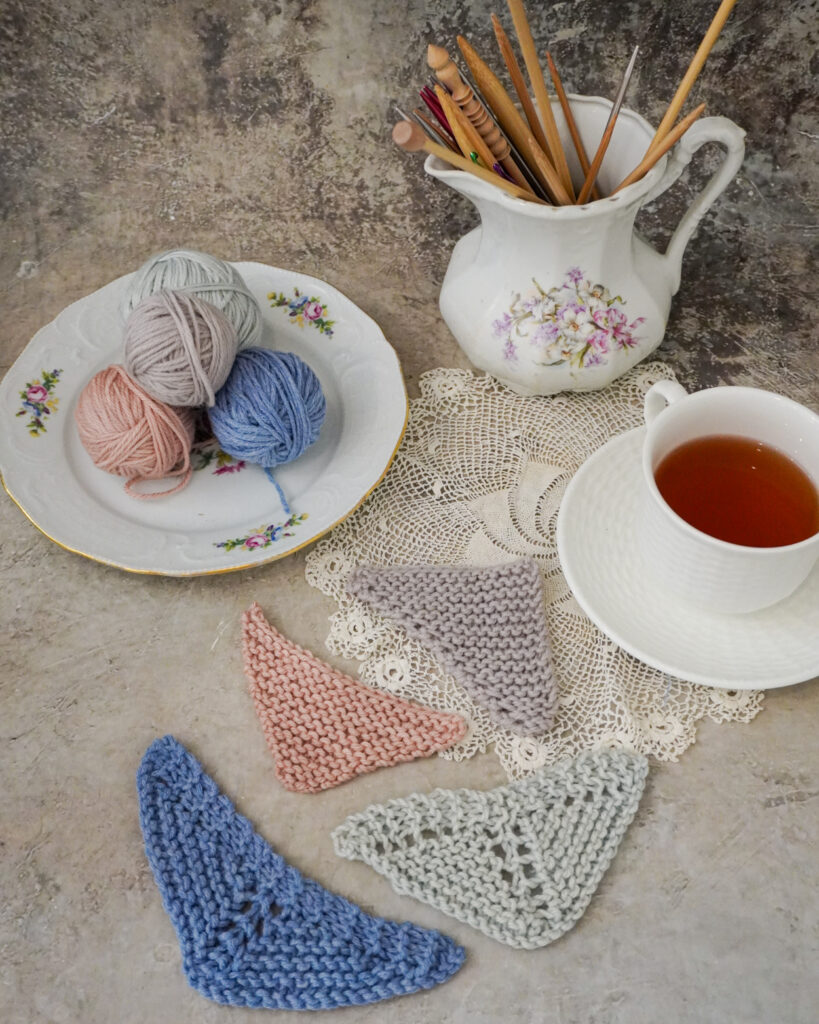
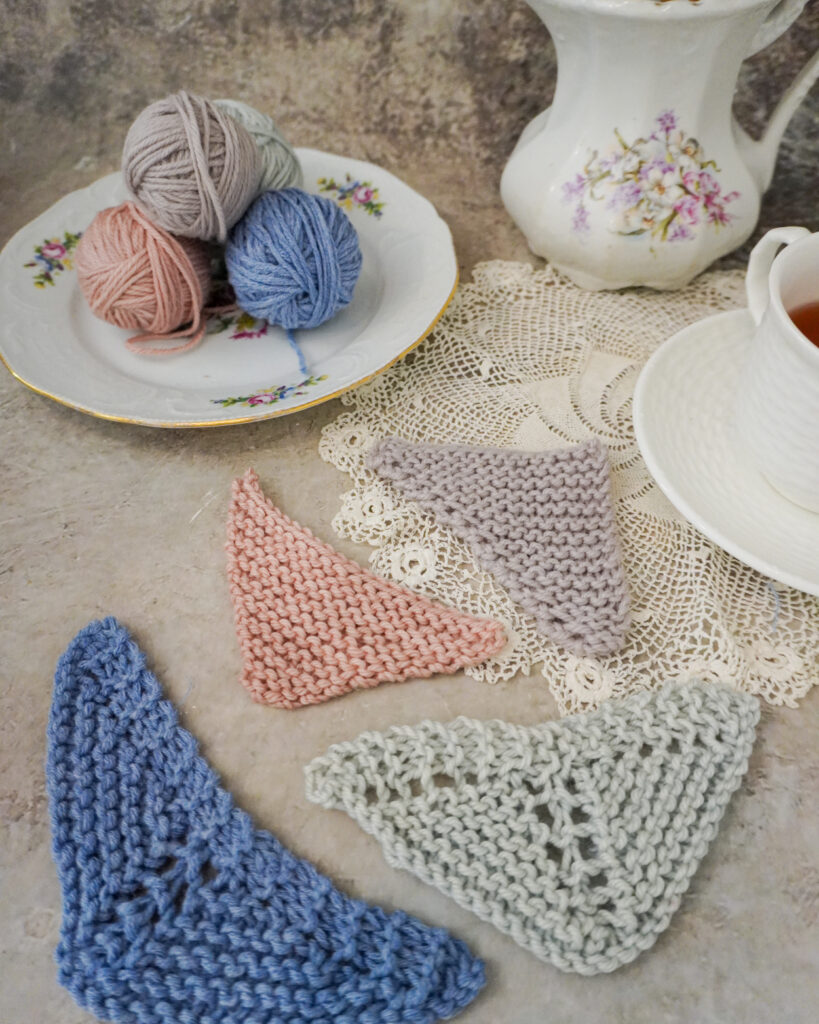
Each section will show how to work these shapes in simple garter stitch, but you can also use stockinette stitch, lace, or any other texture once you’re comfortable with them. One of the things I love about designing a knit shawl is that it’s highly customizable. Conversely, you can use garter stitch as a way to show off some beautiful hand-dyed yarn through some simple projects that will be great for everyday wear.
Version 1: Symmetrical triangle with center increases
The shape I think of as a classic triangle shawl has a deep center point and two wide, symmetrical sides. Here is a look at a mini version of that kind of shawl, which you can see has a center line running up the middle of the shawl:
This triangle shape is probably best for actually keeping your back and shoulders warm, but it can be challenging to incorporate into a modern wardrobe. Many people will see this triangle-shape and have instant visions of grandmothers in rocking chairs from 100+ years ago. While there’s nothing wrong with grandmothers or an old-fashioned aesthetic, that might not be your fashion goal.
If, however, you’re like me, that is exactly your goal. In that case, this triangle shawl shape is a great option. You can also flip it backwards and wear it as a kind of oversized bandana.
Instructions for knitting your own version of this shawl:
- Garter tab cast-on: cast on three stitches. Knit seven rows in garter stitch. Pick up three stitches along the side of the garter stitch rows and three stitches on the cast-on edge of the garter stitch rows. You’ll now have nine stitches.
- Knit 3, place stitch marker, knit 1, place stitch marker, knit 1, place stitch marker, knit 1, place stitch marker, knit 3. Turn.
- Knit to end of row, slipping stitch markers as you reach them. Turn.
- Knit 3, slip marker, yo, knit to next marker, yo, slip marker, k1, slip marker, yo, knit to next marker, yo, slip marker, k3. Turn. (right side row)
- Knit to end of row, slipping markers as you reach them. Turn. (wrong side row)
- Continue working steps 4 and 5 until your shawl reaches desired size.
- Bind off using your preferred bind-off method and block.
This is one of the first shawl shapes I ever knit, and I’m still really partial to it. Once you get the hang of its construction, you can also modify it by adding lace, cables, or other textural elements to make it even more fun to knit and wear. The yarn overs that you use to increase the size of the shawl can, with a little planning, disappear seamlessly into your shawl’s overall stitch pattern.
And when I’m done knitting one of these shawls, I love to put lace trim along the edge and block it out with dramatic little lacy spikes.
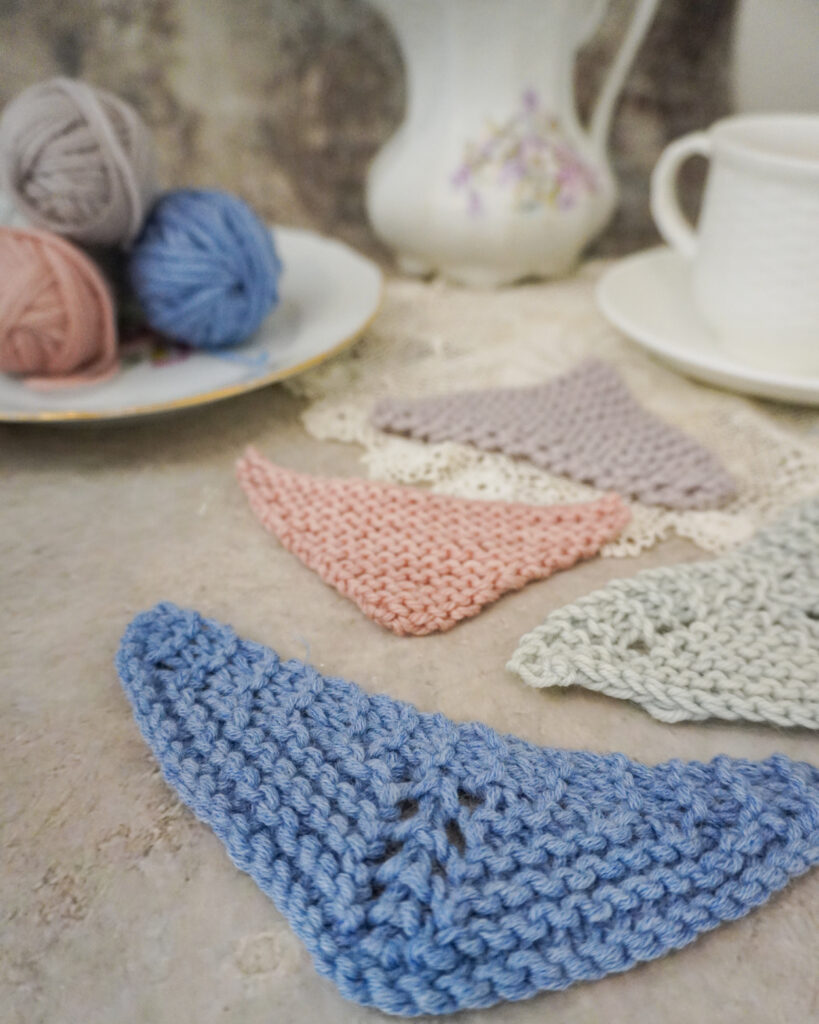
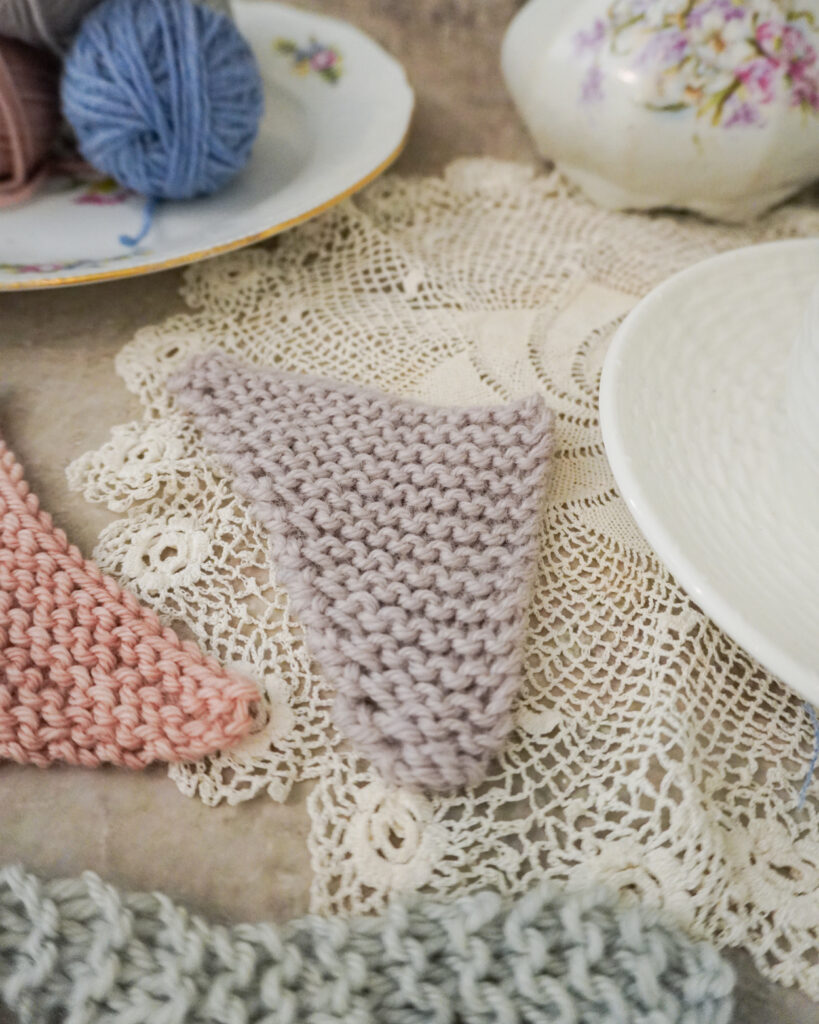
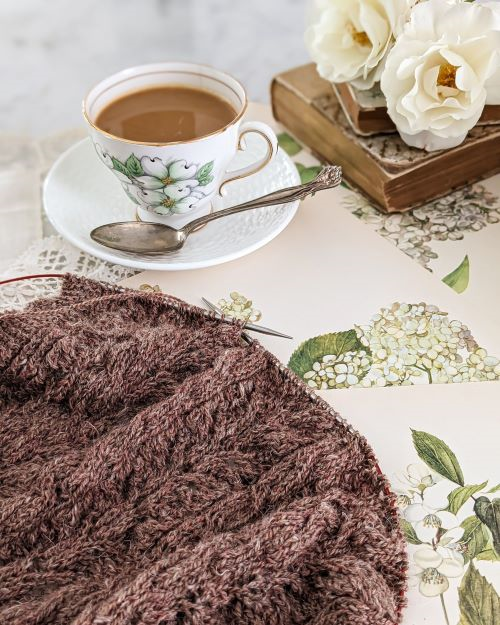
Version 2: Hap-style triangle
Our next shawl is a well-loved classic. The very basic hap triangle without any lace detail or trim is a perfect shawl for a beginner knitter. It looks great in garter stitch, and although it can be plain, some self-striping yarn can jazz it up if you’d like. Here’s a look at what the most basic version looks like:
This shawl construction method comes from Shetland knitting techniques. It is easily spotted thanks to the center triangle of garter stitch with no visible increase line. That’s because, unlike the symmetrical triangle with center increases, you only work one increase on each row, but you increase on both the right side and wrong side of the shawl. As a result, you end up with a smooth, unbroken texture in the middle of the shawl.
This ends up giving your a somewhat shallower, wider shawl. When the center panel is finished, knitters usually turn their work and start applying a lace edging. If you’re just learning to knit shawls, though, you can stick to knitting just the garter stitch panel.
Instructions for knitting your own version of this shawl:
- Cast on two stitches.
- Knit 1, kfb. Turn.
- Knit 2, kfb. Turn.
- Knit 3, kfb. Turn.
- Knit 4, kfb. Turn.
- Continue increasing as established with a kfb on the last stitch of each row until your shawl reaches desired size.
- Bind off using your preferred bind-off method and block.
Again, once you get more comfortable with more complex knitting patterns and are a more experienced knitter, you can insert a step after you finish the garter stitch section and before step 7 where you turn your work, pick up stitches along the edge of the shawl, and knit an applied lace or cabled border to add visual interest. If you like a pop of color, this is also a great place to add a contrast yarn. More on that in a blog post coming soon!
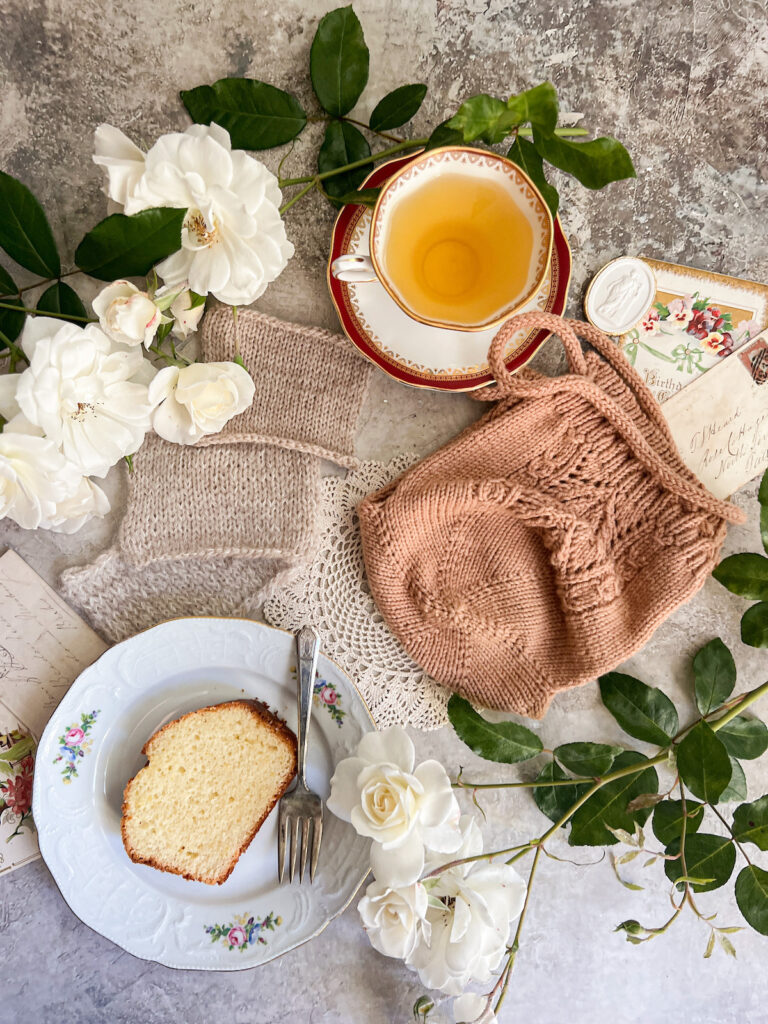
Version 3: Shallow, wide triangle
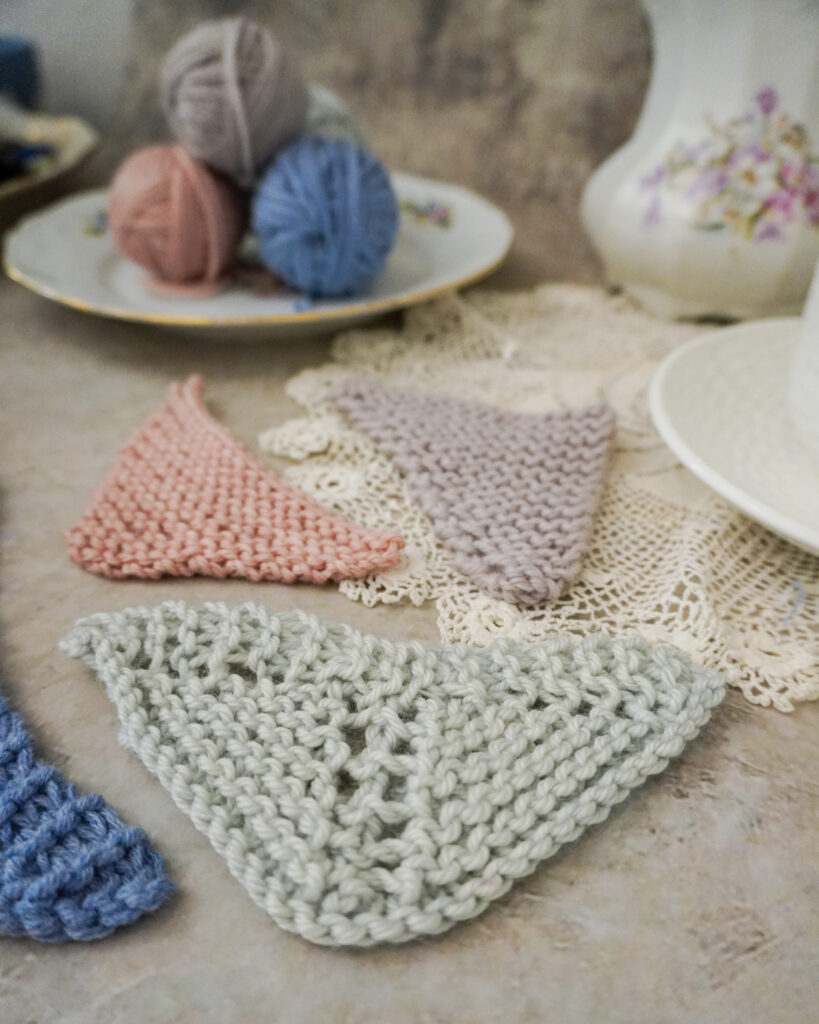
This shawl shape has a bottom point that doesn’t go too far down the back. These shawls can also be wrapped around the neck and tied off like a scarf or neckerchief. When knitted in a lighter yarn with a lace pattern, they make a pretty small shawlette that’s great for layering on brisk days that aren’t terribly cold. Here’s a look at what one of these shawls looks like:
You’ll notice that, like Version 1 above, this is one of those triangle shawl patterns that has a center increase line. What makes it different from Version 1 is the rate of increases on the sides. On the outside edges, you increase much more quickly, resulting in a shawl that grows wider much faster than it grows taller.
Here’s a visual comparison of the two:
Instructions for knitting your own version of this shawl:
- Garter tab cast-on: cast on three stitches. Knit seven rows in garter stitch. Pick up three stitches along the side of the garter stitch rows and three stitches on the cast-on edge of the garter stitch rows. You’ll now have nine stitches.
- Knit 3, place stitch marker, knit 1, place stitch marker, knit 1, place stitch marker, knit 1, place stitch marker, knit 3. Turn.
- Knit 3, slip stitch marker, yo, knit to next marker, slip marker, knit 1, slip marker, knit to next marker, yo, slip marker, knit 3. Turn.
- Knit 3, slip marker, yo, knit to next marker, yo, slip marker, k1, slip marker, yo, knit to next marker, yo, slip marker, k3. Turn. (right side row)
- Knit 3, slip stitch marker, yo, knit to next marker, slip marker, knit 1, slip marker, knit to next marker, yo, slip marker, knit 3. Turn. (wrong side row)
- Continue working steps 4 and 5 until your shawl reaches desired size.
- Bind off using your preferred bind-off method and block
While I recommend using circular knitting needles for all of your shawl projects of various sizes, I especially recommend it for this shape. That’s extra important if you are using DK weight yarn or worsted weight yarn. That’s because this shawl gets very wide, very fast. You will quickly run out of room on your straight needles, especially if you’re using thicker yarn. Circular needles will allow you to distribute the stitches across the cord between the needle tips so you have more room to work comfortably.
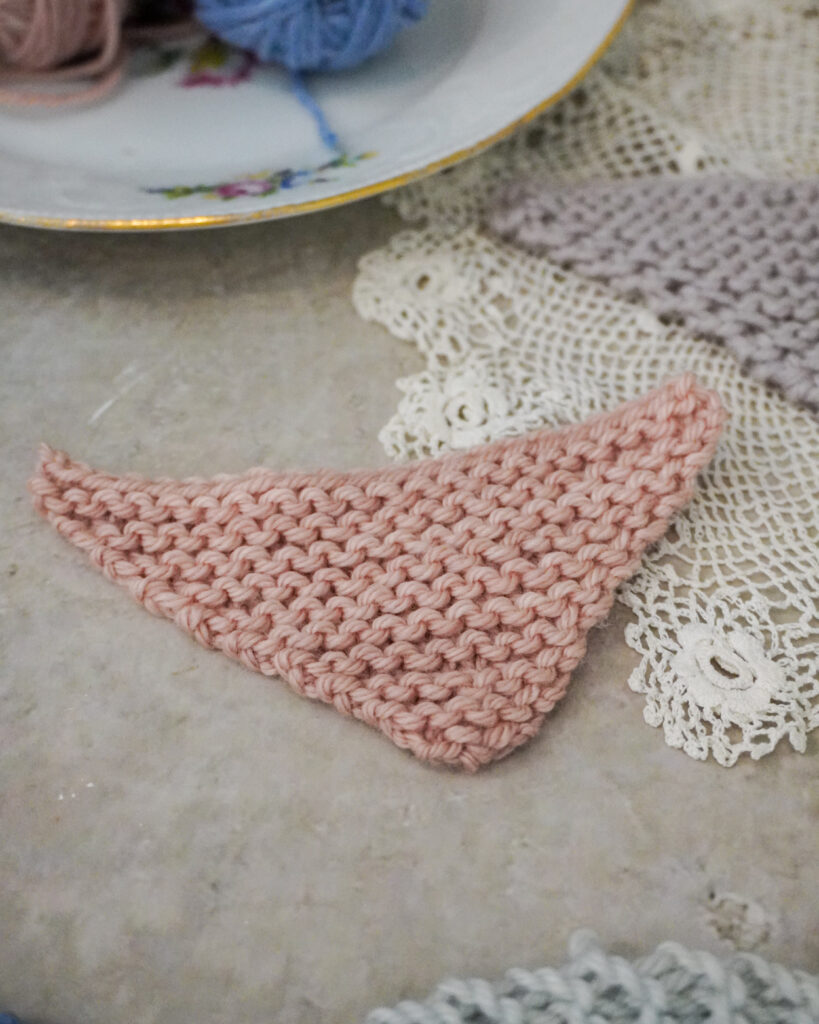
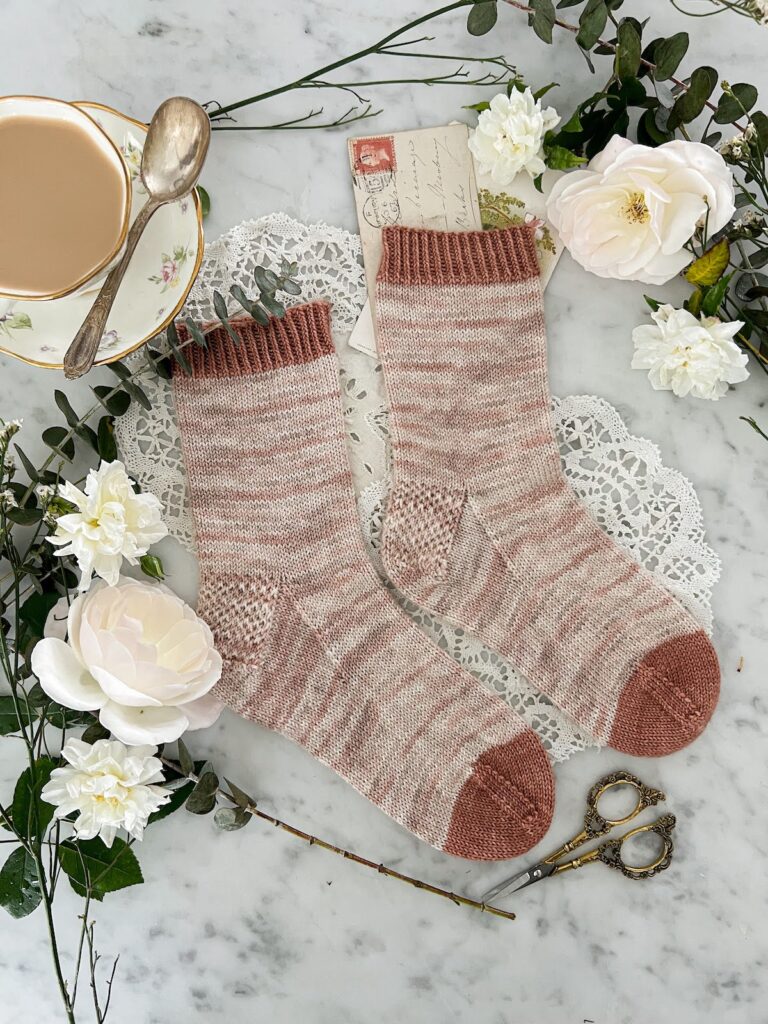
Version 4: Asymmetrical triangle shawl
The asymmetrical triangle shawl is one of my all-time favorite shawl knitting patterns. This type of triangular shawl pattern only increases by one stitch every other row. This means it has one edge that stays vertical while the other side grows outward at an angle. Increasing this way gives you a beautiful long edge to drape around your shoulders and thus creates a very wearable shape. Here’s a look at what that shawl shape looks like:
This shawl doesn’t get as deep as some of the other shapes here, and the deepest point of the shawl is out on the edge instead of in the middle. This can make it somewhat tricky for wearing across your back with the two ends toward the front. However, I love to drape my shawl the opposite direction, with the deepest point in front. It lends some real drama to an outfit.
Instructions for knitting your own version of this shawl:
1. Cast on three stitches.
2. Knit 2, yo, knit 1. Turn. (Note: if you do not like the look of yarn overs, you can kfb on the last stitch of each right-side row instead)
3. Knit to end of row. Turn.
4. Knit 3, yo, knit 1. Turn.
5. Knit to end of row. Turn.
6. Knit until 1 stitch remains, yo, knit 1. turn.
7. Knit to end of row. Turn.
8. Continue working steps 6 and 7 until shawl reaches desired size.
9. Bind off using your preferred bind-off method and block.
Additional Tips and Tricks for Knitting Triangle Shawls
For shawls that do not grow from a point outward, I recommend starting with a garter tab cast on. I’ve given you instructions for doing so on Versions 1 and 3, which grow from the center of the longest edge (the top center) outward. The garter tab cast on is a great way to blend your cast on seamlessly into your work.
Shawl sizes are easily adjustable by changing yarn weights and your needle size. You can take a pattern for a triangle shawl written in worsted weight on US 8 (4 mm) needles, take it down to lace-weight yarn on US 1.5 (2.5 mm) needles, and turn it into a triangle scarf without making any other changes to the pattern.
When knitting versions 1 or 3, which both have a center stitch with increases on either side, I strongly recommend keeping stitch markers on either side of that center stitch. While I’m very good at reading my stitches and usually don’t use stitch markers to mark beginnings and ends of repeats, it’s very easy to blow right past this center stitch and create a mess for yourself. Stitch markers hep avoid that problem.
And if you’re looking for a free pattern for a shawl, subscribers to my newsletter can get a free copy of my Grandmillennial Shawl. This free knitting pattern is great for beginners who are interested in stretching their skills just a tiny bit with a lacy edging, but you can also leave off the edging if you don’t feel ready to tackle that yet.
Let’s stay connected!
Join my newsletter for 30% off all new releases, regular updates with helpful tips and tricks, first crack at registration for upcoming workshops, exclusive discounts, and more.
Join the A Bee In The Bonnet Facebook Group to participate in knitalongs and other fun community events
Come hang out with me on the A Bee In The Bonnet TikTok
Follow along on the A Bee In The Bonnet Instagram
Get inspired via the A Bee In The Bonnet Pinterest


Very helpful! Thank you!
So glad to hear it! Happy to help.
Thank you so much for this blog, it’s very informative! It’s definitely a keeper!
You’re most welcome! I’m glad it was helpful.