There are few things quite so charming as a sock with dainty little cables running along its length or a shawl with cabled stitches placed just so along the edging. Cabled knits are a classic for a reason.

If you’re a knitter who loves tackling cabled projects, you have probably discovered that it can be a very slow process. You have to slip stitches to a cable needle, move them around, try not to lose the cable needle when you’re not using it, and so much more. It can be a bit stressful.
But it doesn’t have to be. In fact, I rarely use a cabling needle nowadays. I learned to knit cables without a cable needle back in 2008, and I’ve been a fan ever since. It’s how I manage all those socks with a bazillion teeny 1×1 cables all over them.
In today’s post, we’re going to explore how to do cable knitting with just your two regular knitting needle tips and your own two hands. It’s surprisingly easy, and once you get the hang of cabling this way, you’re unlikely to ever go back to using a cable needle.
How do Cable Stitches Usually Work?
Cable knitting is the process of taking a set of live stitches and rearranging the order in which you work them. This will involve moving some of them to the right or left of other stitches by passing them across the front or back of the remaining stitches. When you do this, you end up putting them on your non-working needle in a different order, which creates a textured spot where the stitches cross each other. These textural stitches are collectively known as a cable.
Now ordinarily, this is achieved by moving a set number of stitches from the non-working needle (the left-hand needle, for most of us) onto either an extra needle or a specially-designed cable needle. (That’s an affiliate link, which means if you choose to buy something through this link, I’ll receive a small commission at no extra cost to you. I will always identify affiliate links for you. Thanks for supporting my work!) You then hold these stitches to either the front of the work or the back or the work, work a set number of stitches from your non-working needle, and then return the slipped stitches to your non-working needle. Then you’ll work those stitches and continue onward.

This is the old-fashioned way, and it’s still the method I recommend for new cable knitters. If this is your first time learning to work cables or you’re knitting a project with just a few cables, this method will serve you well.
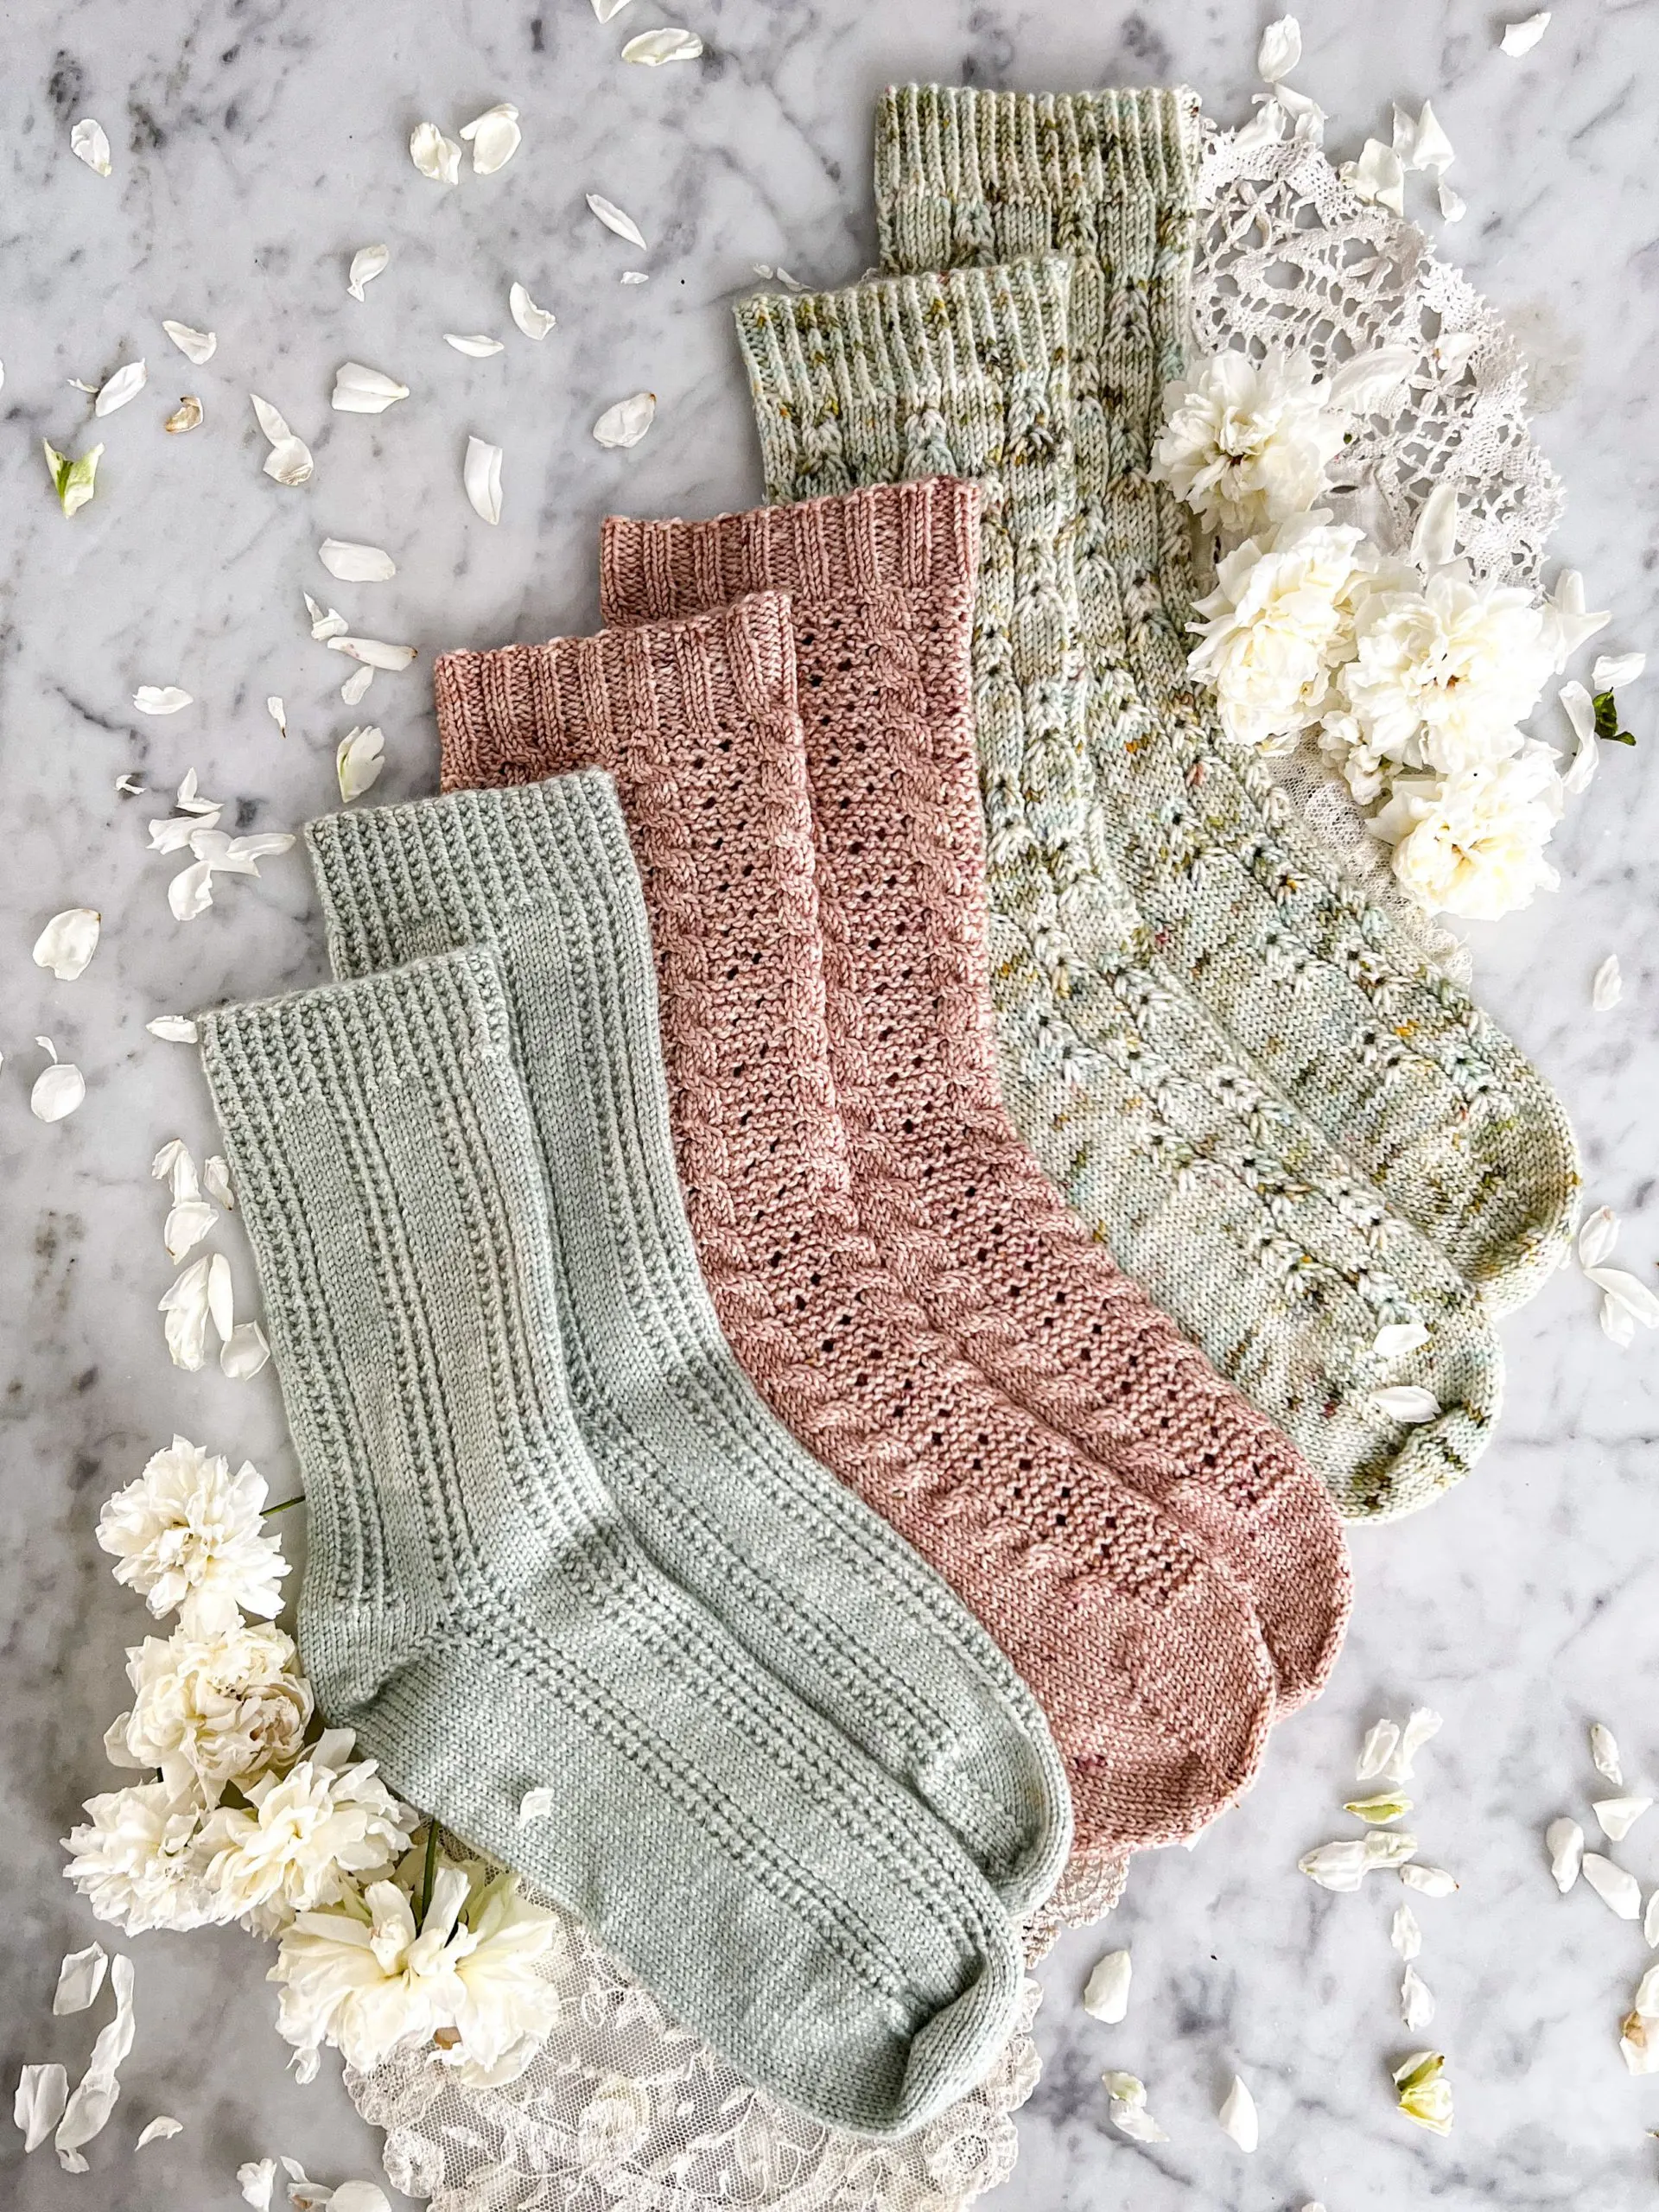
But what if you’re doing a project like the Seaward Flow Socks (the 1-over-1 cable dream) or the Madeleine Socks (with 1-over-2 cables galore)? There are so many cables in those that it would really slow the whole process.
Enter: cabling without a cable needle.
How to Knit a Left-Leaning Cable Without a Cable Needle
Left-leaning or left-crossing cables are those cables where the stitches you slip at the beginning are usually held in front. You’ll also sometimes see this called a front-crossing cable (because the slipped stitches are held in front). Here’s how to work those, using the example of a 2/2 left-crossing cable because I use 4-stitch cables a lot in my designs.
1. Using your working needle (for most of us, the right-hand needle), slip two stitches purlwise with yarn held in back.
2. Knit two stitches.
3. Using your non-working needle (for most of us, the left hand needle), pass the needle tip over the front of the left two stitches and insert it into the front of the two slipped stitches so that both stitches are caught by the needle tip.
3. With your left hand, pinch the base of the four stitches so that they don’t unravel and slide the tip of the working needle (usually the tip of the right needle) out of all four stitches. The right two stitches will remain caught by the non-working (left hand) needle, and the left two stitches will be free. Be careful not to drop them!
4. After pulling your working (right hand) needle out of all four stitches, insert the needle tip back into the left two stitches. Those stitches will now remain on your working (right hand) needle.
5. Knit two stitches from your non-working (left hand) needle.
And that’s it! You’ve successfully worked a cable without a cable needle.
You can use this same strategy for a different number of stitches, cables that are a combination of knit and purl stitches, and more. Just follow the numbers, and they’ll tell you how many to slip and work in each step.

How to Knit a Right-Leaning Cable Without a Cable Needle
The right-leaning or right-crossing cable is similar to a left-crossing cable, but the stitches are slipped and held in back. That’s why it’s also sometimes called a back-crossing cable. Here’s how to work those, using the example of a 2/2 right-crossing cable.
1. Using your working needle (for most of us, the right hand needle), slip two stitches purlwise with yarn held in front.
2. Knit two stitches.
3. Using your non-working needle (for most of us, the left hand needle), pass the needle tip behind the left two stitches and insert it into the back of the two slipped stitches so that both stitches are caught by the needle tip.
3. With your left hand, pinch the base of the four stitches so that they don’t unravel and slide the tip of the working needle (usually the tip of the right needle) out of all four stitches. The right two stitches will remain caught by the non-working (left hand) needle, and the left two stitches will be free. Be careful not to drop them!
4. After pulling your working (right hand) needle out of all four stitches, insert the needle tip back into the left two stitches. Those stitches will now remain on your working (right hand) needle.
5. Knit two stitches from your non-working (left hand) needle.
One important note: slipping the stitches with the yarn held in front is crucial for the right-crossing cables. This helps prevent some awkward gapping that would otherwise occur.

Some Helpful Additional Tips and Tricks
Cable knits are so much fun once you get used to them, but even the most experienced knitters sometimes run into snags when working more complex cables. Here are some tips to help make your cable knitting experience a little more smooth.
- This method of cabling without a cable needle is best suited to small cables. If you are working cables with 8 or more stitches, especially if there is a lot of movement within those stitches, you may still find a cable needle helpful. It’s easier to pinch the stitches at the bottom of smaller cables, but larger cables can run away from you pretty quickly.
- Many knitters find they have loose stitches at the very end of their cable. If you find that is happening to you, be sure to keep your stitches as close to the tips of your needles as possible when you are working them. That will help tighten them up.
- If there is a purl stitch next to your cable and there is a large gap between the final cable stitch and the purl stitch, you might need to tighten up the purl stitch. One easy way to do that is by purling it through the back loop (remember to correct the stitch orientation on the next round).
- Speaking of stitch orientation, remember to always slip your stitches purlwise unless the pattern says otherwise, and make sure the stitch orientation hasn’t changed once you put the stitches back onto your needles. The easiest way to end up with accidentally twisted stitches is by putting them back on your needles in an incorrect stitch position.
A Quick Video Tutorial
In case you’d prefer to learn via video, I’ll be publishing a whole series of videos on this topic over on my TikTok channel. The first video is embedded here, and you can click on over to my profile to watch the whole series as it’s posted.
@abeeinthebonnet I use a lot of teeny tiny cables in my sock designs, and I recently learned that a lot of stitchers are using a cable needle to knit those tiny cables. That’s fine, and if you’re comfortable you should keep doing what works for you, but if you’d like to speed things up and reduce the number of knitting tools you have to keep an eye on, here’s the first video in a series about how to knit cable stitches without a cable needle.
♬ original sound – Lauren | Knitting patterns
Let’s stay connected!
Join my newsletter for 30% off all new releases, regular updates with helpful tips and tricks, first crack at registration for upcoming workshops, exclusive discounts, and more.
I’m on YouTube now and would love to have you join me there for regular project updates, technique tips, chats about goings-on in the knitting world, and more.
Prefer to read without ads? Join my Patreon, which starts at just $1 a month!
Join the A Bee In The Bonnet Facebook Group to participate in knitalongs and other fun community events
Come hang out with me on the A Bee In The Bonnet TikTok
Follow along on the A Bee In The Bonnet Instagram
Get inspired via the A Bee In The Bonnet Pinterest


Cables are my favorite thing to knit. I find using a darning needle works best for tiny sock cables. Thanks for your tips. I will definitely try them.