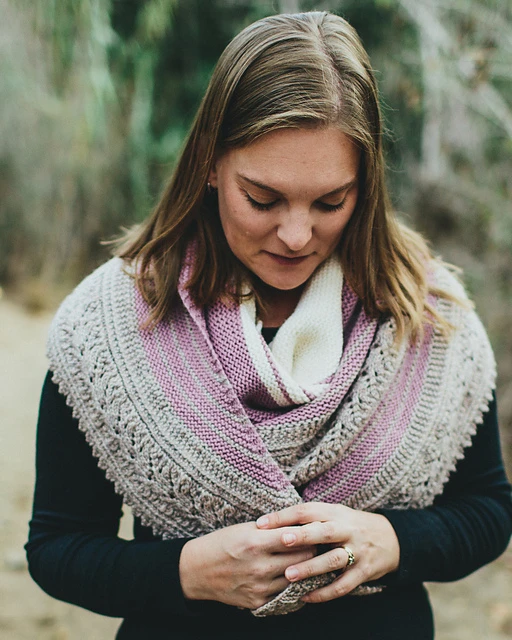
The crescent shawl is an underrated shawl shape. Unlike the many triangle shawl variations, the crescent shawl doesn’t have a central point anywhere. Instead, its increases are worked in a way that causes the long edge of the shawl to develop a graceful, swooping curve.
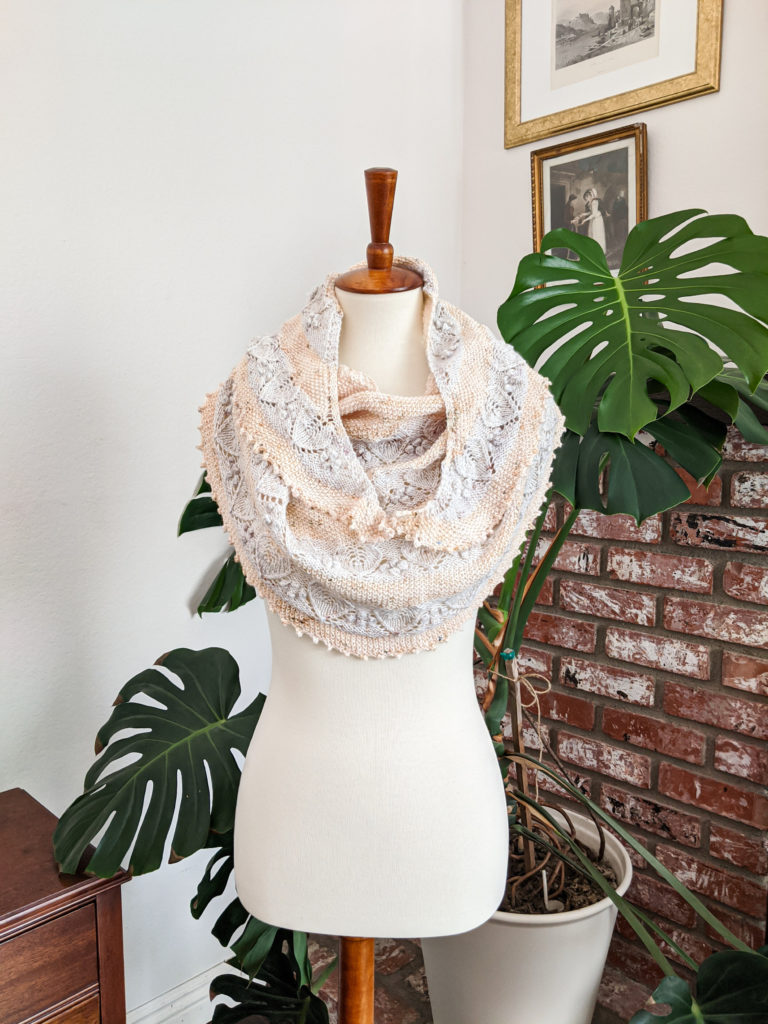
I’ve used this shape a few times, most recently in my Dusk in the Desert Shawl. I like how, when I drape it across my torso, it feels like the swag on a curtain or a 19th-century ballgown. The crescent shawl is a beautiful shawl, whether you add a lace pattern or incorporate leftover scraps for some colorful details.
But if you’d like to make a very simple crescent shawl, there aren’t a ton of easy, beginner-friendly patterns out there. This simple, step-by-step guide will walk you through how to knit a garter-stitch crescent shawl of any size, on any size needles, with any weight yarn.
To work this shawl, you’ll need yarn and a circular knitting needle, two stitch markers, and a tapestry needle for weaving in ends.
Ready? Let’s cast on!
How to Start Your Crescent Shawl
To start a crescent shawl, I recommend using a garter tab cast-on. That’s because, if you don’t use this method but otherwise have a garter stitch border along your shawl, there will be an odd gap at the top edge where you originally cast on. It looks kind of strange.
There are lots of different ways to work a garter tab cast-on, but here’s how I like to do it for my shawls.
1. With long-tail cast on, CO 3 stitches.
2. Knit 4 rows in garter stitch.
3. Pick up 2 stitches along the side adjacent to CO edge and 2 stitches on the side directly opposite CO edge.
Now you have seven stitches on your needles, which is how many you’ll need for your next phase of your shawl.
How to Work Increases for a Crescent Shawl
Remember how I said your crescent shawl doesn’t increase in the middle? That means your increase rows are going to look a little different from how they look on triangle shawls.
First, let’s set up your shawl. You currently have seven stitches. Work the following two set-up rows:
Row 1. K3, place marker, yo, k1, yo, place marker, k3. Turn. (9 stitches)
Row 2. K3, slip marker, yo, k to next marker, yo, slip marker, k3. Turn. (11 stitches)
Continue working Row 2, which will increase your total stitch count by two stitches each row, until your shawl reaches your desired size. Remember, if you’re working with a superwash merino, the shawl is likely to grow by a lot when you block it (and you should definitely block it because the curved crescent shape can get a little scrunched up otherwise).
How to Bind Off Your Crescent Shawl
When your crescent shawl has reached the desired size, it’s time to bind off. You have a couple options here.
One is to use the classic knitted bind-off. This gives you some stability at the edge of the shawl, which will make it more durable. It’s also an easy bind-off that doesn’t take up a ton of extra yarn.
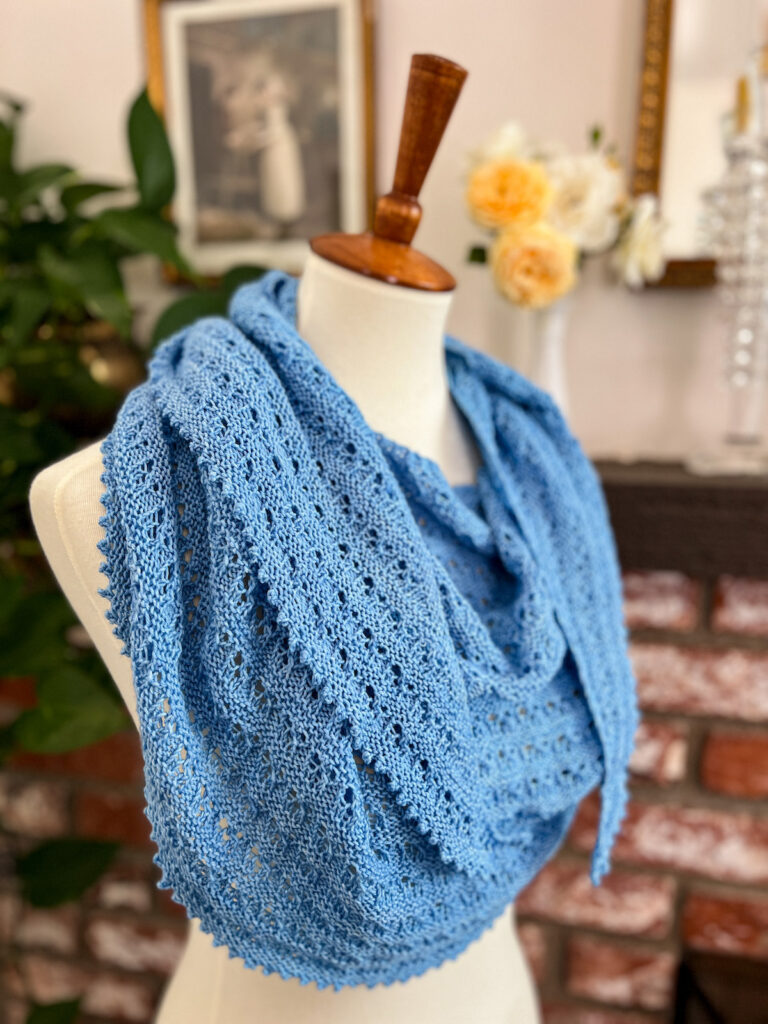
If you want a little bit of decoration, though, I recommend trying a picot bind-off. This is a technique that adds a bit of flair to the edge of your shawl but doesn’t take lots of extra work. It’s also the bind-off I’ve used on a couple of the shawls featured in this blog post. Here’s a picot bind-off tutorial.
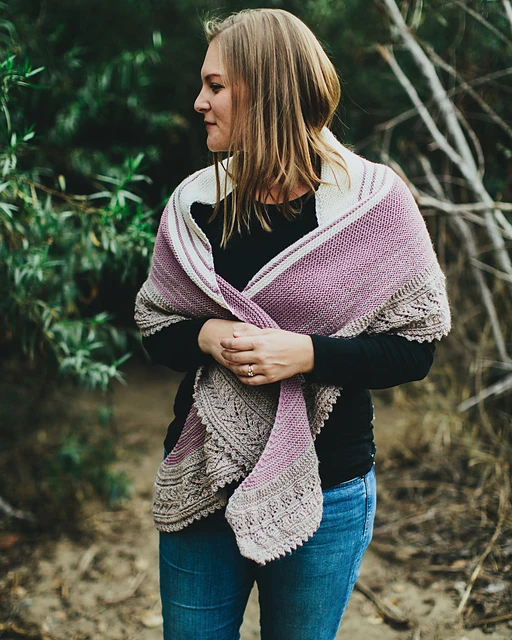
And if you really want some dramatic flair, you can use a knitted-on lace border, like in my Santa Cruz Shawl. This process uses a lot of extra yarn (I used almost as much yarn for the edging on the Santa Cruz Shawl as I did for the body of the shawl), but the dramatic effect is absolutely worth it, especially when contrasted with a garter stitch body on the shawl.
Tips for Creating Your Own Crescent Shawl Designs
This tutorial is meant to help you knit very simple crescent shawls, but there are other things you can do to ramp up the drama if you want to start designing crescent-shaped shawls. Here are some ideas.
1. Try show-row shaping. This tutorial tells you how to create a crescent shawl pattern using increases, but you can also shape a crescent shawl using short rows, instead. That can give you some room to play with texture and short row stripes, too. If you have a few mini skein yarns on hand, this can be a place to show them off to dramatic effect.
2. Play around with needle sizes. Most of the time, I knit my shawls using a skein of fingering weight yarn or two and US size 4 needles. I find this combination gives stunning drape when combined with my natural gauge, but you might find that you knit more loosely or tightly than I do. Don’t be afraid to go up or down a needle size to get the exact gauge you seek. Working a gauge swatch or two can help you figure out which needle gives you the result you want.
3. Remember, this shawl has a relatively wide wingspan but it isn’t very tall in comparison to some traditional triangle shapes. That means you’ll need a pretty long circular needle. I recommend at least a 32″ (80 cm) circular needle if you’re planning on a wingspan of 60″ (152 cm) or so, and longer needles if you’re planning to have a larger wingspan on your shawl.
The crescent shawl shape is one of the easier shawl shapes out there but it’s wonderfully versatile. Once you get comfortable with it, feel free to play around with adding texture, trims, colors, and more. Happy stitching!
Let’s stay connected!
Join my newsletter for 30% off all new releases, regular updates with helpful tips and tricks, first crack at registration for upcoming workshops, exclusive discounts, and more.
Join the A Bee In The Bonnet Facebook Group to participate in knitalongs and other fun community events
Come hang out with me on the A Bee In The Bonnet TikTok
Follow along on the A Bee In The Bonnet Instagram
Get inspired via the A Bee In The Bonnet Pinterest

Hi Lauren
I am a long time knitter (now in my 70’s) and have become “taken ” with shawls and scarves of late. It fascinates me to understand how to achieve the various shapes and then think about adding a pattern (of lace or textures like cables) almost overloads my brain! haha Thank you for your information and look forward to using a simple design to feature a stunning yarn (one that changes colours would look so beautiful).
I’m so glad to hear this was helpful for you! Simple patterns are always a good way to start, and then we can always add more complexity as we get more comfortable.