Over the last few months, I’ve developed a slight obsession with knitting hats from the top down. It’s a great method for using up leftovers or for getting every last bit of knitting out of your skein of yarn. With this technique, you don’t have to try and time your decreases and cast-off just right. Instead, you start at the top, knit until it’s time to start the ribbing for the brim, and then work the ribbing until you run out of yarn. It’s that easy.
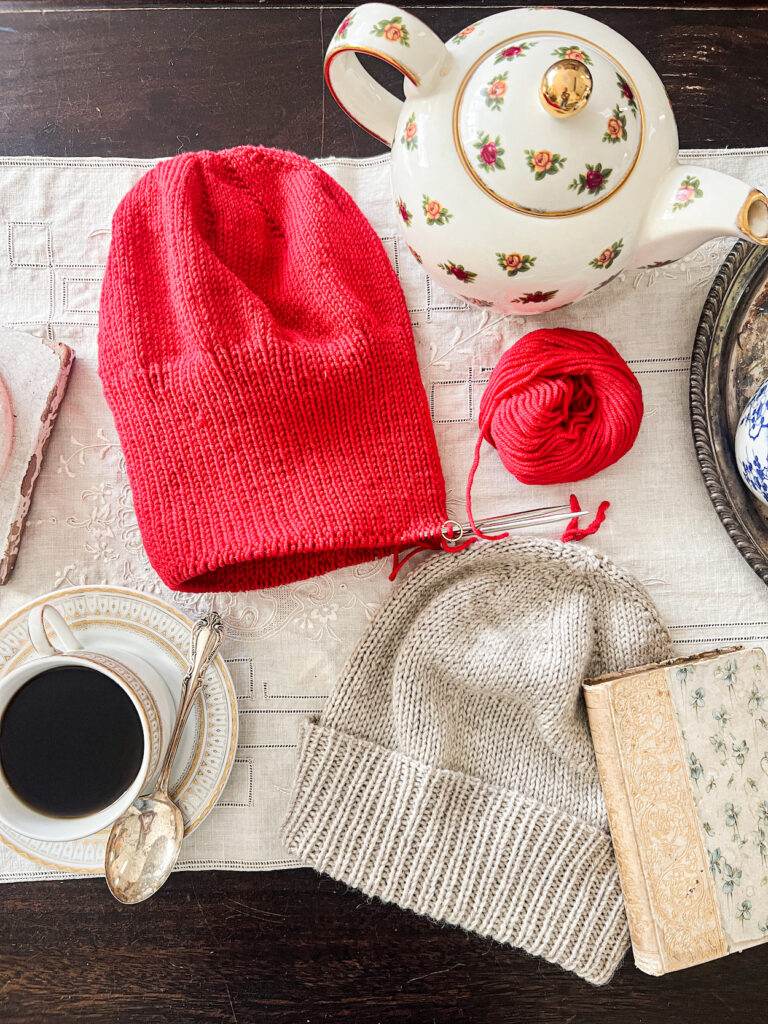
But I’ve realized that a lot of knitters have never used this method before, so I figured I’d write up some tips and tricks to help you knit your own. If you’d like a fully written hat pattern, please let me know, and I’ll see what I can do about getting a free pattern posted here.
Tip #1: Use the Right Cast-On
Starting at the top of the hat means you can’t use your usual hat cast-on methods. The long-tail cast-on and the tubular cast-on will not work.
Instead, I recommend using the pinhole cast-on. The folks over at Tin Can Knits have a great illustrated tutorial for how to use this technique.
If, however, you prefer a video tutorial, never fear. I’ve got you covered.
@abeeinthebonnet Replying to @Cool mom, not a regular mom Here’s a very delayed tutorial for the pinhole cast-on, which is how I start knitting my top-down hats! Happy to answer any questions. Also, still in love with this delicate pink nail polish. What a treat. #knitting #knittok #knit #yarnlovers #knittingtutorial ♬ original sound – Lauren | Knitting patterns
When I’m starting a top-down hat, I like to start with somewhere between five and 10 stitches at the cast-on. Any less, and you’ll have trouble manipulating those first few stitches. Any more, and it’ll be hard to close down the stitches tightly enough, which will leave you with a weird little hole at the top.
Tip #2: Choose Your Increases Carefully
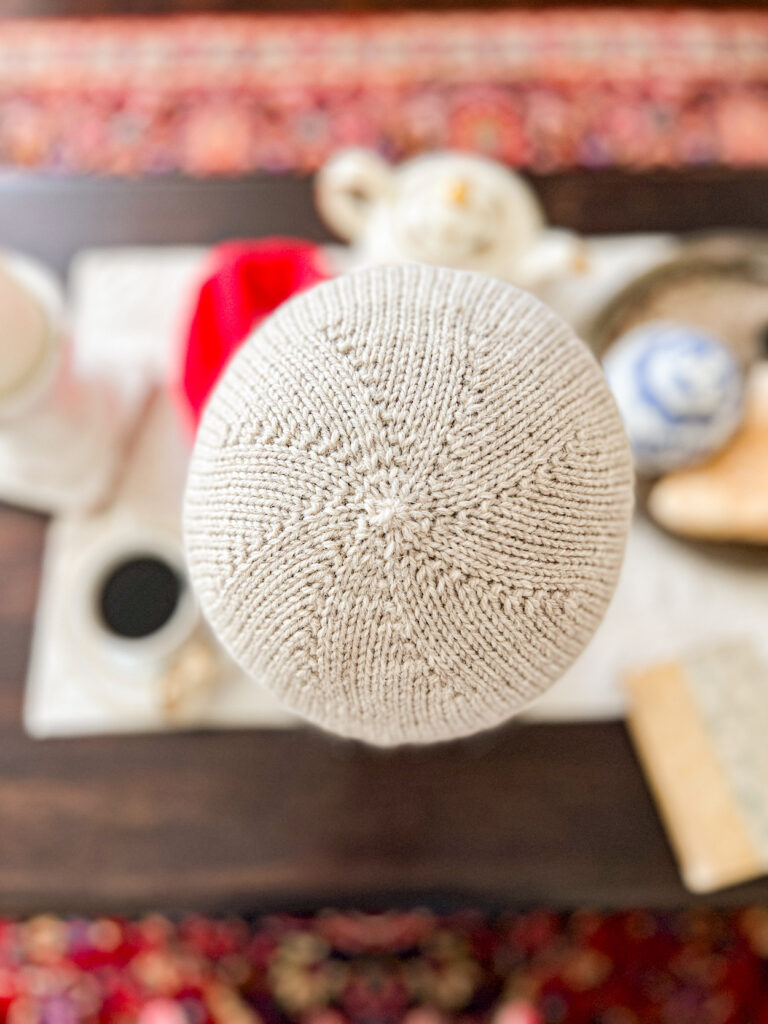
When you work a top-down hat, your increases can be a focal point or decorative element of the crown. Choose wisely.
Crowns generally take on two shapes. One type of crown has single increases spaced at more frequent intervals. For example, if I want to eventually have a hat with 100 stitches on the needles, I might cast on 10 stitches and then work 10 evenly-spaced increases on each increase round.
The other type of crown has increases on either side of a single point, so that they create a sort of spoke-like effect. When I do this kind of increase, I like to have five spokes. I’ll work an increase, knit a stitch, then work an increase. The knit stitch between the two increases creates a distinct, visible line down the drown.
For each of these methods, I recommend no more than 8-12 increases per increase round, placing stitch markers to remind you when to increase in the right place, and working a plain round as the next round after each increase round in the crown. Working your increases at a slower rate will result in a pointy crown, while working them at a faster rate will result in weird ripples in the crown. This ratio works regardless of the weight of yarn you’re using, so whether it’s a DK weight yarn or super bulky yarn, try to stick to this rate of increase.
Next, you should consider the visual effect of each of your decreases. Some increases are more visible than others. Here’s a quick rundown.

Increases to Use with Top-Down Knit Hats
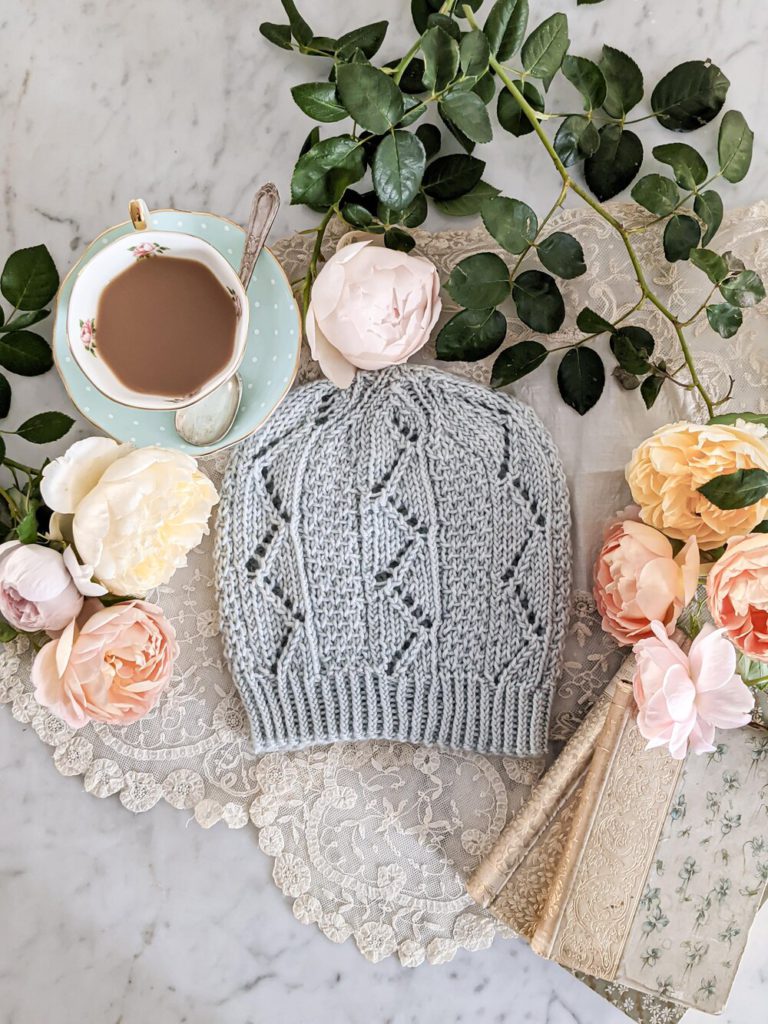
1. Yarnovers. These are some of the most visible increases. They create a little hole in the knit fabric, which can be a very pretty decorative element. Yarnovers are a popular choice for lace hats.
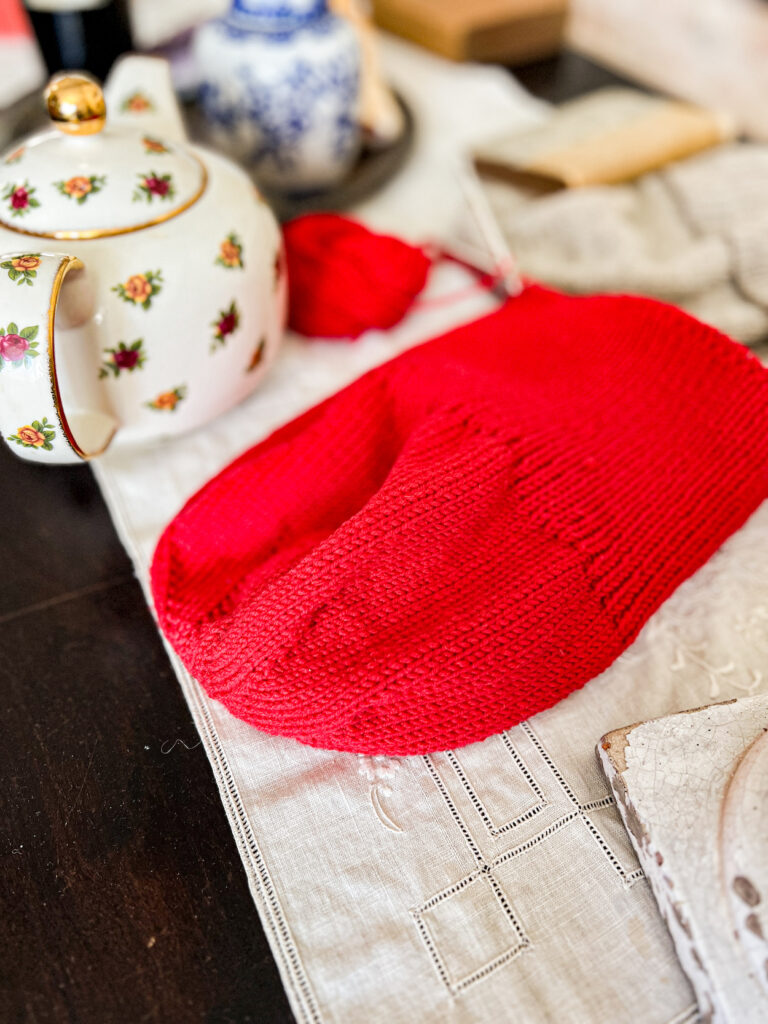
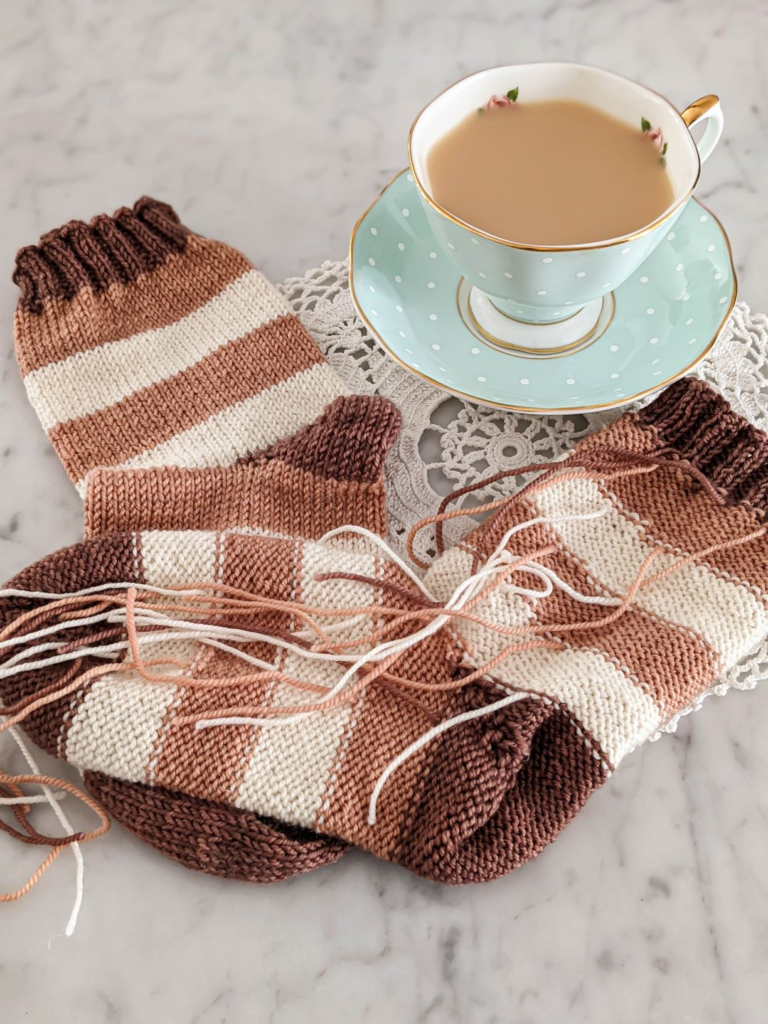
2. KFB. The KFB increase, which stands for knit front and back, involves knitting into a single stitch twice to create two stitches. It’s a quick and easy increase, but it leaves a little bar in front of the second stitch that makes it look like a purl stitch. That bar is visible, but can be a fun way to create a pretty textured effect against a stockinette stitch background (you can see how spiraling KFB increases look on one of the hats pictured in this post). A fun variation of this is knit front, back, then front again, which will increase by two stitches.
3. M1R and M1L. These are the least visible increases, but many knitters have trouble remembering which is which. These increases will look like the new stitch is growing out of the side of the existing stitch. It’ll create a slight ridge, but that’s it. It looks similar to a k2tog decrease on hats knit from the brim upward.
4. Lifted increases (LLI and RLI). These are my favorite increases for garments because they’re easy and look so polished. Lifted increases involve working a new stitch through the right or left leg of the stitch below the spot where you want to increase a stitch. They create a pretty line of lifted edges that are a little stronger and more visible than the line created by M1R and M1L.
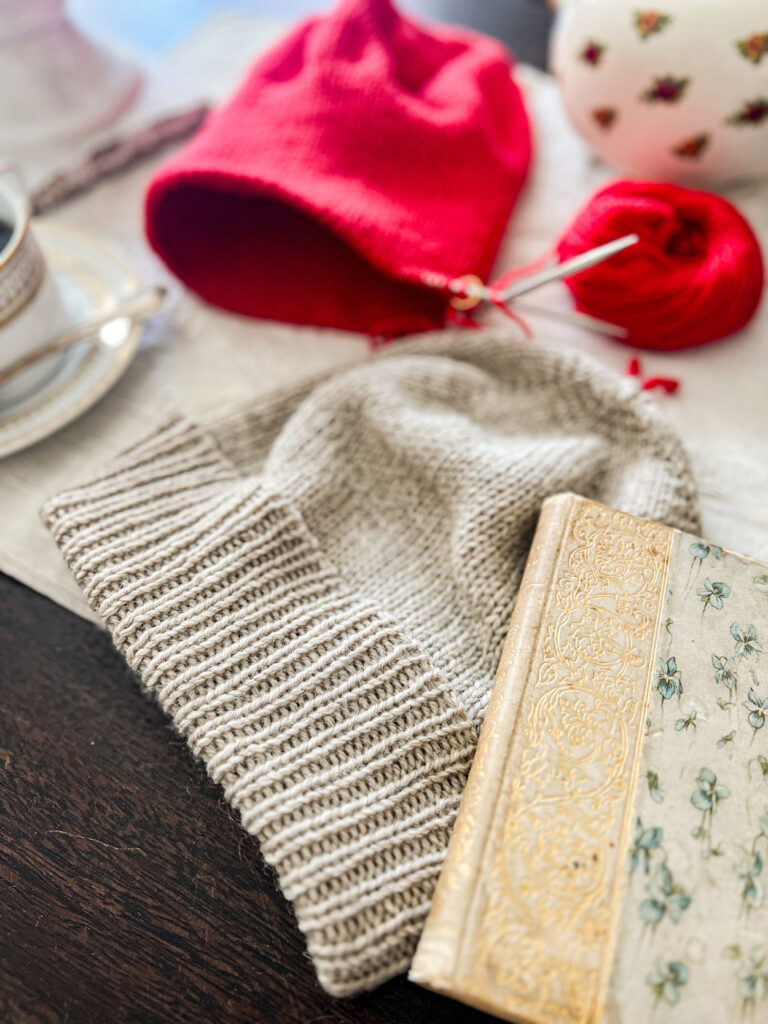
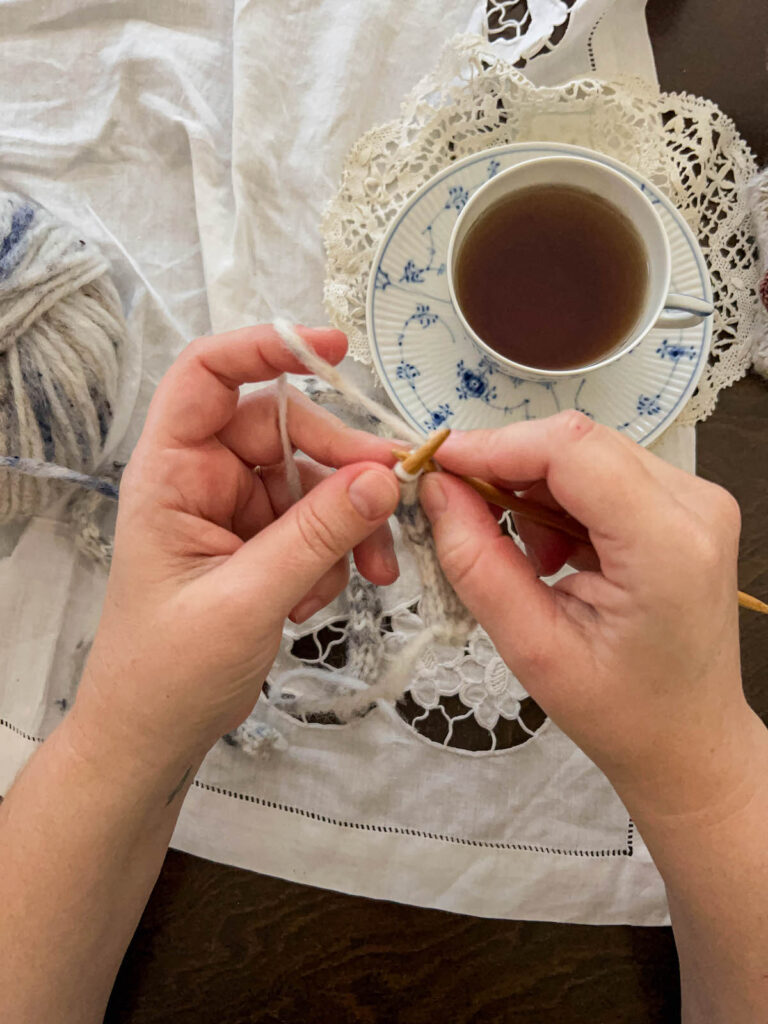
Tip #3: Be Prepared for Lots of Ribbing
One of the benefits of this type of hat is that is that it lets you use up lots of yarn if you want to. I like to work it with a deep, deep brim, which gives lots of flexibility in sizing for the recipient. Friends with larger heads can roll the brim less, while friends with larger heads can roll it more. If a friend with a smaller head wants a slouchier hat, they can also roll the brim less.
But that means there needs to be a lot of brim. Like, a good six inches of it. That means you’ll be working six inches of ribbing after you finish the body of the hat.
For some knitters, that’s a deal-breaker, but I don’t mind too much. I just turn on an episode of good tv, settle in with a hot mug of tea, and crank along. It’s kind of meditative. It can also be a good idea to bring this stage of the project to an event where you need to keep your hands busy but your mind free.
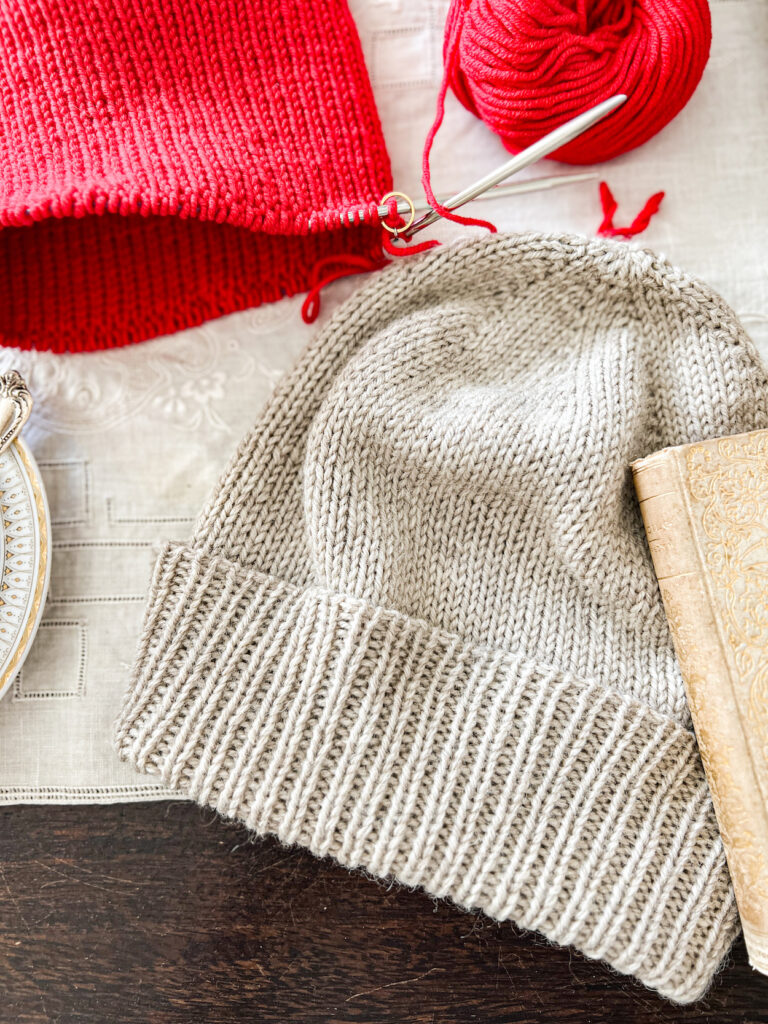
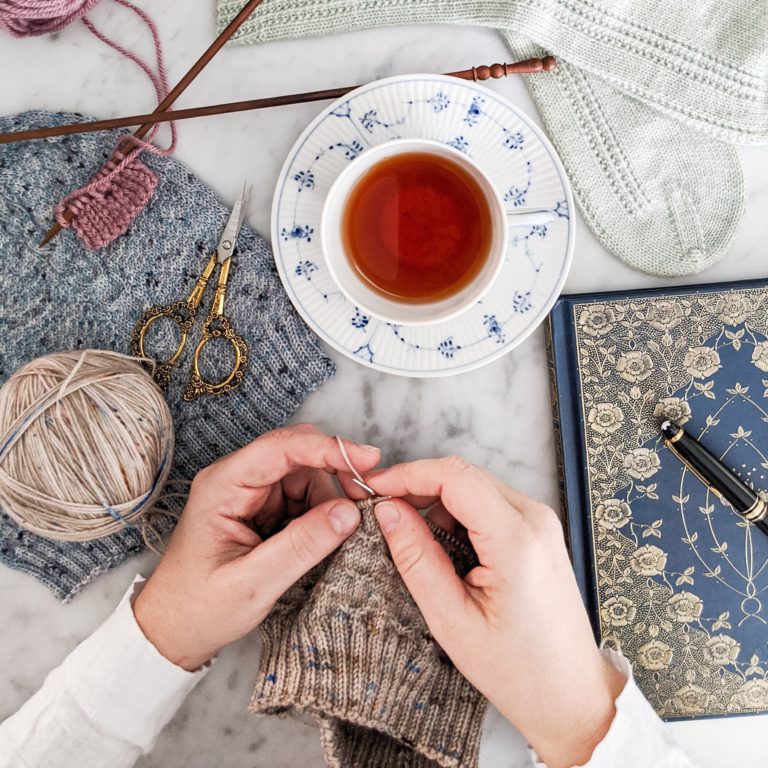
Tip #4: Use a Super Stretchy Bind-Off
This hat style is not going to work well with the standard knitted bind-off, which is just too stiff for this scenario. You need something nice and stretchy to accommodate different head sizes and to give room for comfortable wear.
I recommend a few different bind-offs. The elastic bind-off is a good one for knitters who don’t want to do a sewn bind-off. It’s pretty stretchy and relatively easy to do.
But if you really want some polish, there’s no substitute for a tubular bind-off. It turns out this bind-off works for a few different ribbing patterns. The 1×1 tubular bind-off is a well-known option, but did you know you can also do it for a 2×2 ribbed brim? I learned from this excellent tutorial when knitting a sweater vest last year.
If you have another preferred method for binding off in a super stretchy way, feel free to use that, too. Just make sure that whatever bind-off you use, you choose something that won’t have the bound-off edge of the hat brim cutting into your head when you wear it.
Why I Like Knitting Hats from the Top Down
Knitting hats from the top down is one of my favorite ways to account for an unknown head size. A lot of hat patterns (including my own!) are sized by head circumference, but that can be tricky when you’re not able to measure the recipient’s head. A large adult might not have a large head, and a small child might have a head nearly as big as an average adult. With all the ribbing on the folded brim, you can account for a range of different head sizes.
I also like this method because it allows me to use up every bit of a particularly beautiful yarn that I don’t want to waste. With the brim-up construction style, it’s harder for me to gauge when to stop each part of the hat and move on to the next section, especially if I’m working a folded brim. This way, once I get to the ribbing for the brim, I just knit until I run out of yarn.
This type of hat knitting makes a great hat for gifts because of its flexibility. You can account for lots of different needs just by knitting with lots of stretch and leaving adjustable length. Happy knitting!
Let’s stay connected!
Join my newsletter for 30% off all new releases, regular updates with helpful tips and tricks, first crack at registration for upcoming workshops, exclusive discounts, and more.
Join the A Bee In The Bonnet Facebook Group to participate in knitalongs and other fun community events
Come hang out with me on the A Bee In The Bonnet TikTok
Follow along on the A Bee In The Bonnet Instagram
Get inspired via the A Bee In The Bonnet Pinterest

Very nice hats and instructions! Thank you!
Esther