
This post contains affiliate links, which means if you choose to buy something through those links, I’ll receive a small commission at no extra cost to you. I will always identify affiliate links for you by putting “(affiliate link)” next to them. Thanks for supporting my work!
I started knitting in 2007 with the help of a friend. Unfortunately, not everybody has someone in their life who can serve as a living beginner’s guide to knitting.
Looking back, there are a lot of things I wish I’d learned before starting to knit, and I’ve gotten a lot of requests over the years for resources for beginner knitters who want to teach themselves. I’ve written up several emails and even filmed some tutorials to help new learners. A friend recently asked why I hadn’t turned all of them into a blog post yet.
She was right. I should have done this ages ago.
So here we have the beginner’s guide to knitting. This post will explain how to pick the yarn and needles you want to start with. At the end, there is a link to a series of videos that will teach you how to start your first knit project, grow it, and finish it. If you have questions, you can drop a comment below, and I’ll do my best to help out.
The Beginner’s Guide to Knitting: Your Secret to Success
People sometimes get intimidated by knitting because it can look complicated. On top of that, very experienced knitters sometimes go so fast that it can be overwhelming. Please don’t let that scare you off. I’ll let you in on a little secret that my friend shared with me when she taught me to knit:
At its most basic level, knitting is just making loops with sticks. That’s it. You’re just using the sticks to pull string through loops and make new loops. Then the sticks hold the loops in place so they don’t unravel.
Of course, as with music, there are infinite variations on this very simple theme. Between the different knitting methods, yarn choices, and design options, you’ll find that no two knitters are exactly the same (and that’s okay!) Once you get the hang of the basic parts, you can improvise all sorts of clever details and shapes for your projects, just like a skilled musician can take a scale and turn it into a whole song.
But we’re here to practice a very simple scale, first. When you want to learn how to start knitting, you need to start with the basics.
How to Pick Yarn
So here we go. If you want to know how to start knitting, you have to start from the beginning.
Let’s start with the very basics: materials. I like to start new knitters off with a bulky-weight yarn in a natural fiber that has some give. I’ll explain what all that means and why in a minute, but before we get to that, here’s an explanation of yarn weights.
Yarn Weights, Explained
Yarn comes in seven different thicknesses, generally. You can see the symbols used to designate yarn thickness in this image to the left. Generally speaking, thinner yarn will create a thinner fabric and thicker yarn will make a thicker fabric. The same yarn thickness sometimes has several different names depending on the country or region you’re in. As a result, wherever possible, look for this symbol and the number on the label to know what thickness of yarn you’re buying. That’s crucial because it’ll help you pick the right needles to match.
I recommend starting with a yarn that’s a #5 weight, also commonly known as a bulky weight. This yarn is big enough that you can easily see each of your stitches and your project will progress quickly, but it’s not so big that it’s unwieldy. I love this Wool of the Andes Bulky yarn from KnitPicks (affiliate link), which is relatively inexpensive and comes in lots of colors.
Yarn Fiber Content
There is a debate in the fiber community about what materials to use when teaching somebody how to start knitting. I always tell new knitters to start with natural fibers. That’s because acrylics can be rough on the hands, lack breathability (an issue if your hands sometimes get clammy), and have no flexibility (which is harder for beginners, who often start out with tight stitches). There’s a place for acrylics in the crafting pantheon (I like them for blankets), but they’re not great for starting.
For new knitters, I strongly recommend using a yarn that is mostly (80% or more) wool, for a few reasons: it has some flexibility in it in case your stitches are tight, it can handle a lot of wear and tear, and it’s very forgiving if you need to rip out your work and start over (which a lot of newbies end up doing).
To learn more about why yarn fiber content is important in your knitting projects, here are some helpful blog posts:
Choosing Yarn for a Knit Sweater
Five Key Things to Consider When Choosing a Sock Yarn
Understanding Fluffy Fibers: Mohair vs. Suri Alpaca Yarn
Picking Needles to Match Your Yarn
When it comes to knitting needles, there are three basic materials and two basic shapes, plus almost limitless combinations of lengths and sizes. I’ll try to cover each of those options here so you can make an informed choice. If you want to skip this section for now and just order some needles to go with the yarn I recommended above, here’s a link to the needles I’d recommend (affiliate link). You’ll want to order the Sunstruck Straight Needles in the size labeled [10″, 11 (8.0mm)]. Those are size 11 needles that are 10” long. They’re big enough that they’ll feel substantial in your hands without being so big that they’re uncomfortable to hold. They’re also the right size for the yarn.
Knitting Needle Materials
For the most part, knitting needles nowadays come in three materials: wood, metal, and plastic. Knitters have their own preferences, but I’ll talk through the pros and cons of each for you here.
Wood:
This is what I recommend beginners start with. Wood needles are the least slick of the three materials. This is helpful when you’re still working on getting your tension even or if you tend to be a loose knitter. The wood will grip your yarn a little bit and keep it from sliding around. Wood is also a warm material, which some knitters prefer against their hands.
I stopped using wood needles, though, because I found that my tension was too tight with the extra drag of the wood against the yarn. Wood needles in the smaller sizes are also more likely to break than are metal or plastic needles. I’ll admit here that I’ve broken a lot of little wooden sock needles.
Metal:
Metal needles are a great option if you’re looking for speed in knitting or if you want to reduce drag against your yarn. Some metal needles, like the Susan Bates needles you can easily pick up at most big craft stores like Michaels or Joann, are on the rougher side. I don’t find they make much difference for my knitting speed (though they’re less likely to break if I sit on them!).
For super slick metal needles, I love the Addi Turbo needles (affiliate link) and the ChiaoGoo (affiliate link) stainless steel needles. Be prepared, though: these needles are very slippery. That means you’re more likely to lose stitches off your needles if you’re not careful. Some knitters also report that metal needles hurt their hands, depending on their tension and how they grip their needles.
Plastic:
The very best thing about plastic needles is how lightweight they are, which can be really helpful if you have arthritis or a repetitive stress injury that affects your hands or wrists. I don’t enjoy working with plastic needles because, like acrylic yarns, they tend to feel a bit icky against sweaty hands without the added speed benefit of the metal needles. There are a lot of knitters out there, though, who find that these needles work best for their needs.
Knitting Needle Shapes
Knitting needles come in two basic shapes – straight and circular. Straight needles are the classic knitting needles that you’re used to seeing in movies. They have a point at one end and (usually) a little cap at the other end to keep your yarn from sliding off (there are also double pointed needles (affiliate link) for when you need to knit a tube). Circular needles have a cable connecting the two needles at the ends where the little caps would be on straight needles. That cable is useful for knitting large items and round items, but you can also use circular needles just like you’d use regular straight needles.
I usually do all my knitting on circular needles nowadays, but I recommend starting with straight needles if you’re a total beginner. Some beginners find the cable confusing or unwieldy. You might as well save yourself the stress of figuring out yet another component while you’re still getting the hang of moving the yarn along your needles.
Knitting Needle Sizes

Any beginner’s guide to knitting needs to cover needle sizes in depth.
Here in the US, we use a numbered system for labeling needle sizes. That system is different from the numbered system used in the UK/Canada/Australia. Those systems are also different from the numbered system used in Japan.
The numbered systems are all less precise than the metric system used by much of the rest of the world. You can see a comparison in the chart to the left.
When I design knitting patterns, I always give the US needle size followed by the metric size.
How can you tell which size needle is recommended for the size yarn you use?
It’ll say right on the label! For the larger brands you find in many of the big craft stores like Michaels and Joann, it’ll usually be right near the symbol that indicates what size the yarn is. For other brands, you may have to look around on the label a bit. Don’t be afraid to ask for help if you can’t find it!
Why does it matter to be so precise about needle size?
Because needle size, along with tension and yarn weight, will determine how big or small your project turns out. Most yarns will have a range of recommended needle sizes to use with them (printed on the label near where the yarn weight is located). Those recommended needle sizes will give you a knit fabric that is of medium density and flexibility. That’s what most knitters are looking for. While you’re getting the hang of the basics, that’s what I recommend you aim for, too.
Once you’ve figured things out a bit, though, it can be really fun to play with extra loose or dense textures using larger or smaller needles. Give that a try when you’re ready to get a little playful with your knitting. Just make sure you’re okay with the possibility of it not turning out well—that’s always a risk you run when you start to experiment.
In addition to your yarn and needles, there are a few other basic knitting tools that you might want to add to your craft supplies, such as stitch markers, measuring tape, and scissors. You can read about The 9 Essential Knitting Tools I Always Carry and find which ones you can’t live without. If you’d like to make your own stitch markers, I’ve also got a free step-by-step tutorial for that.
A Beginner’s Guide to Knitting Basic Tutorial
Here’s a link to a knitting basics video tutorial I made a while back for some friends who lived far away and wanted to learn to knit. It’ll teach you to cast on, knit, and cast off. With these skills, you can make garter stitch squares, which is where I recommend starting. Here’s why.
Knitting squares takes only the three skills I mentioned above: casting on (starting), knitting, and casting off (finishing). You can make a few squares in different colors and stitch them together into a scarf. You can also make lots of squares and stitch them together into a blanket. The important thing is to practice getting your tension nice and even (that is, making sure each stitch is no more loose or tight than the stitches next to, above, and below it). The only way to really do that is to do a whole bunch of stitches.
Doing simple squares will keep you from getting bored, though, because you’ll get the satisfaction of finishing a square fairly quickly and starting a new one. If you find you’re ready to move on after a few squares, you can turn them into a scarf quickly and then start something else.
To make a garter stitch square, here’s a simple recipe:
1. Cast on 15 stitches. Make sure to use a loose cast-on so your bottom edge stays nice and stretchy.
2. Knit until you’ve got a square (you can use a measuring tape if you’re feeling precise, but I usually just eyeball it). Make a note of how many rows that was, so you can do the same number of rows for your other squares.
3. Bind off.
4. Start your next square.
And there you have it! This should hopefully get you on the right track toward learning to knit your very own projects. Once you’re comfortable knitting squares, check out this easy guide to knitting abbreviations and then dive into following your first pattern! If you have questions, please do drop a comment below. I’ll check back and offer any help I can.
Let’s stay connected!
Join my newsletter for 30% off all new releases, regular updates with helpful tips and tricks, first crack at registration for upcoming workshops, exclusive discounts, and more.
Join the A Bee In The Bonnet Facebook Group to participate in knitalongs and other fun community events
Come hang out with me on the A Bee In The Bonnet TikTok
Follow along on the A Bee In The Bonnet Instagram
Get inspired via the A Bee In The Bonnet Pinterest


I tried knitting a few years back but had no one to help and when I made a mistake, I didn’t know how to fix it so I finally just quit. Think I will try again! Thanks!
I’m glad this was helpful for you! There are tons of great resources online and several helpful communities of knitters. I’m rooting for you.
I am still after so many years obsessed with rowing out!!! I never finish anything. Knit, unpick repeat. How sad is that. Other people seeing my work say how neat, all I see is rowing out.
Ah, that’s something I struggle with, too! I find a good blocking can fix most of the issues, but I also tend to avoid patterns where I’m purling miles and miles of stitches. It can be done!
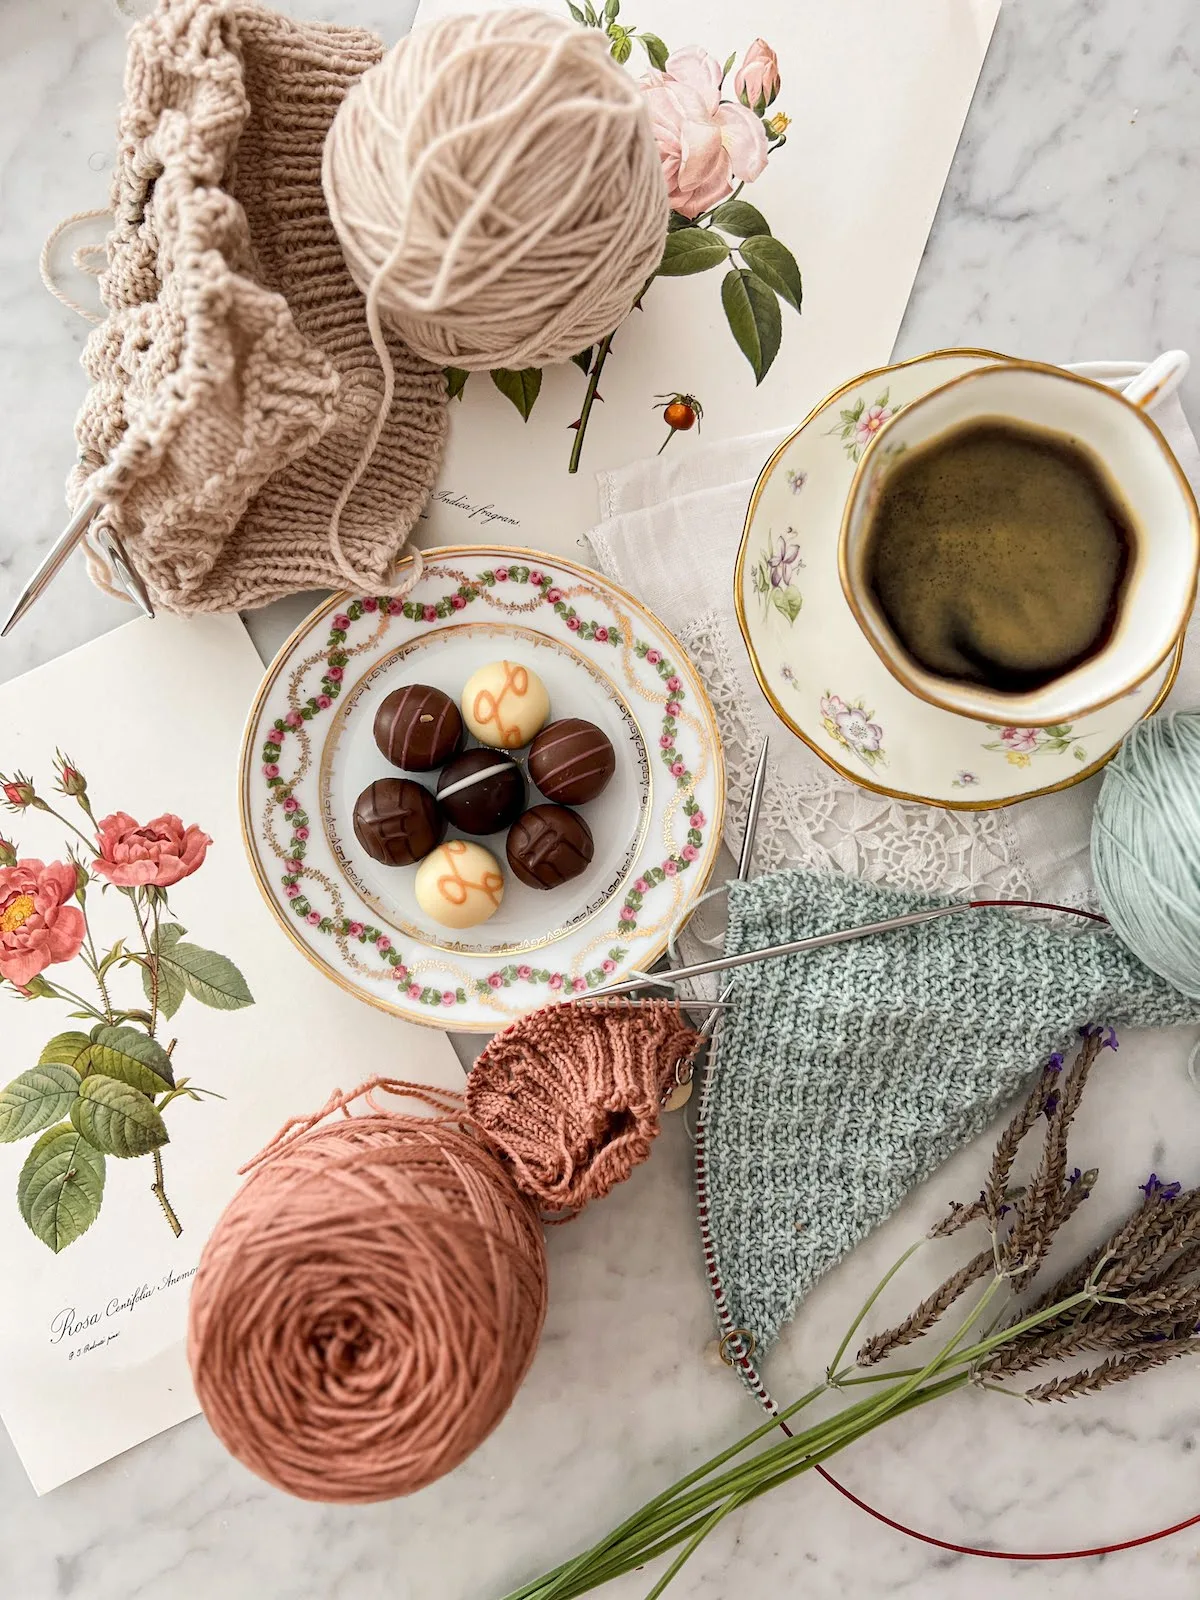
Thank you so much! I would like to know where you got the blue flower book from on your first picture left! It looks so beautiful <3
Glad the post was helpful! The book is a journal I bought several years ago at Barnes and Noble.