Knitting in the round is an easy way to finish off hats, socks, garments, and more. In many circumstances, it reduces the amount of purling you have to do, which tends to speed up your knitting process overall.
But sometimes, when you bind off your knitting in the round, you’re left with a little bit of a gap at the end there. What’s the stitcher to do? Well, here’s my special trick.
When I bind off my knitting in the round, I pick up and knit an additional stitch from underneath the first stitch, and then I bind off that stitch with the last stitch that was already on my needles. Here’s a video tutorial showing what that looks like:
@abeeinthebonnet As a newer knitter, I frequently found myself frustrated by bind-off instructions. It always seemed like they assumed I knew more than I actually did. Here are two helpful things I learned that made the experience much more pleasant! ##knitting##knittok##yarnlovers##beginnerknitter##knittingtutorial ♬ original sound – Lauren | Knitting patterns
Most of the time, when I am binding off in the round, I’m using circular needles, but this technique works just fine for double-pointed needles, too.
A Stretchy Bind-Off
Of course, the other challenge you face when binding off your knitting in the round is that you don’t want your bind off to be too tight. Most of the time, when you bind off in the round, you are binding off something that needs to stay stretchy. That means you want to use a stretchier bind-off method than the basic bind off we usually use.
My favorite bind off when I am knitting in the round is the elastic bind off. This is a moderately stretchy bind off that will give you some movement but not a ton. It’s a great midpoint between a lot of the very stretchy sewn bind offs, which have almost no structure to them, and the traditional knitted bind off, which can be very tight.
To work the elastic bind off, do the following:
1. Knit two stitches.
2. Move both stitches to your left-hand needle.
3. Knit two stitches together through the back loop.
4. Knit one stitch.
5. Move two stitches to your left needle.
6. Knit two stitches together through the back loop.
7. Repeat steps five and six until you have one stitch remaining.
After you have done this whole process, use the trick I explained above to make sure there is no gap at the point where you finish your bind off.
With these two techniques combined, you will be ready to bind off any project with ease.
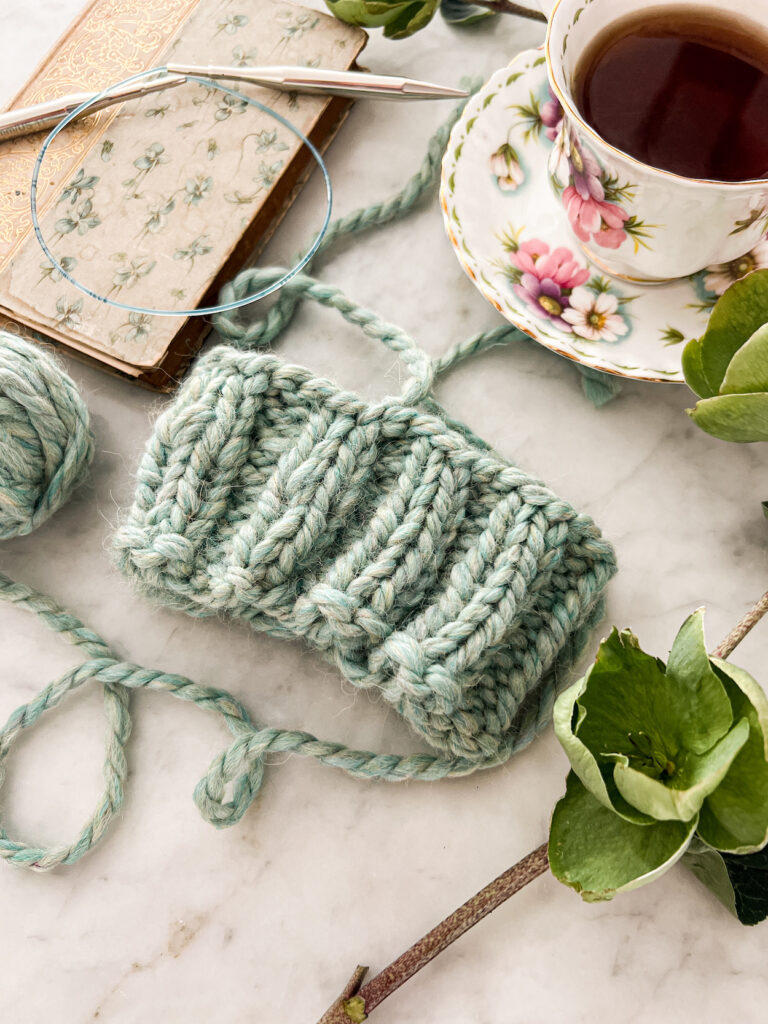
Binding Off In Pattern
But what if the pattern you’re following tells you to bind off in pattern? This is an instruction that is commonly used for ribbing. In that case, you are working a standard knitted bind off, but you are working it slightly differently. When you come to a purl stitch, you’re going to still purl that stitch, and then pass the stitch on the right over it to bind it off. When you come to a knit stitch, you will knit that stitch, and then you’ll pass the stitch to the right of it over to bind it off. Check out the video above to see what that looks like.
Regardless of which of these techniques you need to use to finish binding off in the round, remember that no project is finished if you just leave the yarn tail dangling. Grab your tapestry needle and weave in your loose end.
Let’s stay connected!
Join my newsletter for 30% off all new releases, regular updates with helpful tips and tricks, first crack at registration for upcoming workshops, exclusive discounts, and more.
Join the A Bee In The Bonnet Facebook Group to participate in knitalongs and other fun community events
Come hang out with me on the A Bee In The Bonnet TikTok
Follow along on the A Bee In The Bonnet Instagram
Get inspired via the A Bee In The Bonnet Pinterest

This tip about picking up a stitch from under the first one before binding off is such a clever way to close that pesky gap—I’ve struggled with that finish more times than I can count! It’s great to know it works with both circular and DPNs, especially since I switch between them depending on the project.