
A couple months ago, I had to transplant my favorite rose bush. I was reluctant to do it so late in the season, but the rose was struggling. I had to make a change.
But let me back up.
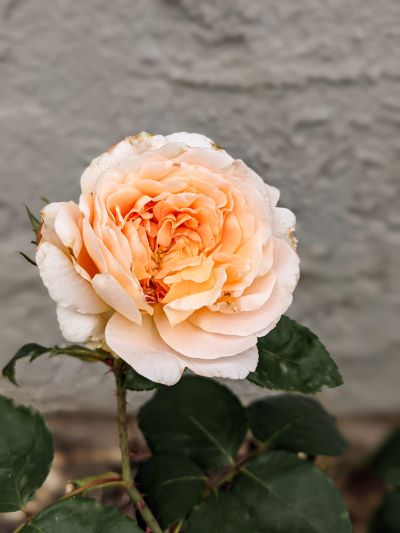
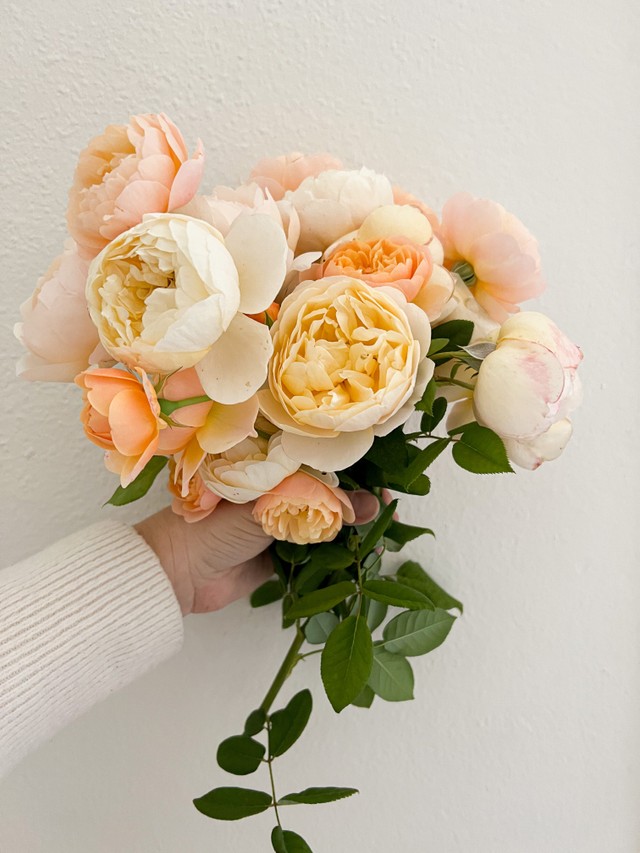
This is Tamora. It’s one of my favorite roses, with beautifully cupped blooms, lots of petals, and a sweetly spicy fragrance. It’s also an unusual rose. I don’t see many of them around–and I’m a member of quite a few rose grower groups on Facebook.
What Went Wrong
When I planted Tamora, it got full sun. What I didn’t realize, though, was that I had planted it in a spot that receives a lot of deadfall from our neighbor’s cypress trees. Then we built a pergola that robbed Tamora of sunlight. After that, we built a playhouse, too, which sealed the deal.
By this past winter, Tamora was looking a bit spindly, with twiggy branches growing higgledy piggledy and almost no blooms to speak of. There wasn’t a single sturdy cane anywhere. Worried I had pruned too much the year before, I left it alone this time.
But things just got worse. The leaves turned yellow and mottled. New growth shriveled and died. It was time to face it: Tamora just wasn’t happy in that spot anymore. So I looked around the yard and scouted out a new spot for it.
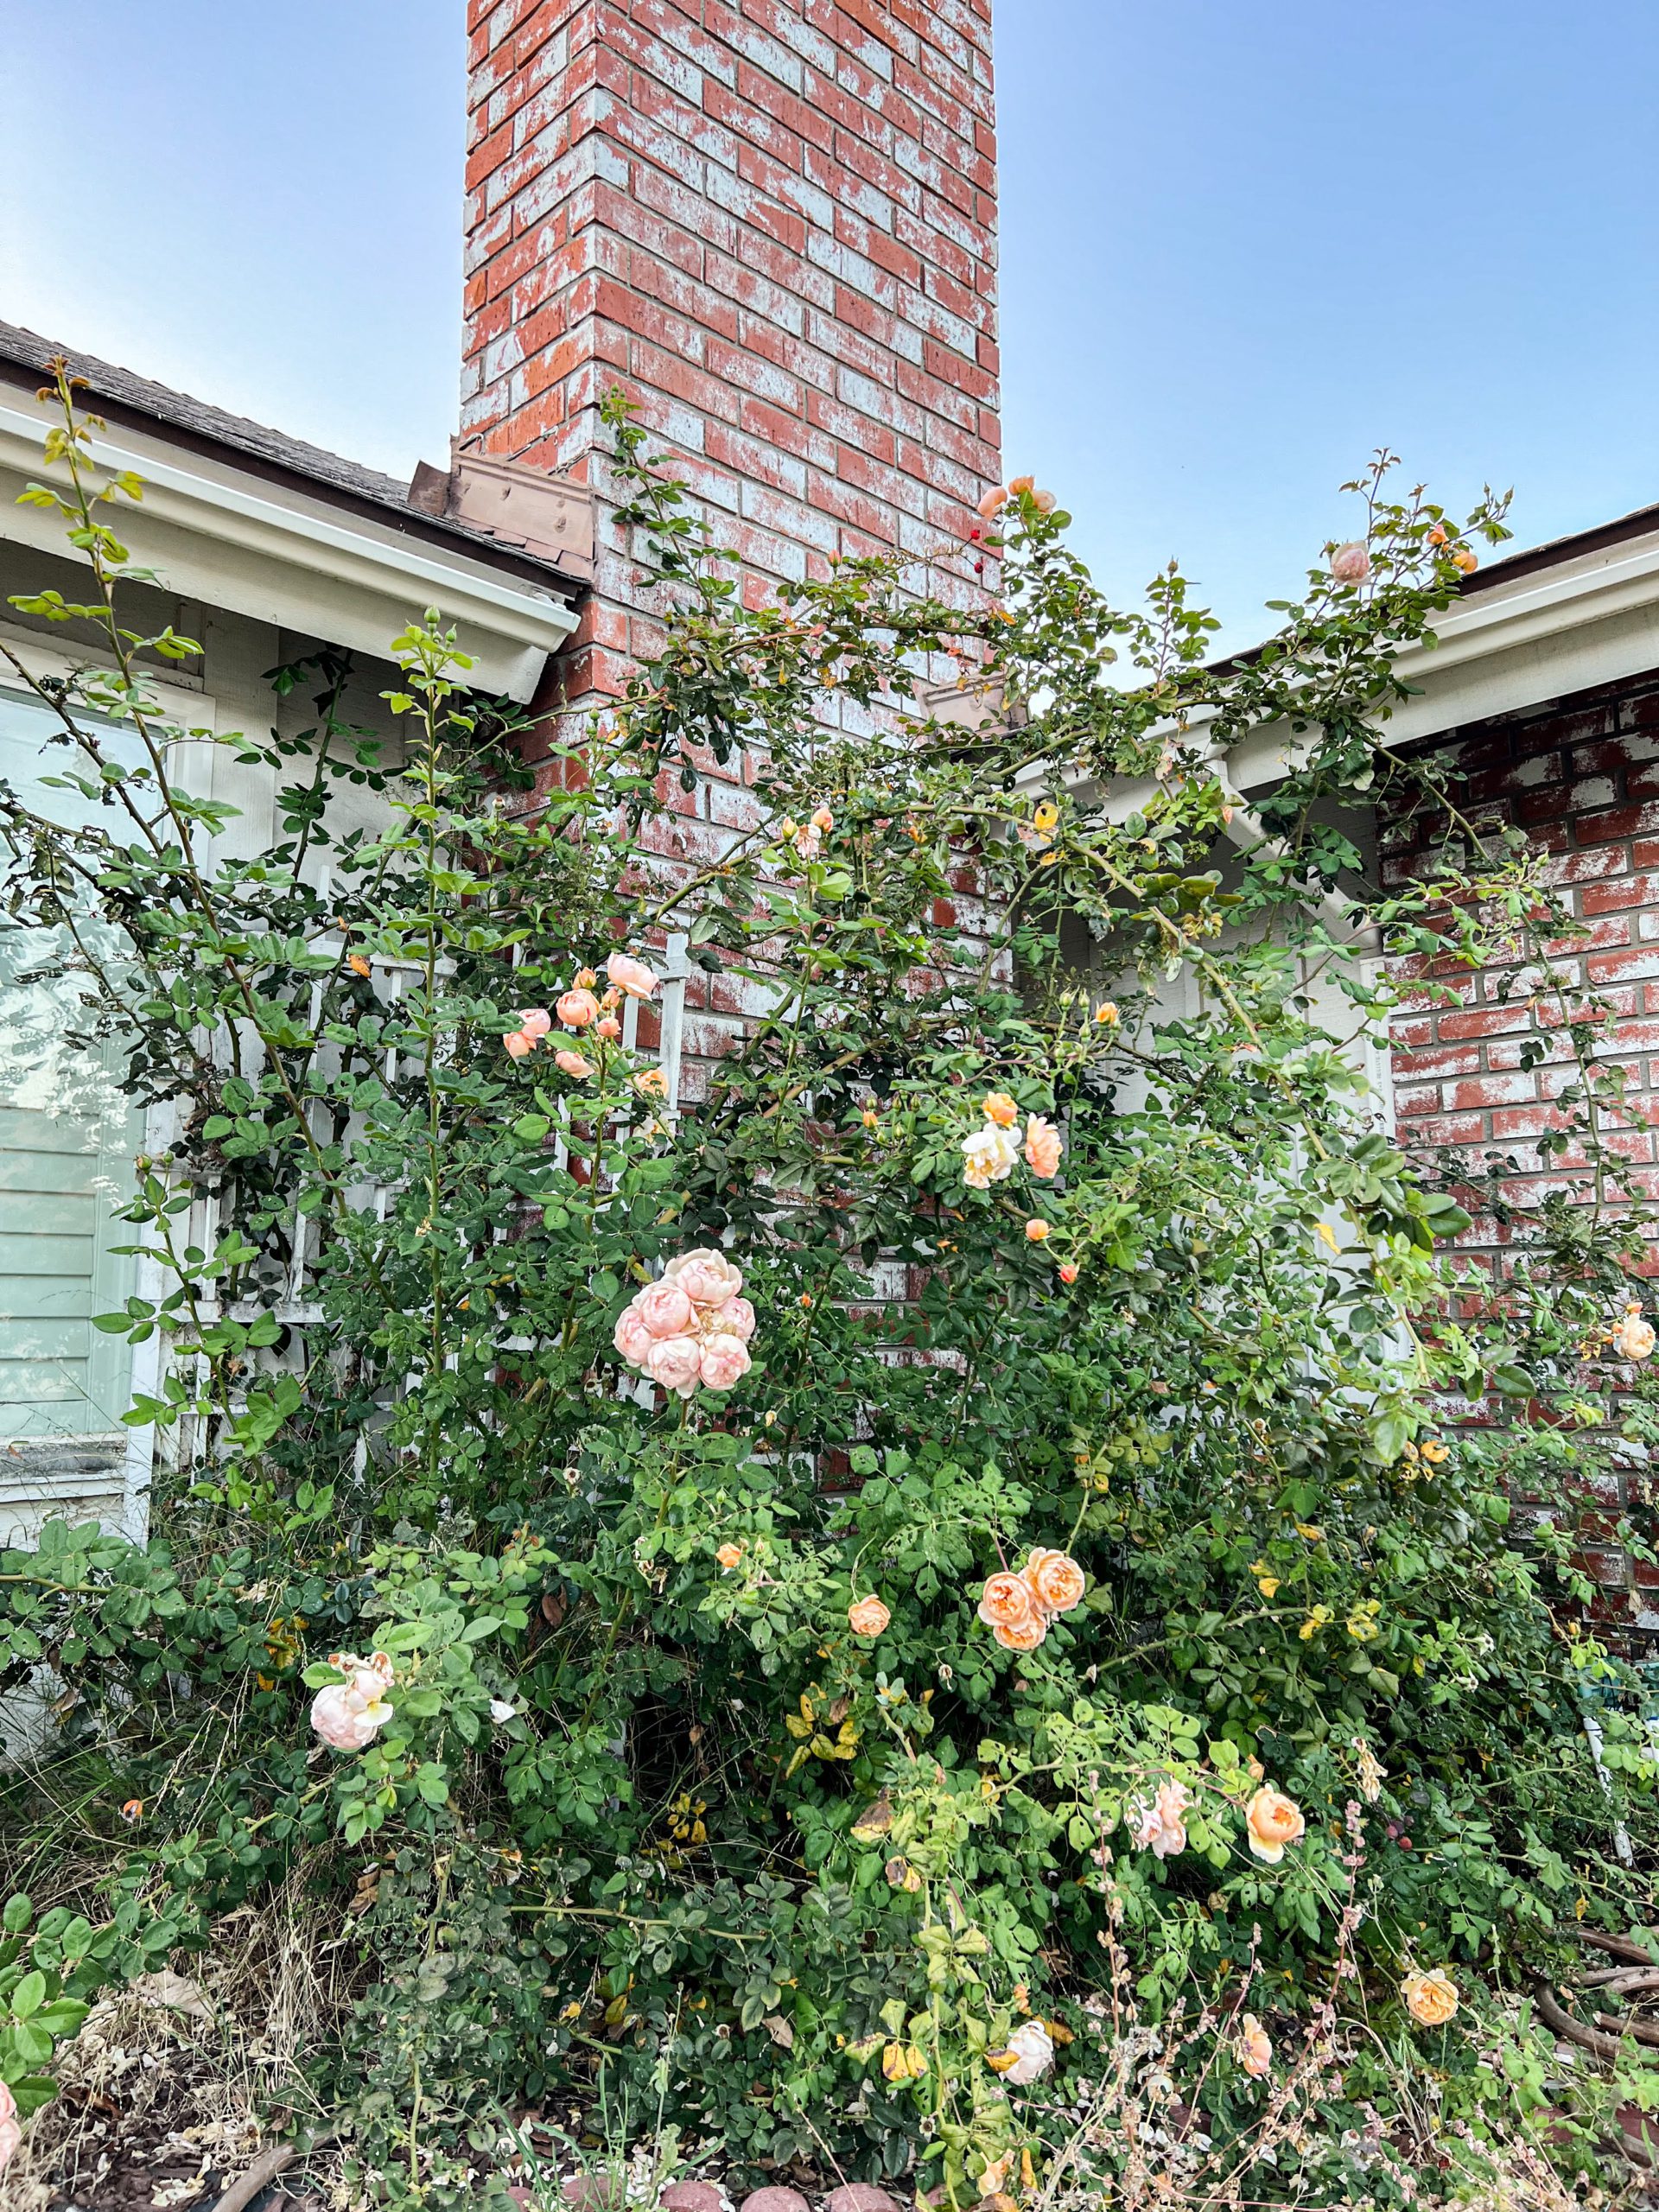
I settled on a place at the northwest corner of the house that gets lots of warm afternoon light. It’s between two iceberg roses, so Tamora will have company. There was an agapanthus there, but I pulled it out and swapped it to Tamora’s old spot. Spoiler alert: the agapanthus has since died, but Tamora is thriving.
Does Your Rose Bush Need Transplanting?
One thing I’ve noticed in a lot of my rose grower groups is that people have unrealistic expectations of their roses when they’re first starting out. It can take a couple years to get established, and in that time, you roses might look a little weird. New growth is sometimes oddly colored, and the roses might be smaller, have fewer petals, or turn out lighter or darker than you had expected.
So the first rule is to give your rose a little time. Let it get established. It needs to build out a good root system and mature a little bit before you can really tell if it’s unhappy.
But there are some tell-talle signs. If you’ve given your rose enough water (but not too much), and enough food (but not too much), and enough time to establish itself, but it’s still spindly, slow to grow, and not blooming, it may need a new spot. If that’s the case, follow the steps below to transplant your rose with ease.
How to Successfully Transplant Your Rose Bush
Here are the crucial steps I took to make sure Tamora’s transplant went smoothly.
- In the new location, clear away old mulch and dig a hole at least twice as wide as I expected Tamora’s root system to be. This will give the transplanted rose bush plenty of room to spread its roots and reestablish itself.
- Soak the hole where you plan to transplant your rose. I put in several inches of water mixed with a liquid fish fertilizer to help nourish the plant (don’t use a chemical fertilizer for this stage–it can be too strong and burn the delicate roots just when they’re trying to grow).
- Dig carefully around the outer edge of the rose bush’s root system. It’s better to dig too wide than to cut off all the roots by digging too closely. Gently pry the rose out of the soil until you can lift it out completely (wear gloves for this part).
- Move the rose bush from its old location to the new one. As much as possible, use your body to shield the roots from direct sun exposure.
- Settle your rose in the new hole and pack the dirt in around its base. If there’s a graft join on your rose bush, make sure to bury that deeply enough. Keep other plants and bark away from the base of the rose bush while it’s getting established.
- Follow your regular watering and feeding schedule, giving a little extra water if needed.
And that’s it! It’s surprisingly easy to transplant a rose bush. You just need a little knowledge and preparation.
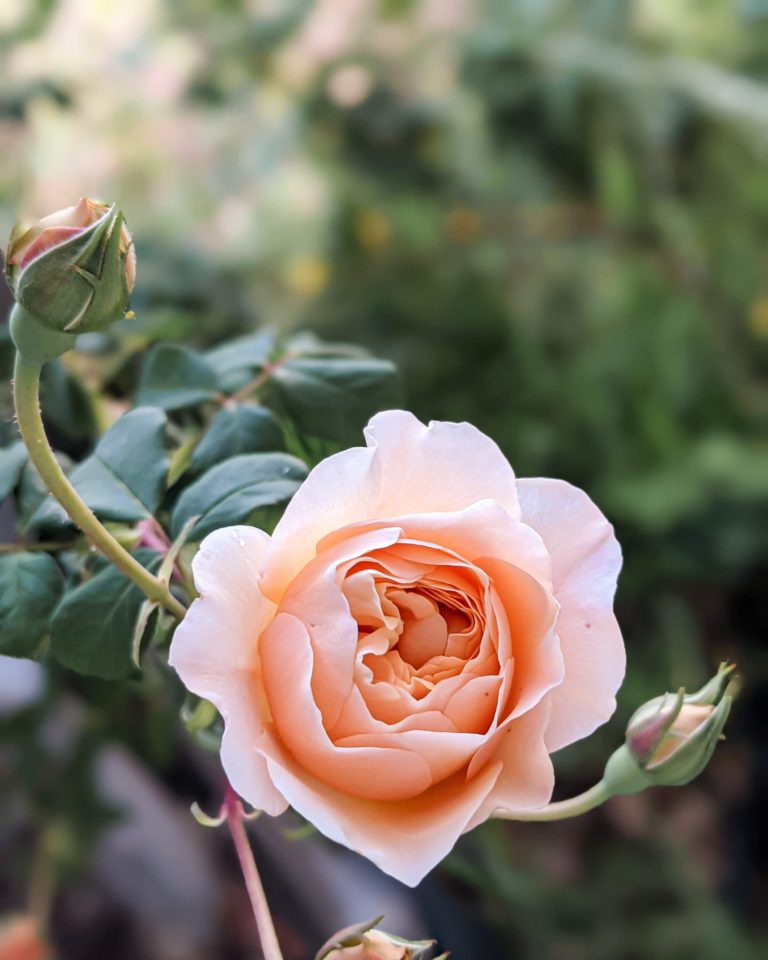
As for my Tamora, don’t look now, but it’s blooming again. Here’s a photo of the first bloom after transplanting. Notice it’s a little small and cramped-looking compared to the blooms above, which were from when Tamora was doing well in its old spot. That’s to be expected while the plant gets used to its new spot.
I’m looking forward to a lot more blooms in the future.
If you’re curious about some of my favorite rose-gardening tools, here’s a round-up of the things I use most! These are affiliate links, which means if you choose to buy something through those links, I’ll receive a small commission at no extra cost to you. I will always identify affiliate links for you. Thanks for supporting my work!
My favorite pruning snips: the Felco F-8
Many other rosarians also swear by the Felco F-2
My favorite liquid fish-based fertilizer
My favorite organic mineral fertilizer
Let’s stay connected!
Join my newsletter for 30% off all new releases, regular updates with helpful tips and tricks, first crack at registration for upcoming workshops, exclusive discounts, and more.
Join the A Bee In The Bonnet Facebook Group to participate in knitalongs and other fun community events
Come hang out with me on the A Bee In The Bonnet TikTok
Follow along on the A Bee In The Bonnet Instagram
Get inspired via the A Bee In The Bonnet Pinterest



What a lovely delicate rose!
Your article has been really helpful.
Would you condider to contribute to wikiHow on this topics, please?